RS-232C/RS-422 Serial Interface Option
4.Slide the cover towards the rear of the printer and then downwards to remove it.
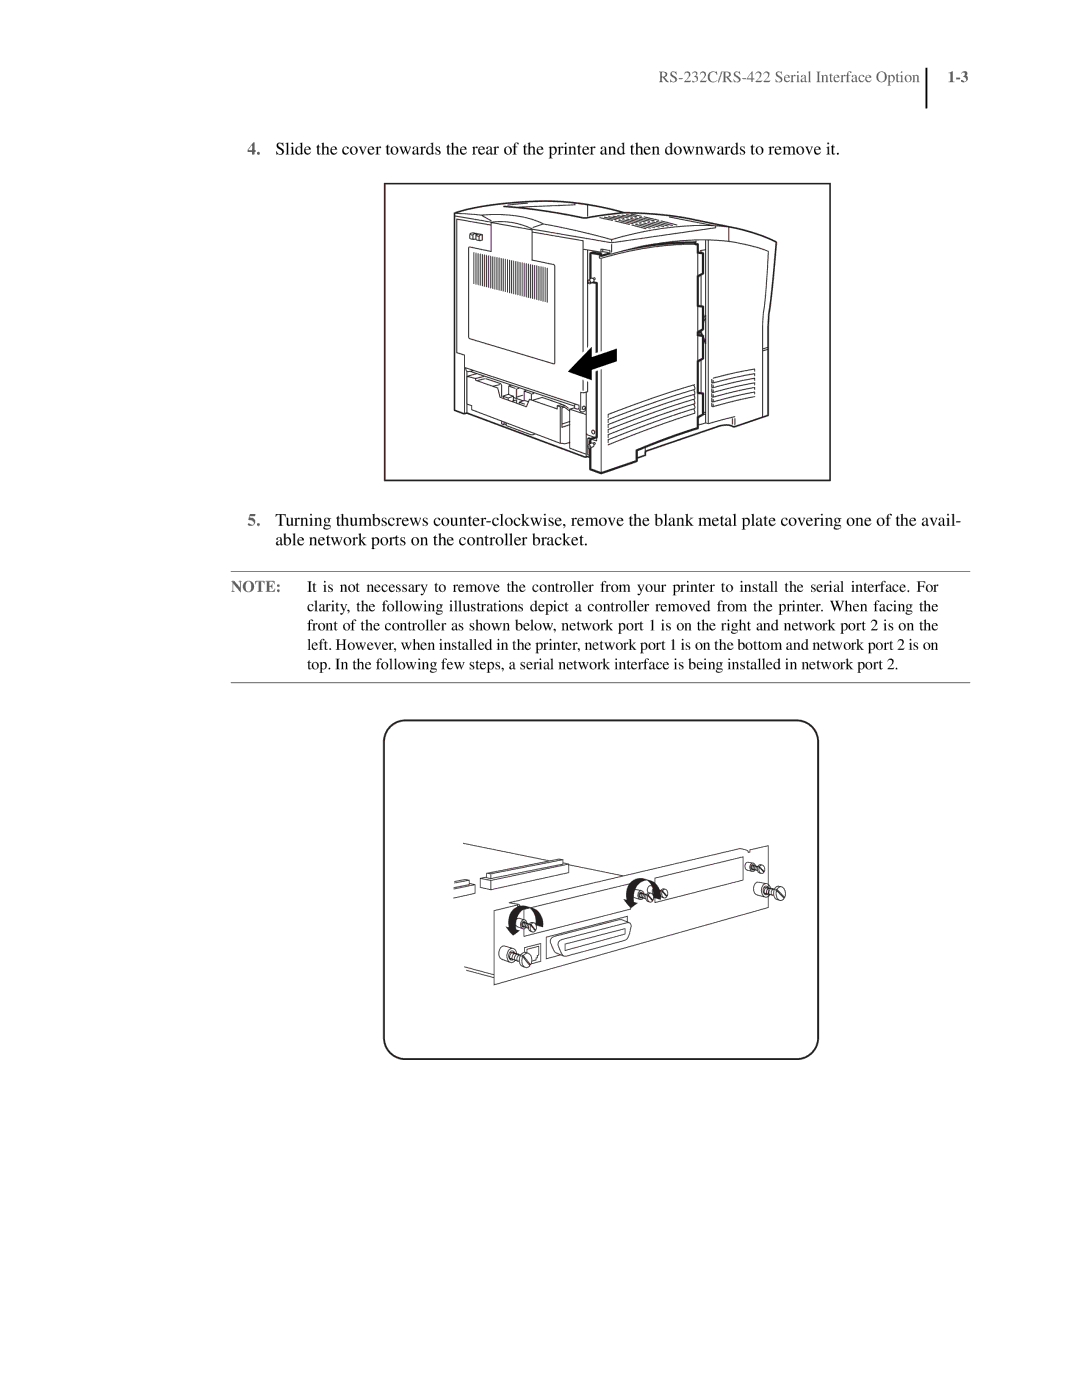
5.Turning thumbscrews
NOTE: It is not necessary to remove the controller from your printer to install the serial interface. For clarity, the following illustrations depict a controller removed from the printer. When facing the front of the controller as shown below, network port 1 is on the right and network port 2 is on the left. However, when installed in the printer, network port 1 is on the bottom and network port 2 is on top. In the following few steps, a serial network interface is being installed in network port 2.