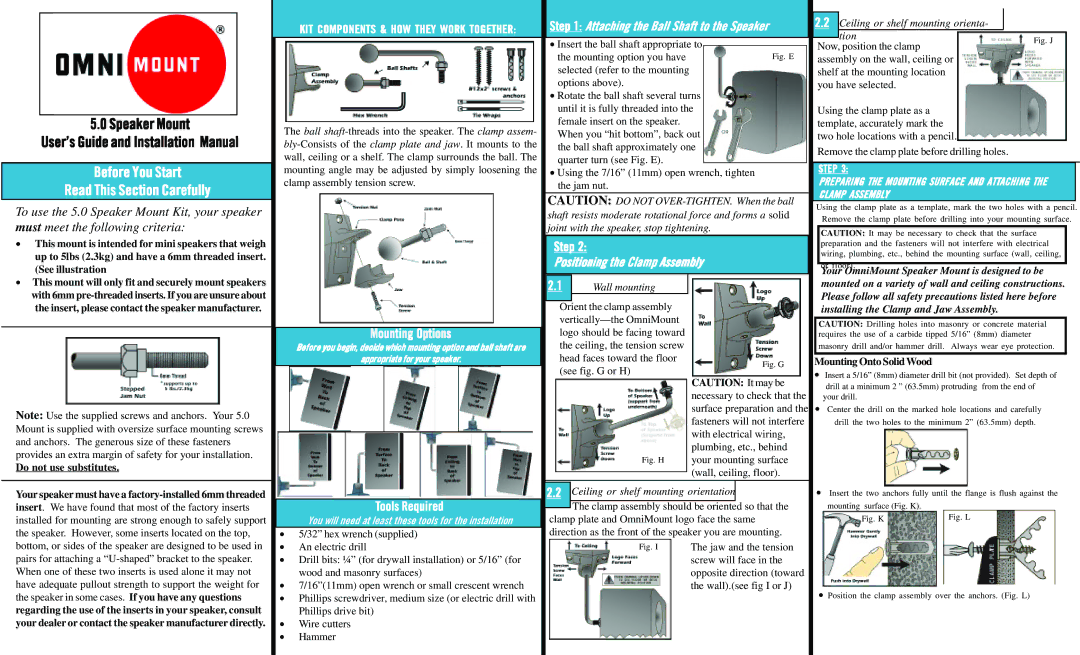
5.0 Speaker Mount
User’s Guide and Installation Manual
Before You Start
Read This Section Carefully
To use the 5.0 Speaker Mount Kit, your speaker must meet the following criteria:
• | This mount is intended for mini speakers that weigh |
| up to 5lbs (2.3kg) and have a 6mm threaded insert. |
• | (See illustration |
|
KIT COMPONENTS & HOW THEY WORK TOGETHER:
The ball
Step 1: Attaching the Ball Shaft to the Speaker
•Insert the ball shaft appropriate to
the mounting option you have | Fig. E |
selected (refer to the mounting |
|
options above). |
|
•Rotate the ball shaft several turns until it is fully threaded into the female insert on the speaker. When you “hit bottom”, back out the ball shaft approximately one quarter turn (see Fig. E).
•Using the 7/16” (11mm) open wrench, tighten the jam nut.
CAUTION: DO NOT
Step 2:
Positioning the Clamp Assembly
| Ceiling or shelf mounting orienta- |
| |
2.2 |
| ||
| tion | Fig. J | |
| |||
Now, position the clamp | |||
| |||
assembly on the wall, ceiling or |
| ||
shelf at the mounting location |
| ||
you have selected. |
| ||
Using the clamp plate as a template, accurately mark the two hole locations with a pencil.
Remove the clamp plate before drilling holes.
STEP 3:
PREPARING THE MOUNTING SURFACE AND ATTACHING THE CLAMP ASSEMBLY
Using the clamp plate as a template, mark the two holes with a pencil. Remove the clamp plate before drilling into your mounting surface.
CAUTION: It may be necessary to check that the surface preparation and the fasteners will not interfere with electrical wiring, plumbing, etc., behind the mounting surface (wall, ceiling,
or floor).
Your OmniMount Speaker Mount is designed to be
This mount will only fit and securely mount speakers |
with 6mm |
the insert, please contact the speaker manufacturer. |
Note: Use the supplied screws and anchors. Your 5.0 Mount is supplied with oversize surface mounting screws and anchors. The generous size of these fasteners provides an extra margin of safety for your installation.
Do not use substitutes.
Mounting Options
Before you begin, decide which mounting option and ball shaft are
appropriate for your speaker.
2.1Wall mounting
Orient the clamp assembly
Fig. H
Fig. G
CAUTION: It may be necessary to check that the surface preparation and the fasteners will not interfere with electrical wiring, plumbing, etc., behind your mounting surface (wall, ceiling, floor).
mounted on a variety of wall and ceiling constructions. Please follow all safety precautions listed here before installing the Clamp and Jaw Assembly.
CAUTION: Drilling holes into masonry or concrete material requires the use of a carbide tipped 5/16” (8mm) diameter masonry drill and/or hammer drill. Always wear eye protection.
Mounting Onto Solid Wood
•Insert a 5/16” (8mm) diameter drill bit (not provided). Set depth of
drill at a minimum 2 ” (63.5mm) protruding from the end of your drill.
•Center the drill on the marked hole locations and carefully drill the two holes to the minimum 2” (63.5mm) depth.
Your speaker must have a
Tools Required
You will need at least these tools for the installation
•5/32” hex wrench (supplied)
•An electric drill
•Drill bits: ¼” (for drywall installation) or 5/16” (for wood and masonry surfaces)
•7/16”(11mm) open wrench or small crescent wrench
•Phillips screwdriver, medium size (or electric drill with Phillips drive bit)
•Wire cutters
•Hammer
2.2Ceiling or shelf mounting orientation
The clamp assembly should be oriented so that the clamp plate and OmniMount logo face the same direction as the front of the speaker you are mounting.
The jaw and the tension screw will face in the opposite direction (toward the wall).(see fig I or J)
•Insert the two anchors fully until the flange is flush against the
mounting surface (Fig. K). Fig. K
•Position the clamp assembly over the anchors. (Fig. L)
