Step 5:
ADJUSTING THE POSITION OF THE SPEAKER AND TIGHTENING THE
CLAMP ASSEMBLY
•Pick up the vice grip pliers, regular pliers, or small crescents wrench and use one of these tools to assist in tightening the tension screw. Tighten in
½turn increments until the speaker is firmly held in place.
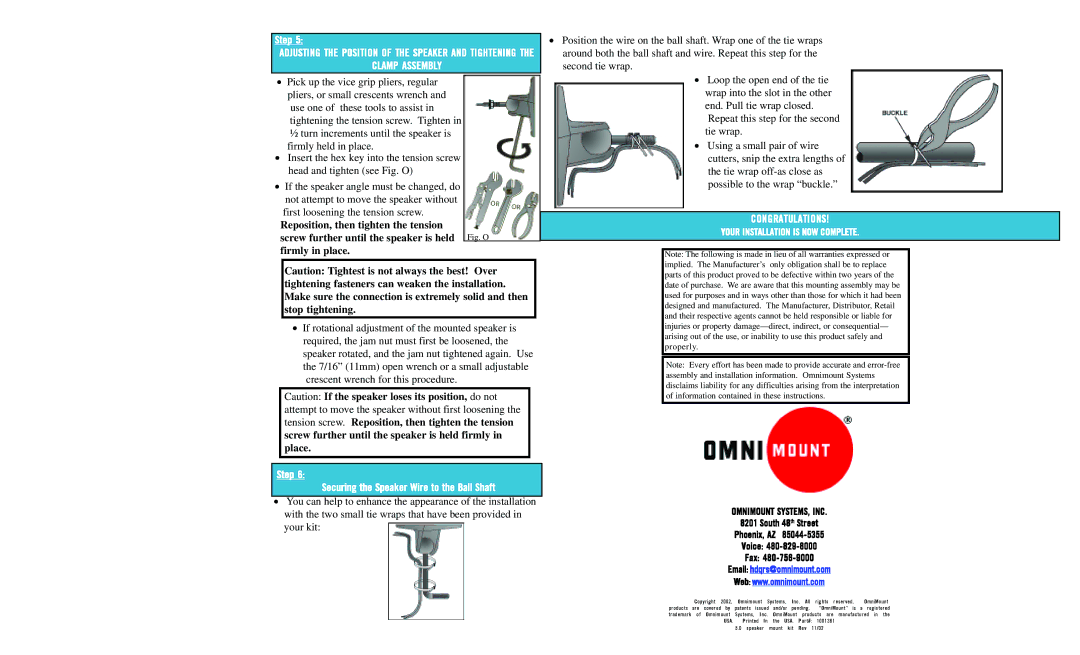
•Insert the hex key into the tension screw head and tighten (see Fig. O)
•If the speaker angle must be changed, do not attempt to move the speaker without first loosening the tension screw.
Reposition, then tighten the tension
screw further until the speaker is held Fig. O firmly in place.
Caution: Tightest is not always the best! Over tightening fasteners can weaken the installation. Make sure the connection is extremely solid and then stop tightening.
•If rotational adjustment of the mounted speaker is required, the jam nut must first be loosened, the speaker rotated, and the jam nut tightened again. Use the 7/16” (11mm) open wrench or a small adjustable crescent wrench for this procedure.
Caution: If the speaker loses its position, do not attempt to move the speaker without first loosening the tension screw. Reposition, then tighten the tension
screw further until the speaker is held firmly in place.
Step 6:
Securing the Speaker Wire to the Ball Shaft
•You can help to enhance the appearance of the installation with the two small tie wraps that have been provided in your kit:
•Position the wire on the ball shaft. Wrap one of the tie wraps around both the ball shaft and wire. Repeat this step for the second tie wrap.
•Loop the open end of the tie wrap into the slot in the other end. Pull tie wrap closed.
Repeat this step for the second tie wrap.
•Using a small pair of wire cutters, snip the extra lengths of the tie wrap
CONGRATULATIONS!
YOUR INSTALLATION IS NOW COMPLETE.
Note: The following is made in lieu of all warranties expressed or implied. The Manufacturer’s only obligation shall be to replace parts of this product proved to be defective within two years of the date of purchase. We are aware that this mounting assembly may be used for purposes and in ways other than those for which it had been designed and manufactured. The Manufacturer, Distributor, Retail and their respective agents cannot be held responsible or liable for injuries or property
Note: Every effort has been made to provide accurate and
OMNIMOUNT SYSTEMS, INC.
8201 South 48th Street
Phoenix, AZ
Voice:
Fax:
Email: hdqrs@omnimount.com
Web: www.omnimount.com
Copyright 2002, Omnimount Systems, Inc. All rights reserved. OmniMount
products are covered by patents issued and/or pending. “OmniMount” is a registered trademark of Omnimount Systems, Inc. OmniMount products are manufactured in the
USA. Printed In the USA. Part#: 1001361
5.0 speaker mount kit Rev 11/02