A-1VL specifications
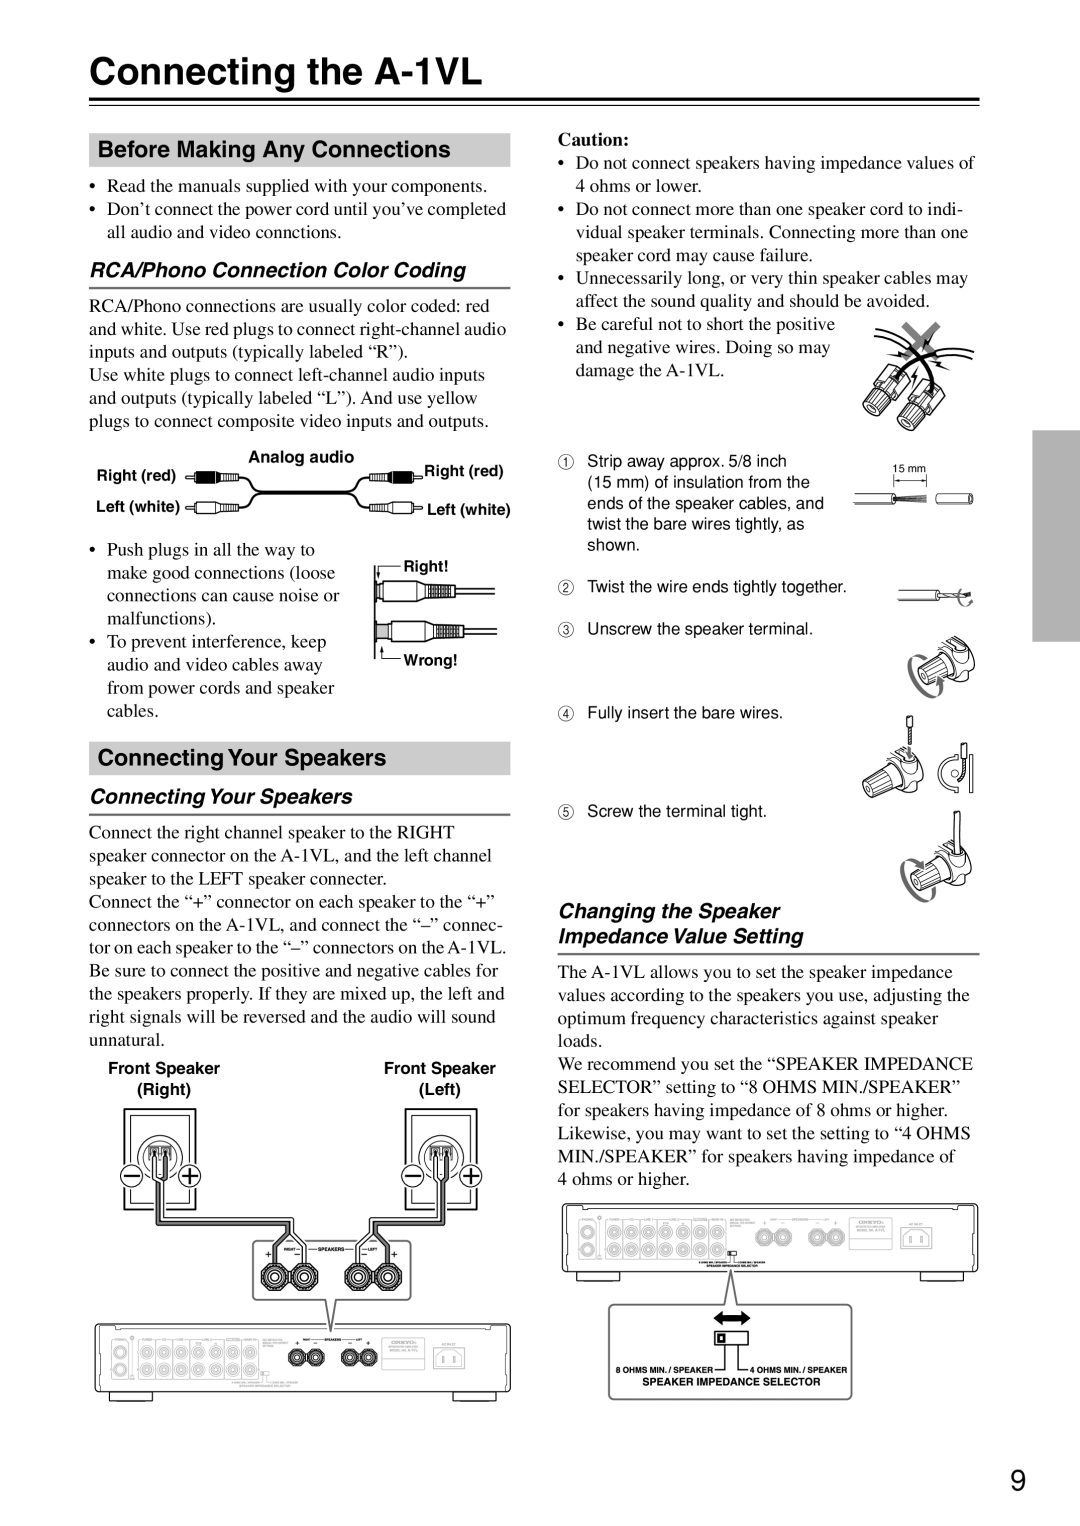
The Onkyo A-1VL is a distinguished integrated amplifier that appeals to audiophiles seeking high-quality sound reproduction without compromising on modern technology. Known for its blend of simplicity and performance, the A-1VL showcases several key features, innovative technologies, and characteristics that make it stand out in its class.First and foremost, the Onkyo A-1VL is built around a robust amplification system. It employs a toroidal transformer which enhances power efficiency while reducing electromagnetic interference. This design contributes to cleaner sound with minimal distortion, ensuring that users experience their music as it was intended by the artists. With a powerful output of 50 watts per channel into 8 ohms and doubling down to 100 watts into 4 ohms, the A-1VL is capable of driving a wide range of speakers, making it a versatile choice for various audio setups.
In terms of connectivity, the A-1VL offers a generous selection of inputs, allowing users to connect multiple sources easily. With five line-level inputs, including a dedicated phono input for turntables, it caters to vinyl enthusiasts as well as digital audio users. The inclusion of tone controls allows listeners to fine-tune their sound, ensuring that the listening experience can be customized to personal preferences.
One of the standout characteristics of the Onkyo A-1VL is its discreet output stage, which employs a Class A/B configuration. This amplification method strikes an optimal balance between sound quality and thermal efficiency, providing an engaging audio experience without overheating. The amplifier’s design also features high-quality components, including fine-grade capacitors and advanced circuit topology that work together to deliver clear, dynamic sound with a natural tonal balance.
Additionally, the sleek and minimalist design of the A-1VL makes it a visually appealing addition to any audio setup. Its understated aesthetic, complete with a brushed aluminum front panel, ensures that it fits seamlessly into both contemporary and traditional environments.
Overall, the Onkyo A-1VL integrated amplifier represents a brilliant fusion of robust performance, elegant design, and user-friendly features. Its commitment to audio fidelity ensures that listeners can enjoy their favorite music with clarity and emotional depth, making it an excellent choice for those serious about sound quality. Whether used in a dedicated listening room or as part of a more casual setup, the A-1VL continues to uphold Onkyo’s legacy of excellence in high-fidelity audio.

