
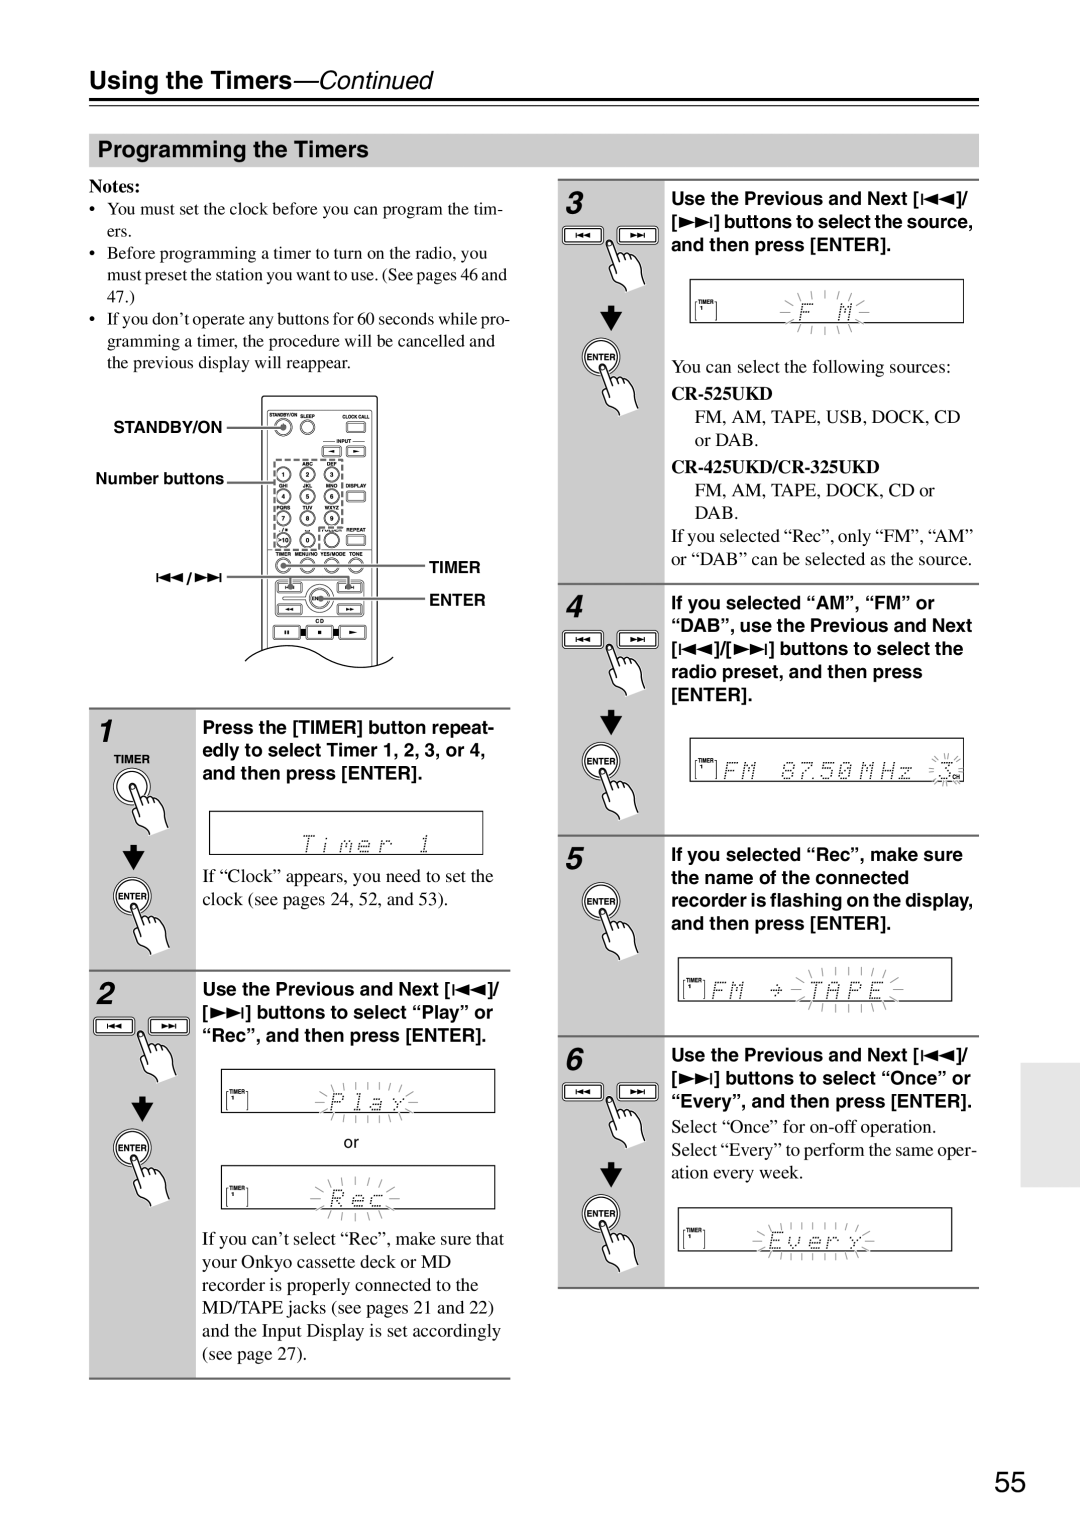
CR-425UKD, CR-325UKD, CR-525UKD specifications
The Onkyo CR-525UKD, CR-325UKD, and CR-425UKD are a series of compact, feature-rich audio systems designed to deliver high-quality sound in a user-friendly format. These systems cater to audiophiles and casual listeners alike, providing a blend of modern technology and classic charm.The CR-525UKD is the flagship model in the series, offering a robust 40 watts per channel amplification. It features a sleek design with a clear display, making it easy to navigate through media options. One of its standout features is the inclusion of a built-in DAB/DAB+ tuner, allowing users to access an array of digital radio stations with superior sound quality. The CR-525UKD is also equipped with Bluetooth technology, enabling wireless streaming from smartphones and tablets. The system supports multiple audio formats, including MP3, FLAC, and WAV, ensuring versatility for different listening preferences.
In contrast, the CR-325UKD is designed for listeners who want excellent performance in a more compact and budget-friendly package. It delivers 30 watts per channel and comes with a DAB tuner. The simplified controls make it particularly user-friendly, appealing to those who might not be tech-savvy. Despite its lower power, the sound quality remains impressive, capturing detailed audio for a more immersive experience. The CR-325UKD also offers a USB port for playback from external storage devices, adding to its convenience.
The CR-425UKD sits comfortably in between the two, offering 35 watts per channel. This model boasts a slightly more comprehensive feature set than the CR-325UKD, incorporating both DAB and FM tuners, along with Bluetooth capabilities. The CR-425UKD also provides a user-friendly interface and a variety of connectivity options, including an Aux input and headphone jack, making it an excellent choice for versatile audio setups.
All three models share essential characteristics such as an elegant design, user-friendly interfaces, and high-quality audio performance. They cater to various needs, from casual listening to more dedicated setups. With their solid construction and impressive sound quality, the Onkyo CR-525UKD, CR-325UKD, and CR-425UKD represent excellent choices for those seeking an enriched audio experience in a compact format. These systems embody Onkyo's commitment to delivering outstanding performance and innovative features in home audio.