
DV-SP305 specifications
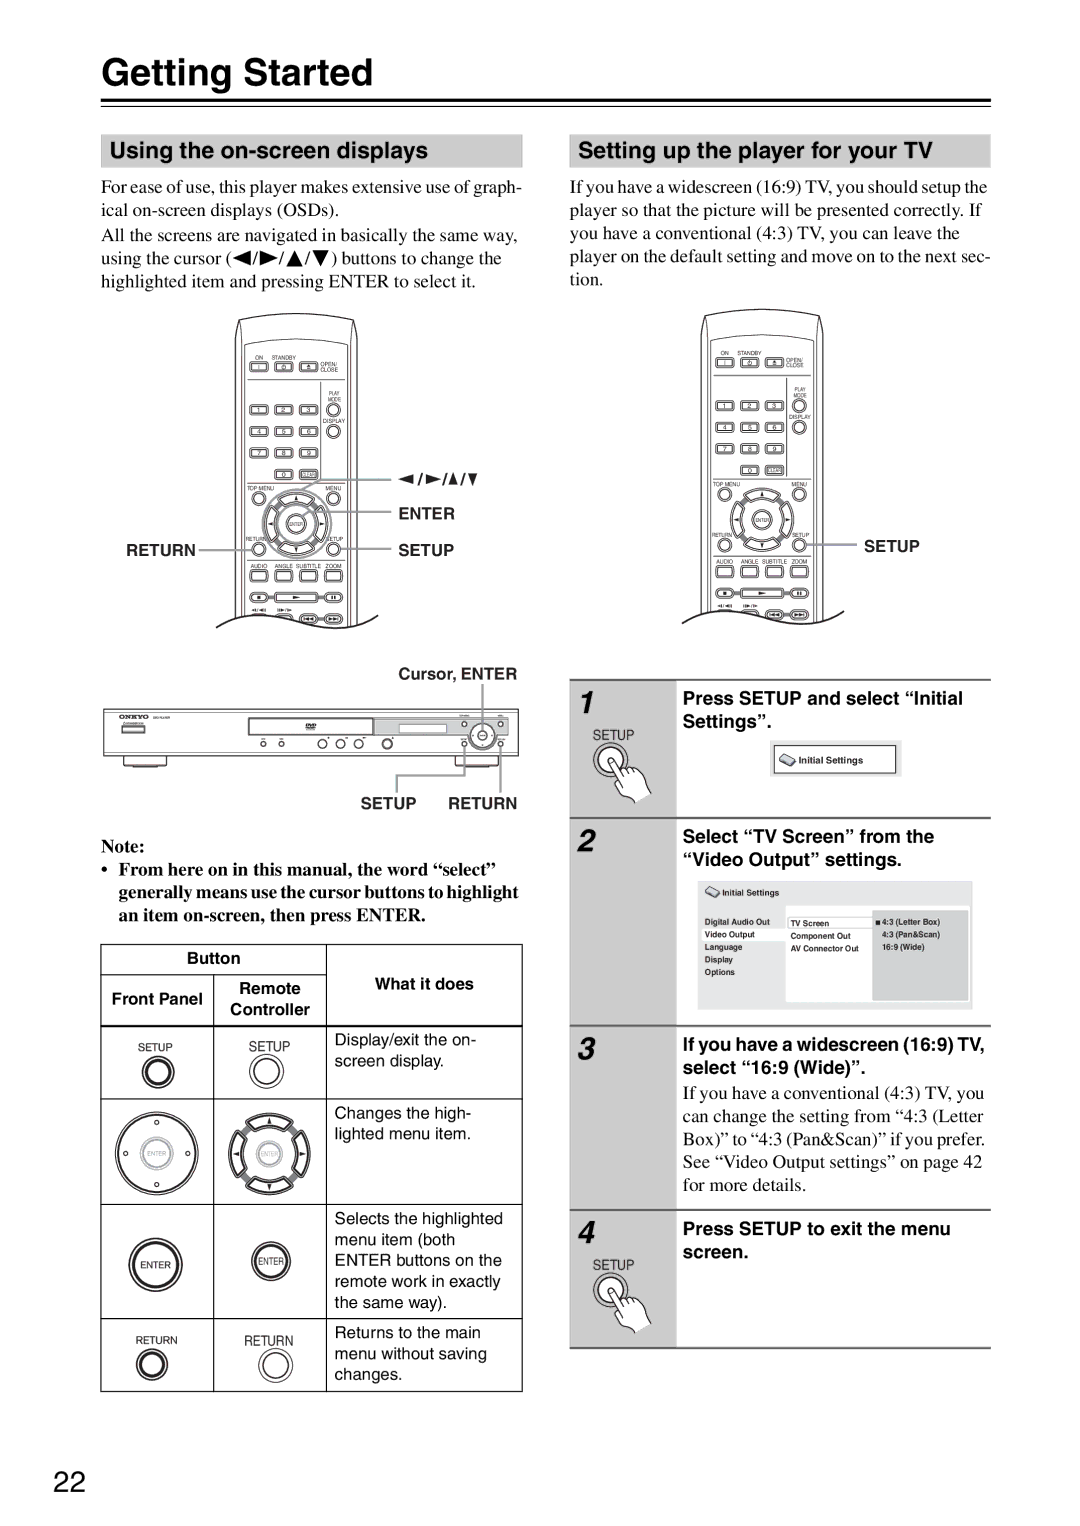
The Onkyo DV-SP305 is a versatile DVD player that has carved out a reputation for its performance and features, particularly appealing to audio and video enthusiasts alike. Launched as part of Onkyo's commitment to high-fidelity home entertainment, the DV-SP305 brings a host of advanced technologies to enhance your viewing and listening experience.One of the standout features of the DV-SP305 is its capability to play a wide range of disc formats. Whether you’re watching standard DVDs, multi-format CDs, or even MP3 and JPEG files from CD-Rs, this player accommodates your personal collection seamlessly. This versatility makes it an excellent choice for those who enjoy curating a diverse media library.
The player employs a high-quality digital-to-analog converter (DAC) that ensures clear and precise audio playback. This DAC contributes to a rich sound profile, capable of reproducing complex audio details that are often overlooked in standard players. Coupled with Onkyo’s dedication to sound quality, the DV-SP305 supports various audio formats, including Dolby Digital and DTS decoding, making it suitable for both movie enthusiasts and music lovers.
Video performance is another critical aspect where the DV-SP305 excels. The player features advanced video processing technologies that enhance the clarity and detail of DVD content, giving your favorite films a new life. The Progressive Scan capability eliminates the flicker associated with traditional interlaced output, delivering smoother and sharper images, especially noticeable on larger screens.
The design of the Onkyo DV-SP305 is user-friendly, with a sleek and stylish profile that fits well into any home theater setup. The intuitive remote control ensures easy navigation through menus and settings, allowing users to swiftly switch between different media and make adjustments to their preferences without hassle.
Connectivity options are also extensive on the DV-SP305. It includes both composite and component video outputs, offering flexibility in connecting to a variety of displays. The player supports integrated audio outputs, allowing for straightforward connection to stereo systems or home theater receivers.
In conclusion, the Onkyo DV-SP305 stands out as a robust and flexible DVD player, ideal for anyone seeking to enhance their home entertainment experience. With its ability to handle multiple formats, superior audio and video quality, and stylish design, it remains a noteworthy option for those who demand both performance and aesthetic appeal in their home theater components.