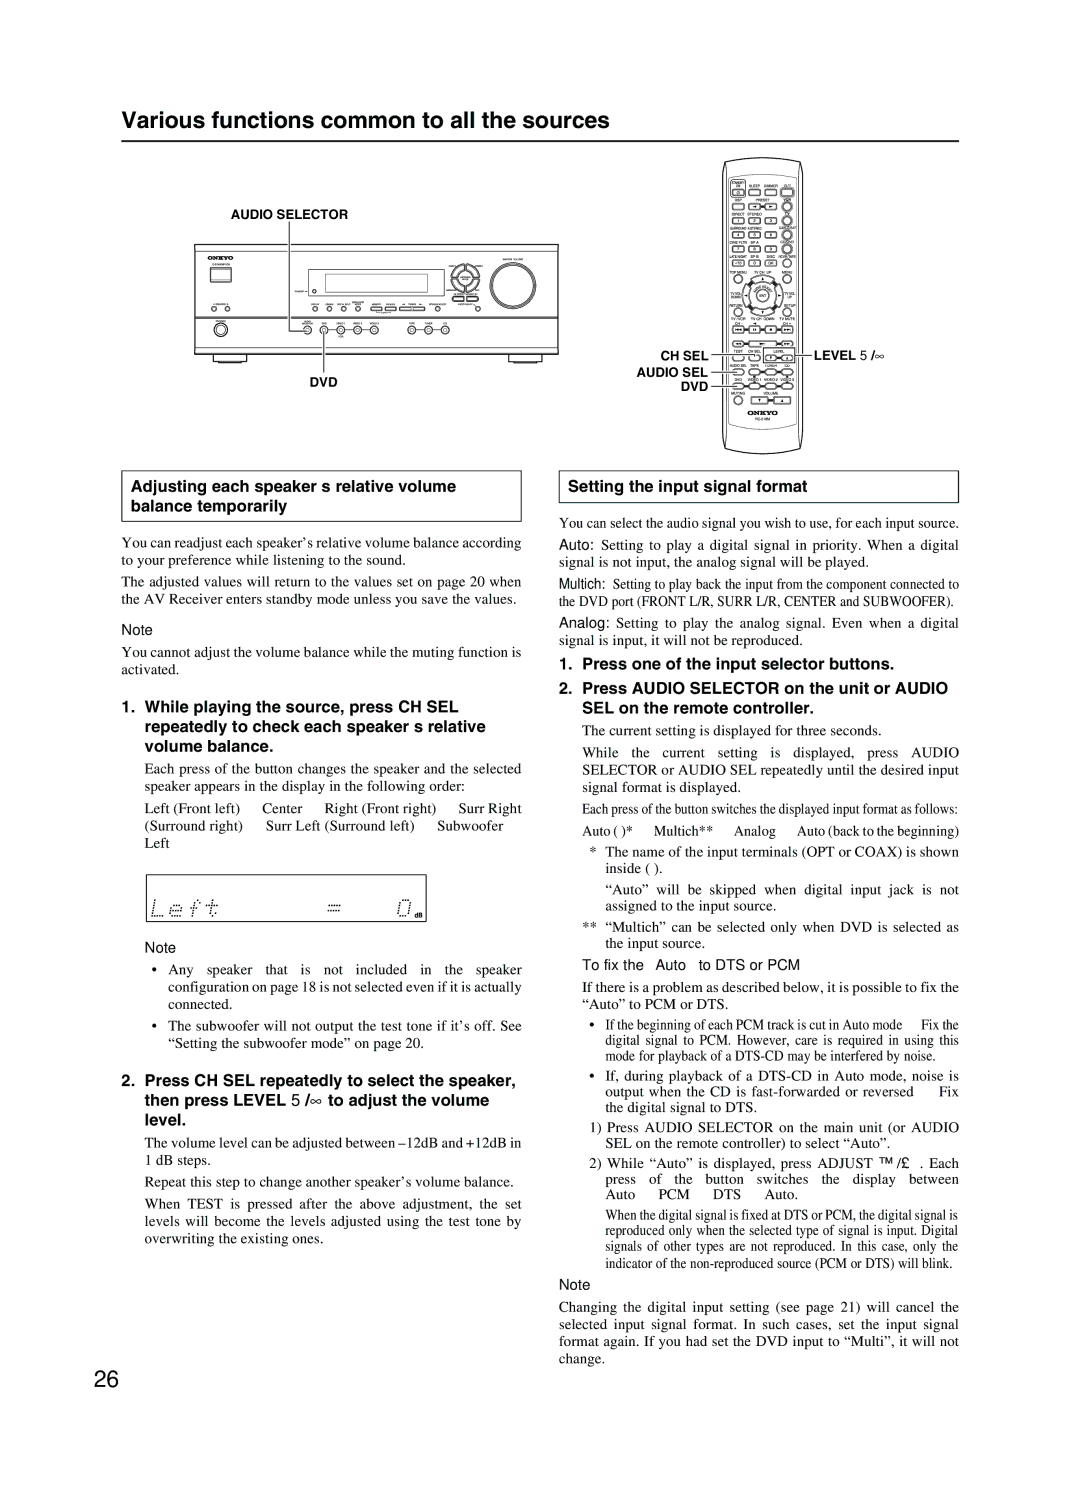
HT-R410 specifications
The Onkyo HT-R410 is a versatile and robust home theater receiver designed to enhance your audio-visual experience. Launched with features catered to both casual listeners and audiophiles alike, this receiver demonstrates why Onkyo has long been recognized for its commitment to quality and innovation.At the heart of the HT-R410 is its 5.1 channel design, delivering an impressive total output power of 100 watts per channel. This allows users to fully immerse themselves in their favorite movies, music, and games with surrounding sound that matches the scale of the visuals. The receiver’s built-in Dolby Digital and DTS decoding ensures that audio tracks are reproduced with clarity and dynamism, bringing cinematic experiences to life within your living room.
One of the standout features of the Onkyo HT-R410 is its simple yet effective connectivity options. It includes multiple HDMI inputs, allowing users to hook up multiple devices such as game consoles, Blu-ray players, and streaming devices. The HDMI output supports both video and audio transmission, simplifying the setup and reducing cable clutter. Additionally, the receiver is equipped with legacy inputs, including composite and optical audio inputs, ensuring compatibility with various devices.
The HT-R410 adopts Onkyo’s renowned Dynamic Audio Amplification technology, which optimizes audio quality while minimizing distortion. This not only enhances listening experiences across all genres of music but also ensures a rich, accurate soundstage for films. The receiver's user-friendly interface, along with an easy-to-navigate remote control, allows users to switch between different audio settings and input sources seamlessly.
Furthermore, the Onkyo HT-R410 is designed with energy efficiency in mind, featuring a low standby power consumption rate, which is ideal for eco-conscious consumers. The device is also equipped with an intuitive graphic equalizer, enabling users to tailor sound profiles to suit their preferences or the specific acoustics of their viewing space.
In summary, the Onkyo HT-R410 is a feature-rich home theater receiver that combines quality sound with flexible connectivity. Its capabilities make it a perfect choice for anyone looking to create a cinematic experience at home without compromising on audio fidelity. Whether for action-packed films or serene musical compositions, the HT-R410 stands out for its performance and reliability.

