HTP-V10X, HTE-V10X, DV-S155X, HTC-V10X, SWA-V10X specifications
Onkyo has long been a reputable name in the audio equipment industry, consistently delivering innovative and high-quality products that enhance the listening experience. Among its diverse lineup, the Onkyo SWA-V10X, DV-S155X, HTC-V10X, PR-155X, and HTE-V10X stand out as strong contenders, characterized by unique features and advanced technologies.The Onkyo SWA-V10X is a powered subwoofer designed to complement any home theater system. With a robust 10-inch driver, it provides deep bass response, ensuring that every explosion and musical note resonates through the room. Its high-efficiency amplifier allows for greater power output, while adjustable crossover and phase control features enable seamless integration with satellite speakers, allowing users to optimize their audio setup according to their preferences. The SWA-V10X is crafted for easy connectivity with both RCA and speaker-level inputs.
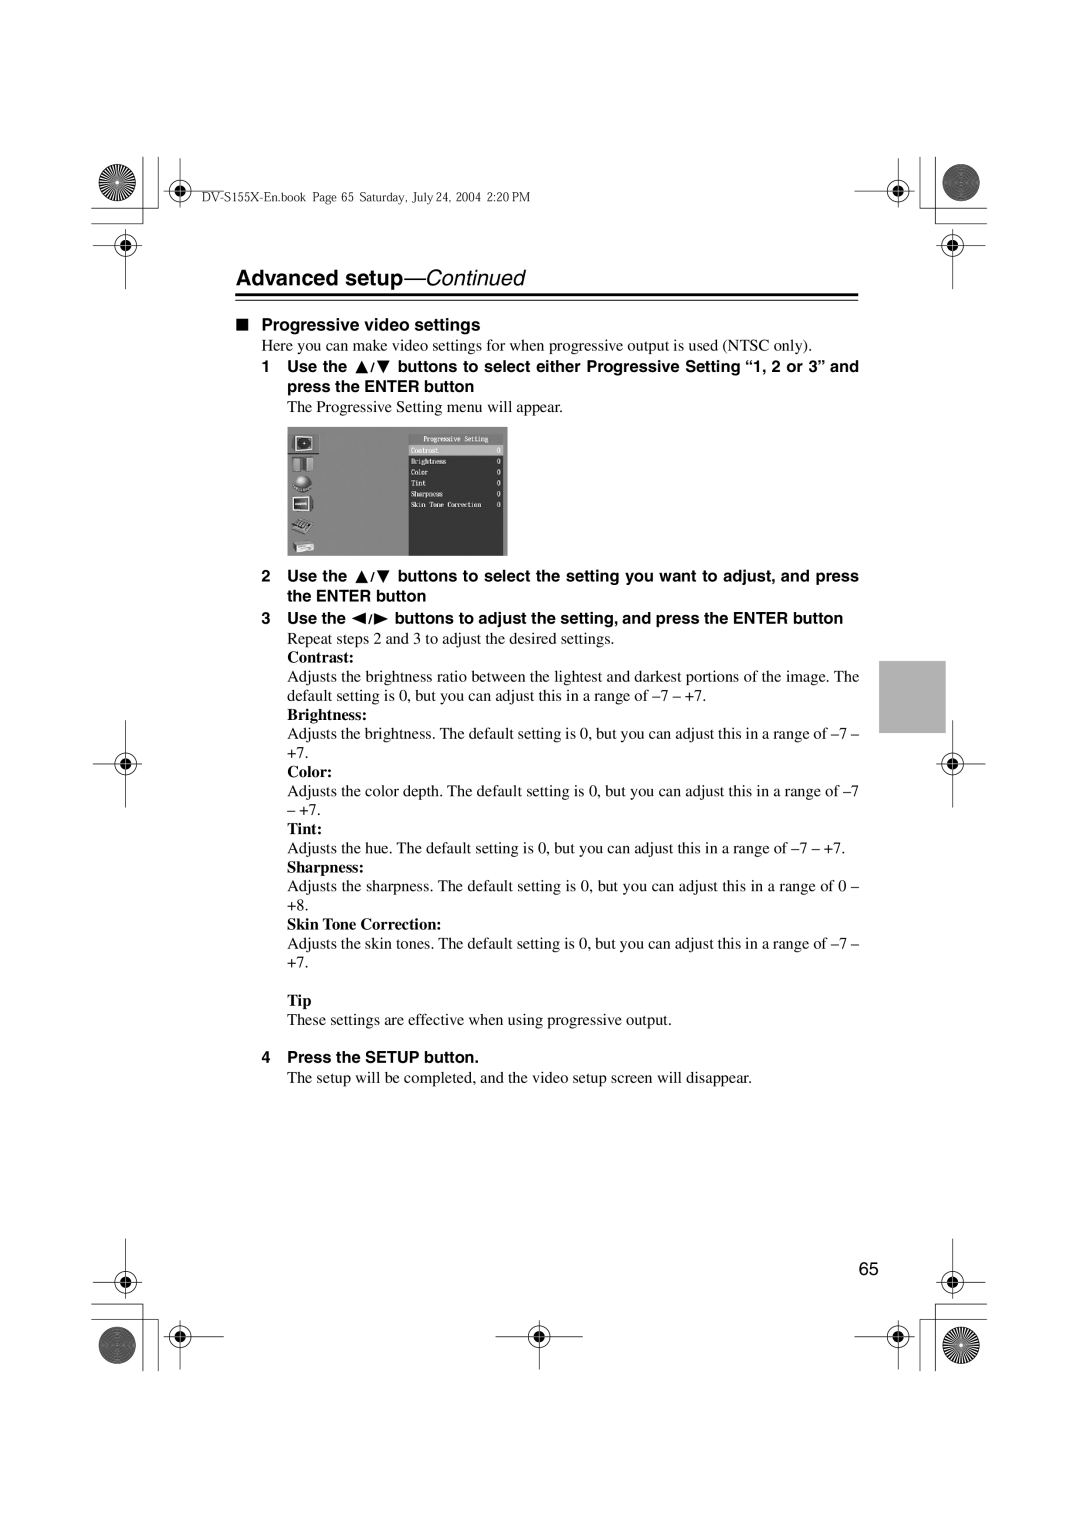
Moving on to the DV-S155X, this versatile DVD player boasts a sleek design that fits into any entertainment center. It supports a wide range of disc formats, including DVD-Video, CD, and MP3, providing flexibility for playback. One of its standout features is the progressive scan output, which delivers enhanced picture quality by reducing flicker and producing a sharper image for optimal viewing experiences. Additionally, the unit features HDMI output for digital connectivity and compatibility with high-definition displays.
The Onkyo HTC-V10X is a sleek and powerful home theater receiver that caters to both movie enthusiasts and music lovers. It supports the latest audio decoding formats, including Dolby Atmos and DTS:X, enhancing the surround sound experience with immersive audio. With multiple HDMI inputs, the HTC-V10X allows users to connect various devices seamlessly. Its advanced room calibration technology optimizes sound performance according to the room's acoustics, ensuring an ideal listening environment.
The PR-155X is a meticulously engineered pre-amplifier that serves as the heart of a high-fidelity audio system. It features a discrete amplifier circuit design and high-quality components for an uncolored and natural sound reproduction. The unit offers numerous input options, including both analog and digital inputs, which accommodate different audio sources. Its intuitive layout makes it easy for users to access their favorite sources with minimal fuss.
Lastly, the HTE-V10X elevates the home theater experience with its immersive sound output and stylish design. This compact speaker system utilizes advanced driver technology to provide balanced audio across various frequencies. Equipped with a wireless subwoofer, it eliminates the need for cumbersome cables while ensuring powerful bass performance. The HTE-V10X is designed for easy setup, and its compatibility with multiple sound formats allows users to enjoy a comprehensive surround sound experience.
In summary, Onkyo's SWA-V10X, DV-S155X, HTC-V10X, PR-155X, and HTE-V10X are characterized by their robust engineering, advanced audio technologies, and user-friendly designs. Each product serves a distinct purpose within a home audio setup, providing a comprehensive solution for elevating the entertainment experience to new heights.

