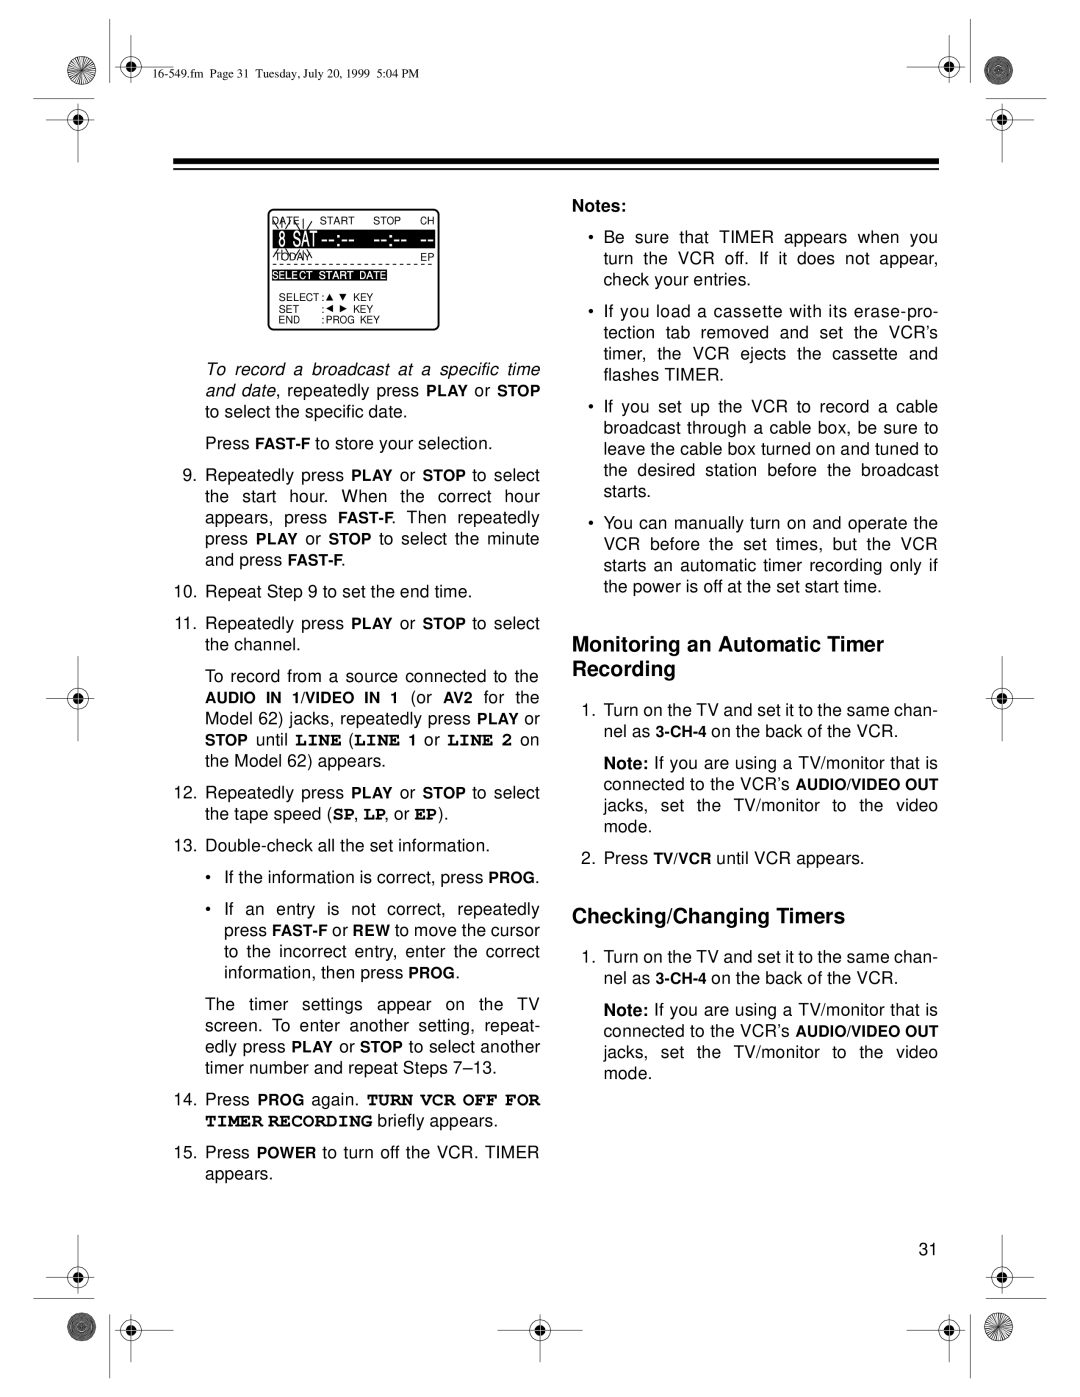
DATE START STOP CH
8 SAT --:-- --:-- --
TODA | Y |
|
| EP |
|
|
|
| |
|
|
| ||
SELE CT START DATE | ||||
SELECT : | KEY | |||
SET | : | KEY | ||
END | : PROG KEY | |||
To record a broadcast at a specific time and date, repeatedly press PLAY or STOP to select the specific date.
Press
9.Repeatedly press PLAY or STOP to select the start hour. When the correct hour appears, press
10.Repeat Step 9 to set the end time.
11.Repeatedly press PLAY or STOP to select the channel.
To record from a source connected to the
AUDIO IN 1/VIDEO IN 1 (or AV2 for the Model 62) jacks, repeatedly press PLAY or
STOP until LINE (LINE 1 or LINE 2 on the Model 62) appears.
12.Repeatedly press PLAY or STOP to select the tape speed (SP, LP, or EP).
13.
•If the information is correct, press PROG.
•If an entry is not correct, repeatedly press
The timer settings appear on the TV screen. To enter another setting, repeat- edly press PLAY or STOP to select another timer number and repeat Steps
14.Press PROG again. TURN VCR OFF FOR TIMER RECORDING briefly appears.
15.Press POWER to turn off the VCR. TIMER appears.
Notes:
•Be sure that TIMER appears when you turn the VCR off. If it does not appear, check your entries.
•If you load a cassette with its
•If you set up the VCR to record a cable broadcast through a cable box, be sure to leave the cable box turned on and tuned to the desired station before the broadcast starts.
•You can manually turn on and operate the VCR before the set times, but the VCR starts an automatic timer recording only if the power is off at the set start time.
Monitoring an Automatic Timer Recording
1.Turn on the TV and set it to the same chan- nel as
Note: If you are using a TV/monitor that is connected to the VCR’s AUDIO/VIDEO OUT jacks, set the TV/monitor to the video mode.
2.Press TV/VCR until VCR appears.
Checking/Changing Timers
1.Turn on the TV and set it to the same chan- nel as
Note: If you are using a TV/monitor that is connected to the VCR’s AUDIO/VIDEO OUT jacks, set the TV/monitor to the video mode.
31