
32-1168 specifications
The Optimus 32-1168 is a sophisticated and versatile multi-function device designed to meet the needs of both amateur and professional audio enthusiasts. This innovative piece of equipment combines advanced features and cutting-edge technologies, making it a remarkable choice for users seeking high-quality sound reproduction and flexibility in their audio setup.One of the main highlights of the Optimus 32-1168 is its robust audio processing capabilities. The device is equipped with a powerful digital signal processor (DSP) that enables users to achieve crystal-clear sound with precision tuning. This DSP technology allows for a range of audio customization options, including equalization, dynamic range control, and spatial audio adjustment, facilitating an immersive listening experience tailored to individual preferences.
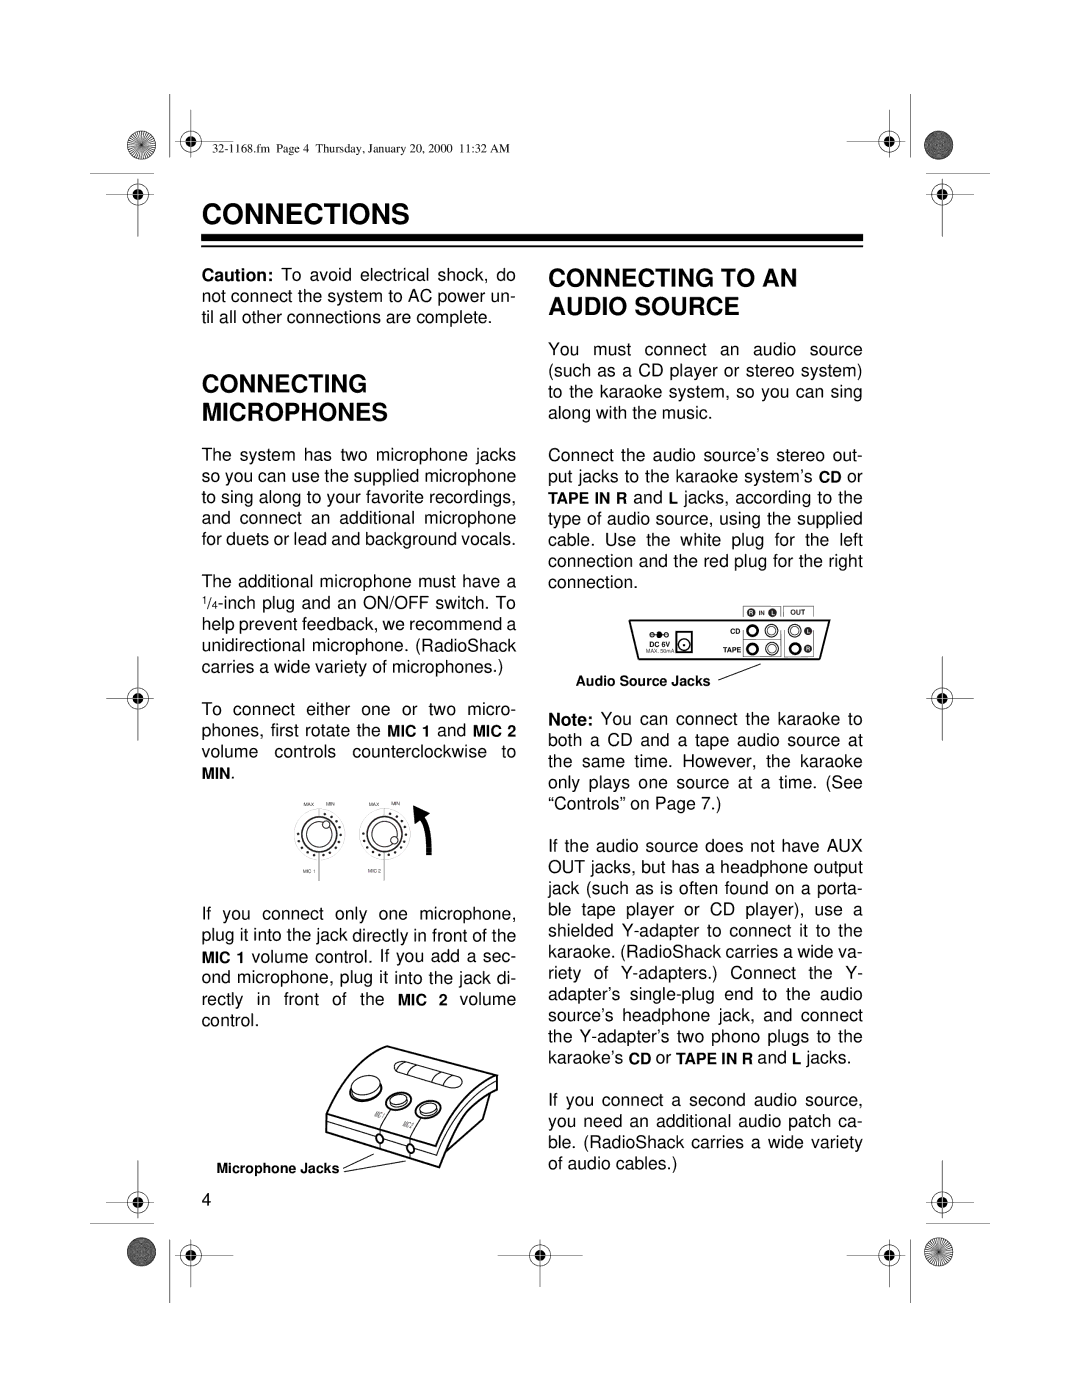
The Optimus 32-1168 also boasts a wide range of connectivity options. It features multiple input and output ports, accommodating various audio sources such as microphones, instruments, and even external media players. This flexibility ensures that users can seamlessly integrate the device into their existing audio setups, whether for live performances, studio recordings, or home entertainment systems.
In terms of design, the Optimus 32-1168 is both user-friendly and aesthetically pleasing. The interface includes an intuitive control panel with easily accessible buttons and knobs, allowing users to navigate through settings and options effortlessly. The sleek design not only enhances its visual appeal but also makes it suitable for various environments, from professional studios to home entertainment spaces.
Additionally, the device incorporates advanced technologies such as Bluetooth connectivity, enabling wireless audio streaming from compatible devices. This feature adds convenience and enhances usability, allowing users to play music, podcasts, or other audio content without the need for cumbersome cables.
Durability is another key characteristic of the Optimus 32-1168. Built with high-quality materials, this device is designed to withstand the rigors of frequent use, ensuring longevity and reliable performance. Whether on stage or in the studio, users can depend on its rugged construction to deliver consistent audio quality without compromise.
In conclusion, the Optimus 32-1168 is a state-of-the-art audio device that combines impressive features, advanced technologies, and a user-friendly design. Its versatility, connectivity options, and durable build make it a standout choice for anyone looking to elevate their audio experience, whether for professional applications or personal use. With the Optimus 32-1168, high-quality sound is not just an aspiration; it's an achievable reality.