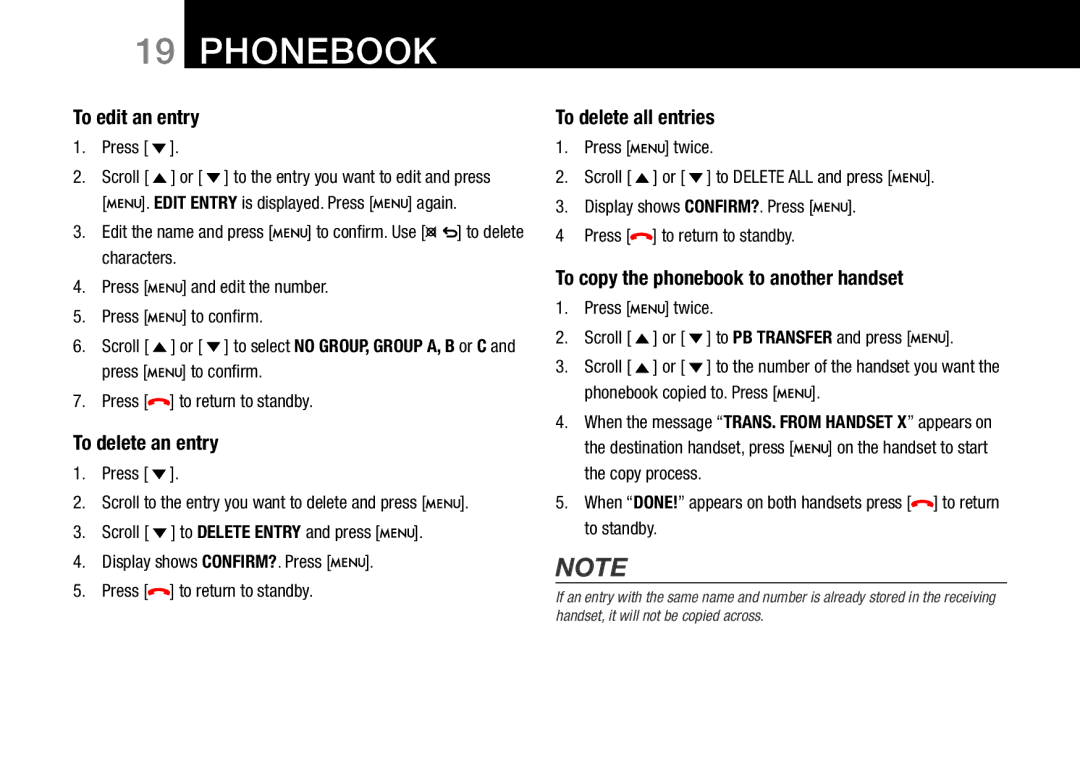
19PHONEBOOK
To edit an entry
1.Press [ ![]() ].
].
2.Scroll [ ![]() ] or [
] or [ ![]() ] to the entry you want to edit and press
] to the entry you want to edit and press
[![]()
![]()
![]()
![]() ]. EDIT ENTRY is displayed. Press [
]. EDIT ENTRY is displayed. Press [![]()
![]()
![]()
![]() ] again.
] again.
3.Edit the name and press [![]()
![]()
![]()
![]() ] to confirm. Use [
] to confirm. Use [![]()
![]() ] to delete characters.
] to delete characters.
4.Press [![]()
![]() ] and edit the number.
] and edit the number.
5.Press [![]()
![]() ] to confirm.
] to confirm.
6.Scroll [ ![]() ] or [
] or [ ![]() ] to select NO GROUP, GROUP A, B or C and
] to select NO GROUP, GROUP A, B or C and
press [![]()
![]() ] to confirm.
] to confirm.
7.Press [![]() ] to return to standby.
] to return to standby.
To delete an entry
1.Press [ ![]() ].
].
2.Scroll to the entry you want to delete and press [![]()
![]() ].
].
3.Scroll [ ![]() ] to DELETE ENTRY and press [
] to DELETE ENTRY and press [![]()
![]() ].
].
4.Display shows CONFIRM?. Press [![]()
![]() ].
].
5.Press [![]() ] to return to standby.
] to return to standby.
To delete all entries
1.Press [![]()
![]() ] twice.
] twice.
2.Scroll [ ![]() ] or [
] or [ ![]() ] to DELETE ALL and press [
] to DELETE ALL and press [![]()
![]() ].
].
3.Display shows CONFIRM?. Press [![]()
![]() ].
].
4Press [![]() ] to return to standby.
] to return to standby.
To copy the phonebook to another handset
1.Press [![]()
![]() ] twice.
] twice.
2.Scroll [ ![]() ] or [
] or [ ![]() ] to PB TRANSFER and press [
] to PB TRANSFER and press [![]()
![]() ].
].
3.Scroll [ ![]() ] or [
] or [ ![]() ] to the number of the handset you want the
] to the number of the handset you want the
phonebook copied to. Press [![]()
![]() ].
].
4.When the message “TRANS. FROM HANDSET X” appears on
the destination handset, press [![]()
![]() ] on the handset to start the copy process.
] on the handset to start the copy process.
5.When “DONE!” appears on both handsets press [![]() ] to return to standby.
] to return to standby.
NOTE
If an entry with the same name and number is already stored in the receiving handset, it will not be copied across.
