Carefully lift the dome cover directly upwards from the base and place in a safe location.
Remove the lens cap. Be careful not to touch the lens to avoid having to clean it.
(Cleaning supplies sold separately by Orion)
Focusing
Now using your live view as a guide, adjust the zoom (focal length) and then adjust the focus of the fish eye lens using the thumbscrews on the side (Figure 12).
The SSASC lens has a variable focal length from 1.4mm to 3.1mm giving a range of field of view.
As the camera user, you get to decide which setting is preferred for your par- ticular needs (Figures 13, 14).
2X Digital Zoom
Use the 2X digital zoom feature in the options menu as focus aid. This mode is most useful at night to focus on stars. Turn off the 2X digital zoom when finished focusing.
Focusing can be difficult with longer exposure settings. If possible set the camera to a faster exposure time (SENSEUP x2) whilst focusing.
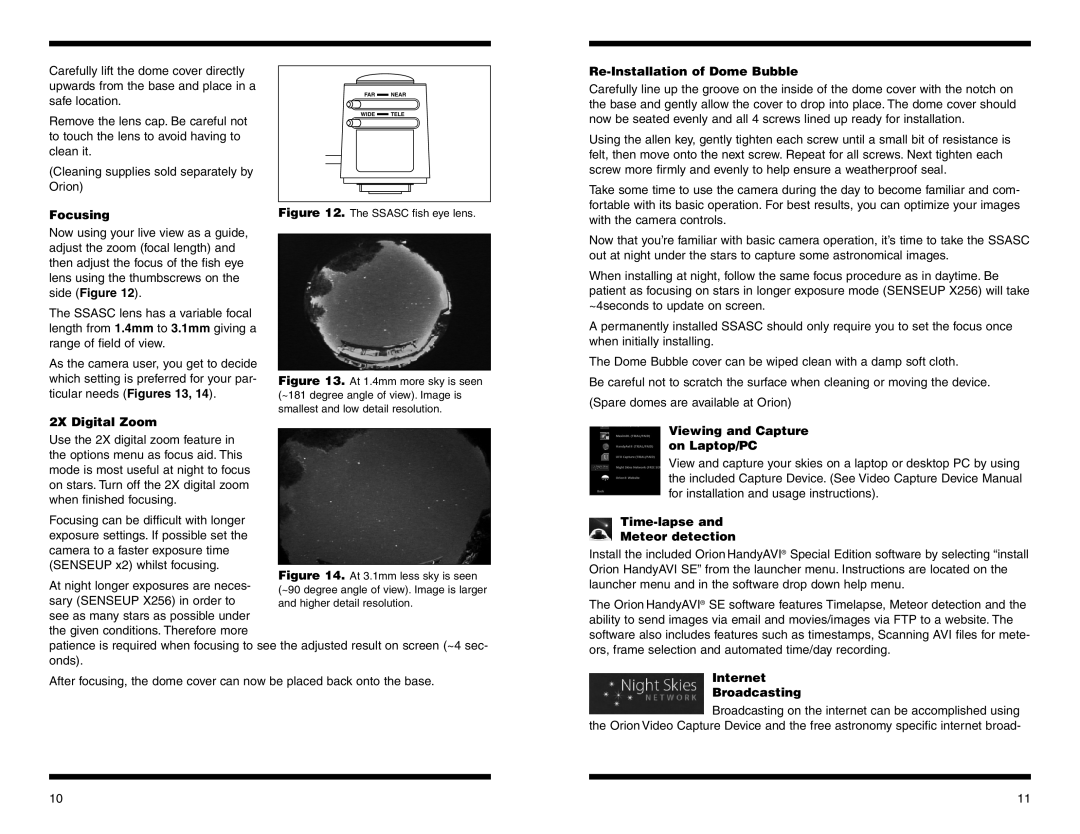
FAR NEAR
WIDE TELE
Figure 12. The SSASC fish eye lens.
Re-Installation of Dome Bubble
Carefully line up the groove on the inside of the dome cover with the notch on the base and gently allow the cover to drop into place. The dome cover should now be seated evenly and all 4 screws lined up ready for installation.
Using the allen key, gently tighten each screw until a small bit of resistance is felt, then move onto the next screw. Repeat for all screws. Next tighten each screw more firmly and evenly to help ensure a weatherproof seal.
Take some time to use the camera during the day to become familiar and com- fortable with its basic operation. For best results, you can optimize your images with the camera controls.
Now that you’re familiar with basic camera operation, it’s time to take the SSASC out at night under the stars to capture some astronomical images.
When installing at night, follow the same focus procedure as in daytime. Be patient as focusing on stars in longer exposure mode (SENSEUP X256) will take ~4seconds to update on screen.
A permanently installed SSASC should only require you to set the focus once when initially installing.
The Dome Bubble cover can be wiped clean with a damp soft cloth.
Be careful not to scratch the surface when cleaning or moving the device. (Spare domes are available at Orion)
Viewing and Capture on Laptop/PC
View and capture your skies on a laptop or desktop PC by using the included Capture Device. (See Video Capture Device Manual for installation and usage instructions).
Time-lapse and
Meteor detection
Install the included Orion HandyAVI® Special Edition software by selecting “install Orion HandyAVI SE” from the launcher menu. Instructions are located on the
At night longer exposures are neces- sary (SENSEUP X256) in order to see as many stars as possible under the given conditions. Therefore more
patience is required when focusing to see the adjusted result on screen (~4 sec- onds).
After focusing, the dome cover can now be placed back onto the base.
launcher menu and in the software drop down help menu.
The Orion HandyAVI® SE software features Timelapse, Meteor detection and the ability to send images via email and movies/images via FTP to a website. The software also includes features such as timestamps, Scanning AVI files for mete- ors, frame selection and automated time/day recording.
Internet
Broadcasting
Broadcasting on the internet can be accomplished using the Orion Video Capture Device and the free astronomy specific internet broad-
10 | 11 |