Orion 8x32 LCD Using the Camera, System Requirements, Installing Photo Explorer, SD Card

Models: 8x32 LCD

1 8
Download 8 pages 20.99 Kb
Page 4
Image 4

Using the Camera

System Requirements

In order to view and download images from the camera to your computer, your PC must meet the following system requirements:

Windows 98SE/2000/ME/XP Pentium 233MHz or higher 128MB SDRAM

Video (VGA) card with 2MB RAM for minimum 16-bit (high color) display

CD-ROM USB port

600MB of free hard drive space

Installing the eView Driver

To install the necessary driver for the computer to acquire images from the camera, insert the included CD-ROM into your computer. When the introduction screen appears, choose “Driver Installation” from the selection menu, and follow the prompts through the installation process.

Installing Photo Explorer

The CD-ROM also includes Photo Explorer, which is a handy image processing software program. While you can use many other software packages to manipulate images on your com- puter, Photo Explorer has many applications and is very easy to use.

To install Photo Explorer, insert the CD-ROM into your comput- er, and choose “Photo Explorer” from the introduction screen choices. Then follow the prompts to install the software.

We recommend viewing and/or printing Photo Explorer’s instruction manual before attempting to use the program. To do this, choose the “User Manual of Photo Explorer” from the CD-ROM’s introduction screen choices; it will copy a file to your computer which can then be read or printed. If you do not have Adobe Reader 5.0 or greater, you must download it from www.adobe.com in order to read the manual.

The SD Card

To use the camera functions, the included SD card must be installed in the eView. This allows images to be saved in the camera for subsequent viewing and downloading later.

To install the SD card:

1.Remove the SD card from its plastic case.

2.Open the rear hatch on the eView (Figure 1). This is the cover located directly below the binocular focus knob.

3.Insert the SD card into the SD card slot in the eView. The SD card should be oriented so the printing on the card faces downward.

4.Close the rear hatch on the eView.

Taking a Picture

Taking a picture with the eView is simple to do. Once you have identified the object you wish to take a picture of in the bin- oculars, simply follow these instructions to capture the image with the camera:

1.Flip up the eView’s LCD screen (Figure 1).

2.Turn the eView on by pressing the ON/MODE button for 3 seconds.

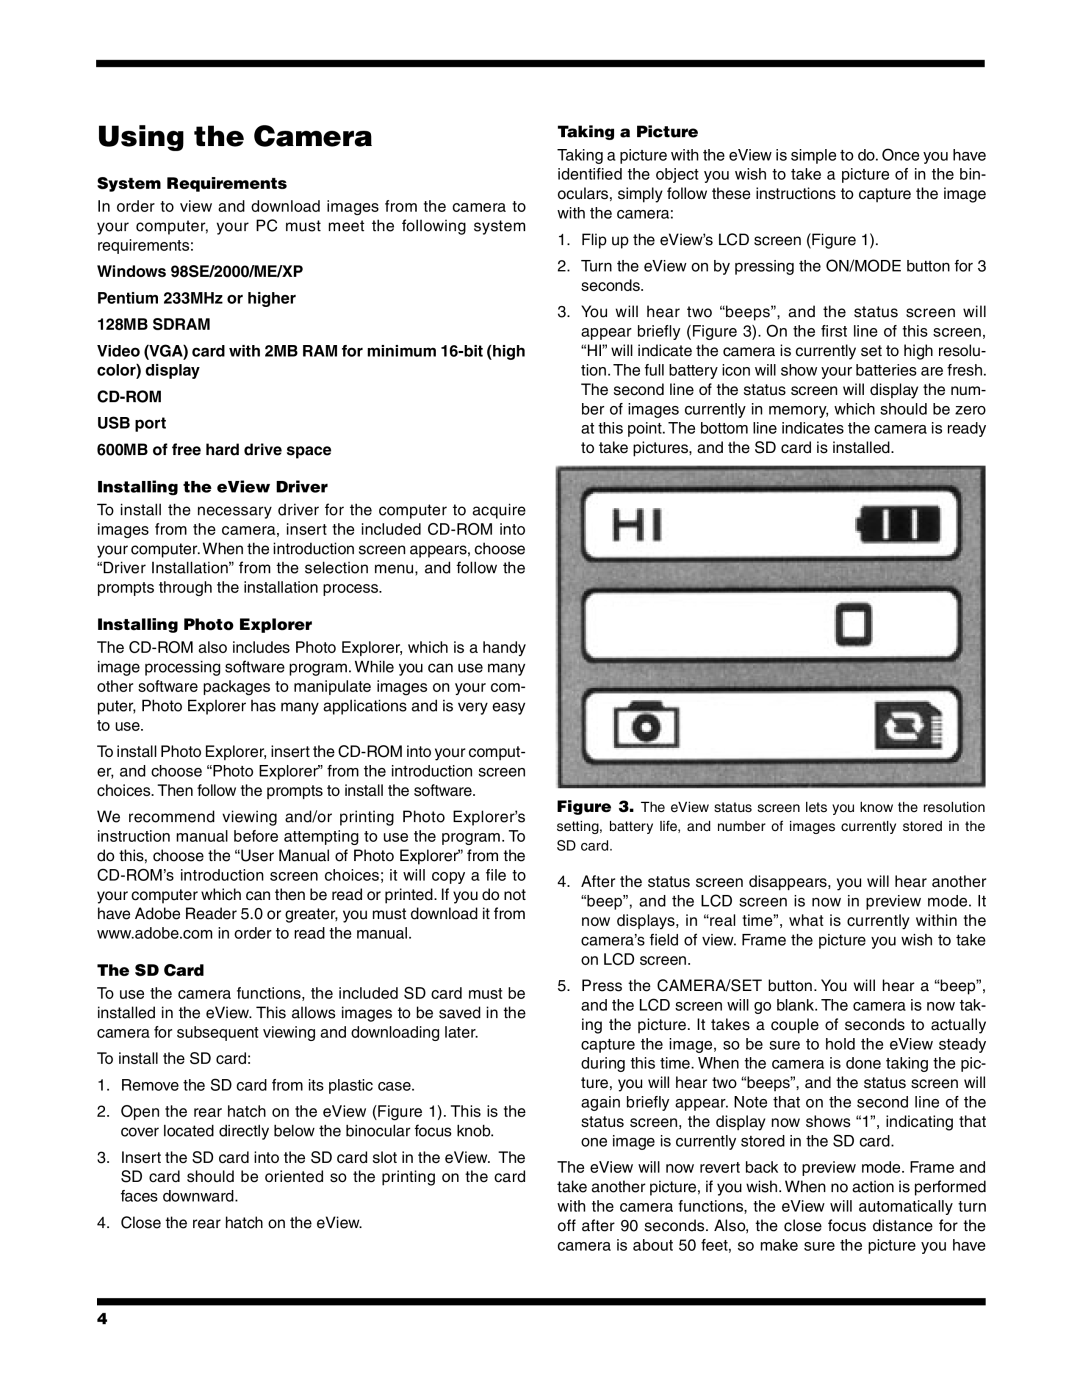
3.You will hear two “beeps”, and the status screen will appear briefly (Figure 3). On the first line of this screen, “HI” will indicate the camera is currently set to high resolu- tion. The full battery icon will show your batteries are fresh. The second line of the status screen will display the num- ber of images currently in memory, which should be zero at this point. The bottom line indicates the camera is ready to take pictures, and the SD card is installed.

Figure 3. The eView status screen lets you know the resolution setting, battery life, and number of images currently stored in the SD card.

4.After the status screen disappears, you will hear another “beep”, and the LCD screen is now in preview mode. It now displays, in “real time”, what is currently within the camera’s field of view. Frame the picture you wish to take on LCD screen.

5.Press the CAMERA/SET button. You will hear a “beep”, and the LCD screen will go blank. The camera is now tak- ing the picture. It takes a couple of seconds to actually capture the image, so be sure to hold the eView steady during this time. When the camera is done taking the pic- ture, you will hear two “beeps”, and the status screen will again briefly appear. Note that on the second line of the status screen, the display now shows “1”, indicating that one image is currently stored in the SD card.

The eView will now revert back to preview mode. Frame and take another picture, if you wish. When no action is performed with the camera functions, the eView will automatically turn off after 90 seconds. Also, the close focus distance for the camera is about 50 feet, so make sure the picture you have

4

Page 4
Image 4
Orion 8x32 LCD Using the Camera, System Requirements, Installing Photo Explorer, SD Card, Taking a Picture

8x32 LCD specifications

The Orion 8x32 LCD is a remarkable advancement in the field of optical technology, designed to enhance the viewing experience for outdoor enthusiasts and nature lovers alike. This compact and lightweight binocular offers a perfect blend of performance, versatility, and user-friendly features, making it an ideal choice for a wide range of applications, including birdwatching, hiking, sports events, and landscape viewing.

One of the most notable features of the Orion 8x32 LCD is its powerful 8x magnification, which allows users to focus on distant subjects with incredible clarity. The 32mm objective lens diameter strikes an excellent balance between brightness and portability, ensuring that the binoculars are easy to carry without sacrificing image quality. With its multi-coated optics, the Orion 8x32 LCD maximizes light transmission, providing bright and sharp images even in low-light conditions.

The LCD display integrated into the binoculars adds an innovative touch, enabling users to experience digital enhancements while utilizing the traditional optical capabilities. This display feature can overlay additional information such as distance measurements, compass direction, and temperature, giving users a more informative viewing experience. The technology behind the LCD screen is designed to be intuitive and user-friendly, ensuring easy navigation through various functions.

Another standout characteristic of the Orion 8x32 LCD is its rugged construction. Built to withstand the rigors of outdoor use, these binoculars are both waterproof and fog-proof, thanks to nitrogen purging and O-ring sealing. This makes them suitable for use in a variety of weather conditions without the worry of internal fogging or moisture damage.

Comfort is also addressed with ergonomically designed eyecups, which can be adjusted for optimal eye relief, allowing users to enjoy extended viewing sessions without discomfort. Moreover, the focus wheel is smooth and responsive, enabling quick adjustments to achieve sharp focus on images.

The Orion 8x32 LCD binoculars come equipped with a tripod mount socket, catering to users who require stability for prolonged viewing. Additionally, users can benefit from included accessories such as a carrying case, neck strap, and lens covers, enhancing portability and protection.

In summary, the Orion 8x32 LCD combines high-quality optics, innovative digital features, and rugged design into a single package, making it a stellar option for anyone seeking reliable and versatile binoculars for their adventures in the great outdoors.