Seeing and Transparency
Atmospheric conditions play a huge part in quality of viewing. In conditions of good “seeing”, star twinkling is minimal and objects appear steady in the eyepiece. Seeing is best over- head, worst at the horizon. Also, seeing generally gets bet- ter after midnight, when much of the heat absorbed by the Earth during the day has radiated off into space. Typically, seeing conditions will be better at sites that have an altitude over about 3000 feet. Altitude helps because it decreases the amount of distortion causing atmosphere you are looking through.
A good way to judge if the seeing is good or not is to look at bright stars about 40° above the horizon. If the stars appear to “twinkle”, the atmosphere is significantly distorting the incom- ing light, and views at high magnifications will not appear sharp. If the stars appear steady and do not twinkle, seeing conditions are probably good and higher magnifications will be possible. Also, seeing conditions are typically poor during the day. This is because the heat from the Sun warms the air and causes turbulence.
Good “transparency” is especially important for observing faint objects. It simply means the air is free of moisture, smoke, and dust. All tend to scatter light, which reduces an object’s brightness.
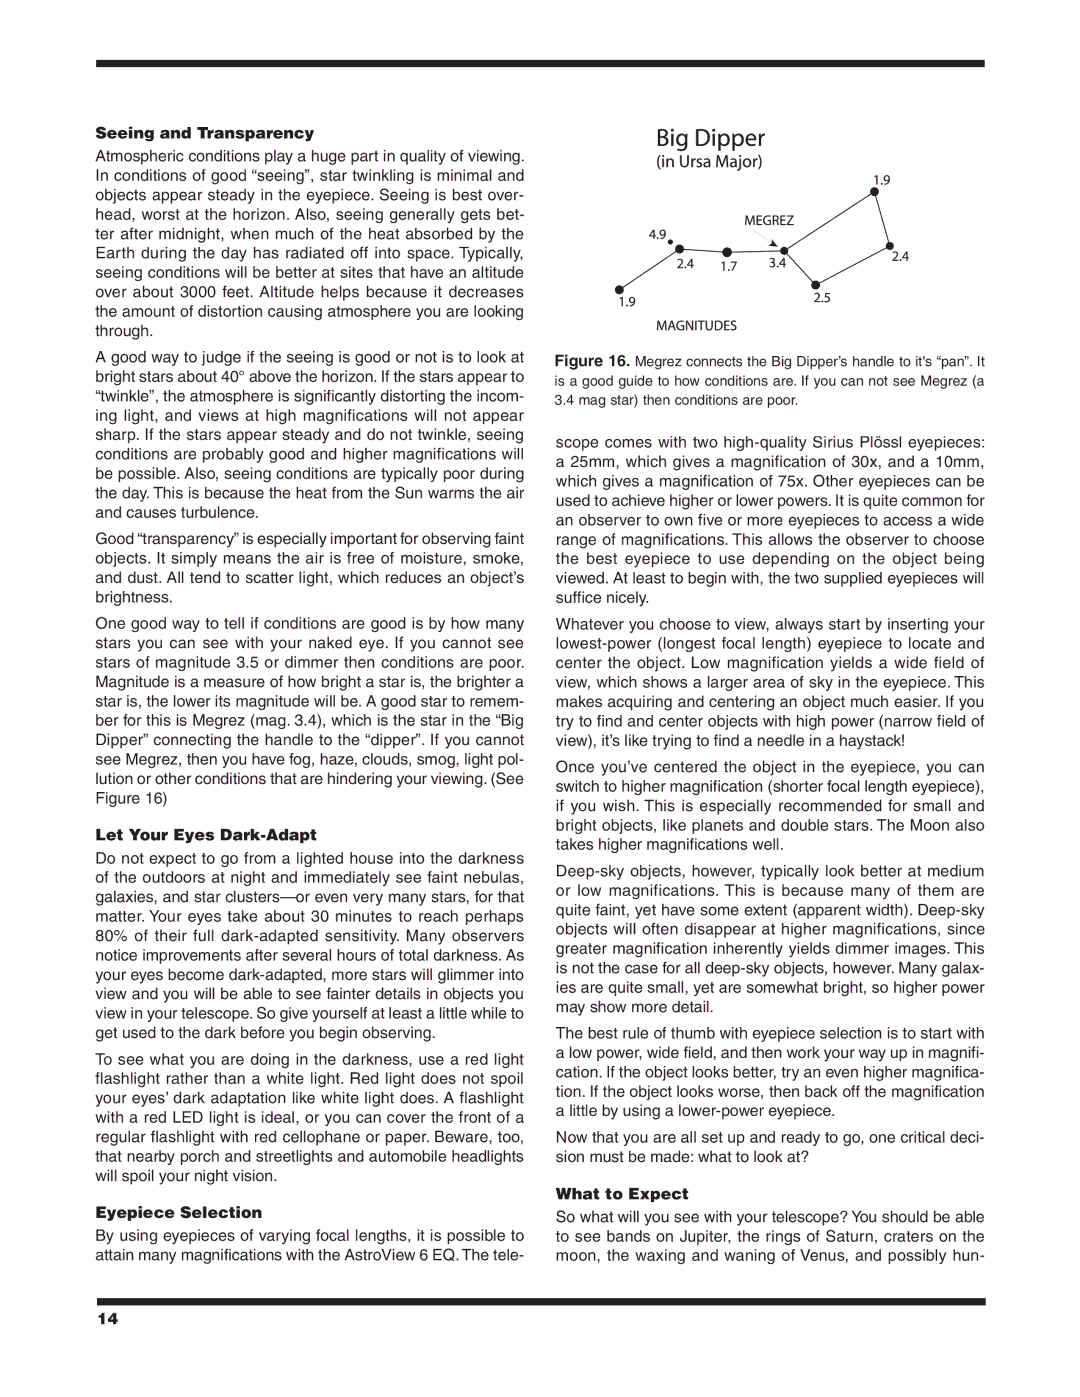
One good way to tell if conditions are good is by how many stars you can see with your naked eye. If you cannot see stars of magnitude 3.5 or dimmer then conditions are poor. Magnitude is a measure of how bright a star is, the brighter a star is, the lower its magnitude will be. A good star to remem- ber for this is Megrez (mag. 3.4), which is the star in the “Big Dipper” connecting the handle to the “dipper”. If you cannot see Megrez, then you have fog, haze, clouds, smog, light pol- lution or other conditions that are hindering your viewing. (See Figure 16)
Let Your Eyes Dark-Adapt
Do not expect to go from a lighted house into the darkness of the outdoors at night and immediately see faint nebulas, galaxies, and star
To see what you are doing in the darkness, use a red light flashlight rather than a white light. Red light does not spoil your eyes’ dark adaptation like white light does. A flashlight with a red LED light is ideal, or you can cover the front of a regular flashlight with red cellophane or paper. Beware, too, that nearby porch and streetlights and automobile headlights will spoil your night vision.
Eyepiece Selection
By using eyepieces of varying focal lengths, it is possible to attain many magnifications with the AstroView 6 EQ. The tele-
Figure 16. Megrez connects the Big Dipper’s handle to it's “pan”. It is a good guide to how conditions are. If you can not see Megrez (a 3.4 mag star) then conditions are poor.
scope comes with two
Whatever you choose to view, always start by inserting your
Once you’ve centered the object in the eyepiece, you can switch to higher magnification (shorter focal length eyepiece), if you wish. This is especially recommended for small and bright objects, like planets and double stars. The Moon also takes higher magnifications well.
The best rule of thumb with eyepiece selection is to start with a low power, wide field, and then work your way up in magnifi- cation. If the object looks better, try an even higher magnifica- tion. If the object looks worse, then back off the magnification a little by using a
Now that you are all set up and ready to go, one critical deci- sion must be made: what to look at?
What to Expect
So what will you see with your telescope? You should be able to see bands on Jupiter, the rings of Saturn, craters on the moon, the waxing and waning of Venus, and possibly hun-
14