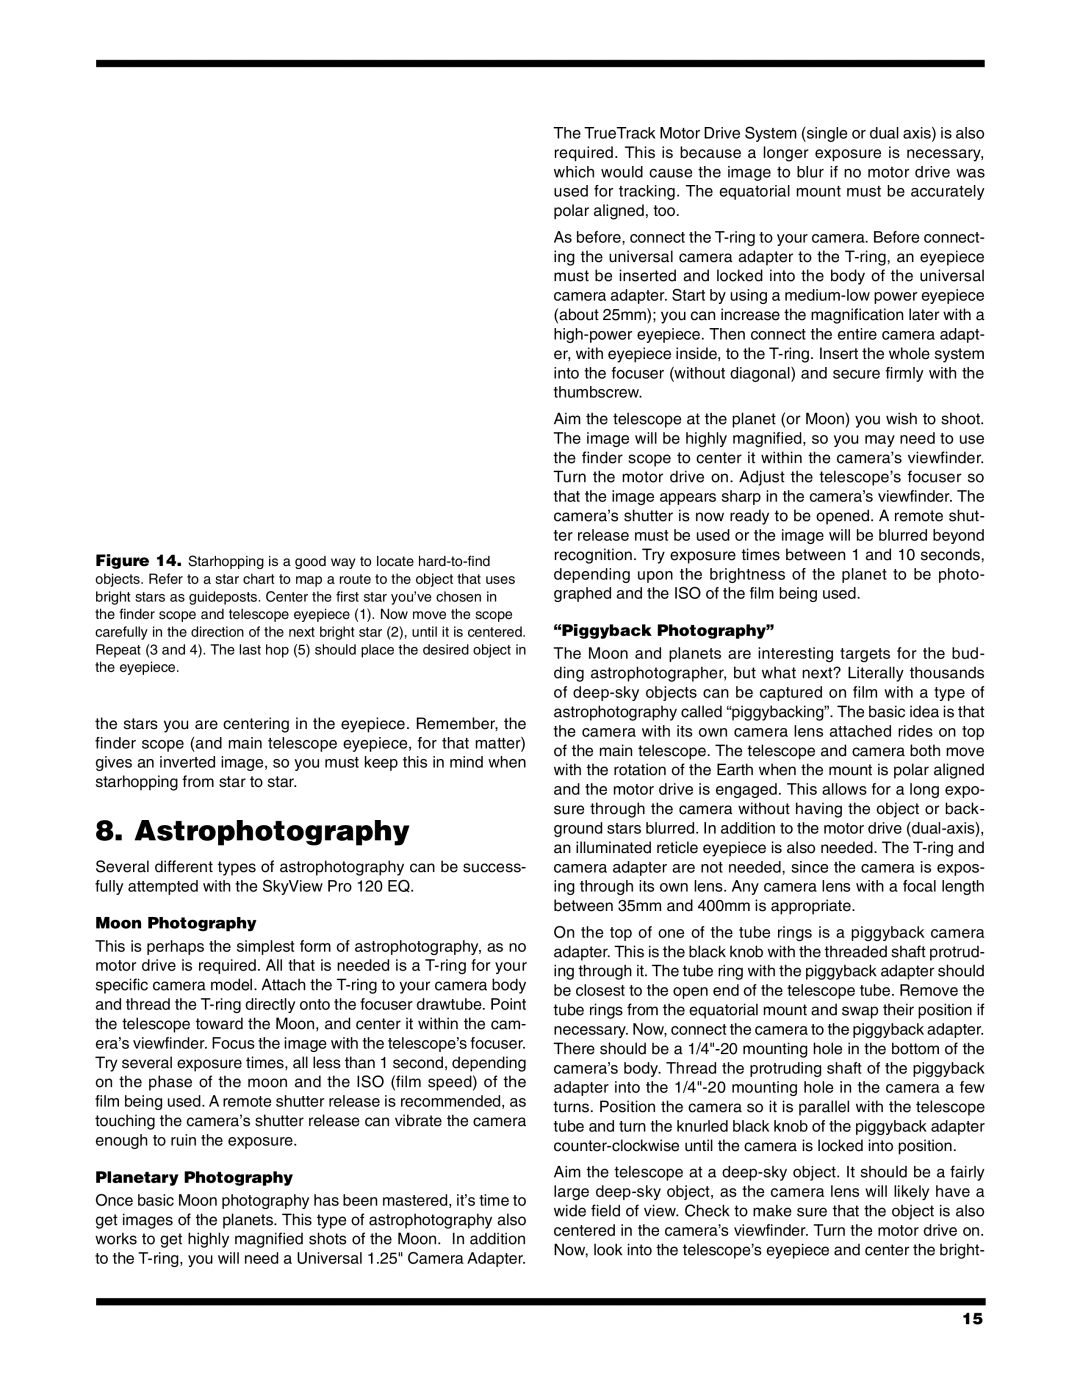
Figure 14. Starhopping is a good way to locate hard-to-find objects. Refer to a star chart to map a route to the object that uses bright stars as guideposts. Center the first star you’ve chosen in the finder scope and telescope eyepiece (1). Now move the scope carefully in the direction of the next bright star (2), until it is centered. Repeat (3 and 4). The last hop (5) should place the desired object in the eyepiece.
finder scope (and main telescope eyepiece, for that matter) gives an inverted image, so you must keep this in mind when starhopping from star to star.
8. Astrophotography
Several different types of astrophotography can be success- fully attempted with the SkyView Pro 120 EQ.
Moon Photography
This is perhaps the simplest form of astrophotography, as no motor drive is required. All that is needed is a T-ring for your specific camera model. Attach the T-ring to your camera body and thread the T-ring directly onto the focuser drawtube. Point the telescope toward the Moon, and center it within the cam- era’s viewfinder. Focus the image with the telescope’s focuser. Try several exposure times, all less than 1 second, depending on the phase of the moon and the ISO (film speed) of the film being used. A remote shutter release is recommended, as touching the camera’s shutter release can vibrate the camera enough to ruin the exposure.
Planetary Photography
Once basic Moon photography has been mastered, it’s time to get images of the planets. This type of astrophotography also works to get highly magnified shots of the Moon. In addition to the T-ring, you will need a Universal 1.25" Camera Adapter.
The TrueTrack Motor Drive System (single or dual axis) is also required. This is because a longer exposure is necessary, which would cause the image to blur if no motor drive was used for tracking. The equatorial mount must be accurately polar aligned, too.
As before, connect the T-ring to your camera. Before connect- ing the universal camera adapter to the T-ring, an eyepiece must be inserted and locked into the body of the universal camera adapter. Start by using a medium-low power eyepiece (about 25mm); you can increase the magnification later with a high-power eyepiece. Then connect the entire camera adapt- er, with eyepiece inside, to the T-ring. Insert the whole system into the focuser (without diagonal) and secure firmly with the thumbscrew.
Aim the telescope at the planet (or Moon) you wish to shoot. The image will be highly magnified, so you may need to use the finder scope to center it within the camera’s viewfinder. Turn the motor drive on. Adjust the telescope’s focuser so that the image appears sharp in the camera’s viewfinder. The camera’s shutter is now ready to be opened. A remote shut- ter release must be used or the image will be blurred beyond recognition. Try exposure times between 1 and 10 seconds, depending upon the brightness of the planet to be photo- graphed and the ISO of the film being used.
“Piggyback Photography”
The Moon and planets are interesting targets for the bud- ding astrophotographer, but what next? Literally thousands of deep-sky objects can be captured on film with a type of astrophotography called “piggybacking”. The basic idea is that the camera with its own camera lens attached rides on top of the main telescope. The telescope and camera both move with the rotation of the Earth when the mount is polar aligned and the motor drive is engaged. This allows for a long expo- sure through the camera without having the object or back- ground stars blurred. In addition to the motor drive (dual-axis), an illuminated reticle eyepiece is also needed. The T-ring and camera adapter are not needed, since the camera is expos- ing through its own lens. Any camera lens with a focal length between 35mm and 400mm is appropriate.
On the top of one of the tube rings is a piggyback camera adapter. This is the black knob with the threaded shaft protrud- ing through it. The tube ring with the piggyback adapter should be closest to the open end of the telescope tube. Remove the tube rings from the equatorial mount and swap their position if necessary. Now, connect the camera to the piggyback adapter. There should be a 1/4"-20 mounting hole in the bottom of the camera’s body. Thread the protruding shaft of the piggyback adapter into the 1/4"-20 mounting hole in the camera a few turns. Position the camera so it is parallel with the telescope tube and turn the knurled black knob of the piggyback adapter counter-clockwise until the camera is locked into position.
Aim the telescope at a deep-sky object. It should be a fairly large deep-sky object, as the camera lens will likely have a wide field of view. Check to make sure that the object is also centered in the camera’s viewfinder. Turn the motor drive on. Now, look into the telescope’s eyepiece and center the bright-