HOW To

Setting the clock and delay brew time

On programmable models only

To Set the Clock:

1Plug the power cord into a standard electrical outlet.

2Press the HOUR and MINUTE buttons until you reach the current time. The AM/PM

indicator will light on the left of the display. The clock is now set!

To Set the Delay Brew Time:

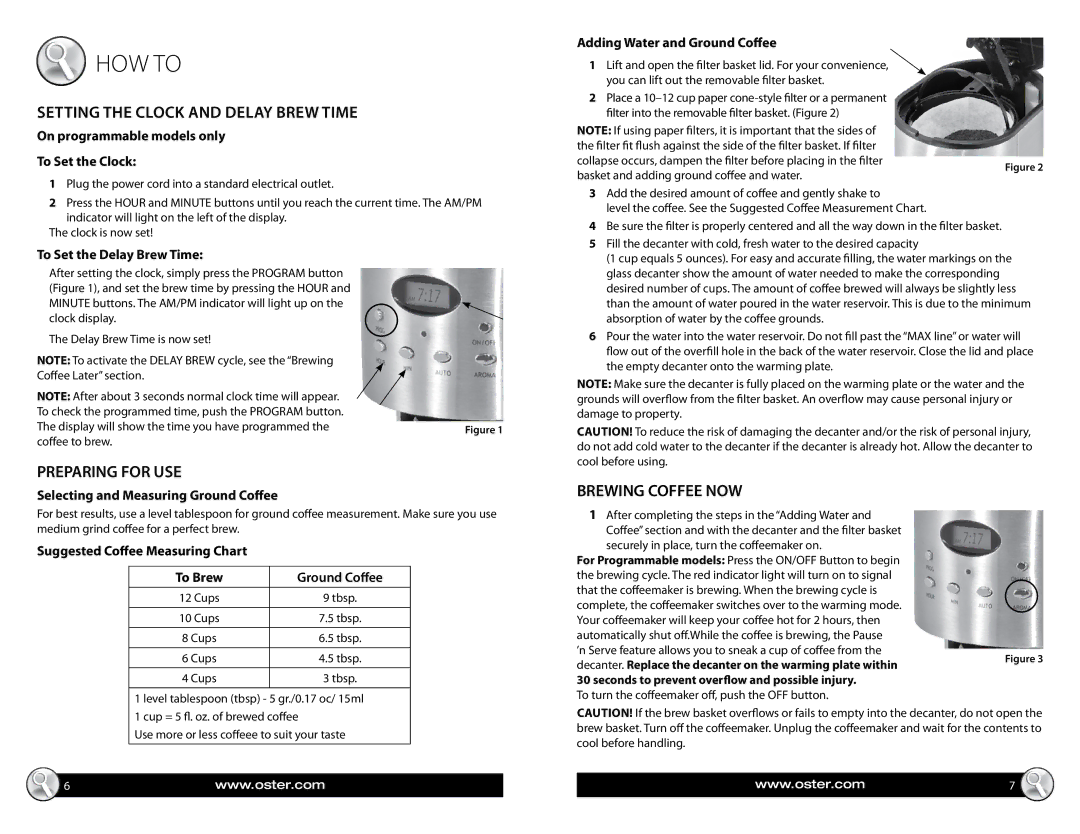
After setting the clock, simply press the PROGRAM button (Figure 1), and set the brew time by pressing the HOUR and

MINUTE buttons. The AM/PM indicator will light up on the clock display.

The Delay Brew Time is now set!

NOTE: To activate the DELAY BREW cycle, see the “Brewing

Coffee Later” section.

NOTE: After about 3 seconds normal clock time will appear. To check the programmed time, push the PROGRAM button.

The display will show the time you have programmed theFigure 1 coffee to brew.

PREPARING FOR USE

Selecting and Measuring Ground Coffee

For best results, use a level tablespoon for ground coffee measurement. Make sure you use medium grind coffee for a perfect brew.

Suggested Coffee Measuring Chart

To Brew

Ground Coffee

12 Cups

9 tbsp.


10 Cups

7.5 tbsp.


8 Cups

6.5 tbsp.


6 Cups

4.5 tbsp.


4 Cups

3 tbsp.


1 level tablespoon (tbsp) - 5 gr./0.17 oc/ 15ml

1 cup = 5 fl. oz. of brewed coffee

Use more or less coffeee to suit your taste

6

www.oster.com

Adding Water and Ground Coffee

1 Lift and open the filter basket lid. For your convenience, you can lift out the removable filter basket.

2 Place a 10–12 cup paper cone-style filter or a permanent filter into the removable filter basket. (Figure 2)

NOTE: If using paper filters, it is important that the sides of


the filter fit flush against the side of the filter basket. If filter


collapse occurs, dampen the filter before placing in the filter

Figure 2

basket and adding ground coffee and water.


3Add the desired amount of coffee and gently shake to

level the coffee. See the Suggested Coffee Measurement Chart.

4Be sure the filter is properly centered and all the way down in the filter basket.

5Fill the decanter with cold, fresh water to the desired capacity

(1 cup equals 5 ounces). For easy and accurate filling, the water markings on the glass decanter show the amount of water needed to make the corresponding desired number of cups. The amount of coffee brewed will always be slightly less than the amount of water poured in the water reservoir. This is due to the minimum absorption of water by the coffee grounds.

6 Pour the water into the water reservoir. Do not fill past the “MAX line” or water will flow out of the overfill hole in the back of the water reservoir. Close the lid and place the empty decanter onto the warming plate.

NOTE: Make sure the decanter is fully placed on the warming plate or the water and the grounds will overflow from the filter basket. An overflow may cause personal injury or damage to property.

CAUTION! To reduce the risk of damaging the decanter and/or the risk of personal injury, do not add cold water to the decanter if the decanter is already hot. Allow the decanter to cool before using.

BREWING COFFEE NOW

1After completing the steps in the “Adding Water and Coffee” section and with the decanter and the filter basket securely in place, turn the coffeemaker on.

For Programmable models: Press the ON/OFF Button to begin the brewing cycle. The red indicator light will turn on to signal that the coffeemaker is brewing. When the brewing cycle is complete, the coffeemaker switches over to the warming mode. Your coffeemaker will keep your coffee hot for 2 hours, then automatically shut off.While the coffee is brewing, the Pause

’n Serve feature allows you to sneak a cup of coffee from the

decanter. Replace the decanter on the warming plate withinFigure 3 30 seconds to prevent overflow and possible injury.

To turn the coffeemaker off, push the OFF button.

CAUTION! If the brew basket overflows or fails to empty into the decanter, do not open the brew basket. Turn off the coffeemaker. Unplug the coffeemaker and wait for the contents to cool before handling.

www.oster.com

7

Page 4
Image 4
Oster 137264, BVST-RDXSS43 manual HOW To, Setting the clock and delay brew time, Preparing for USE, Brewing Coffee NOW

BVST-RDXSS43, 137264 specifications

The Oster 137264, also known as BVST-RDXSS43, stands out as a versatile kitchen appliance designed for the modern home cook. This electronic countertop blender not only merges efficiency with robust construction but also brings a plethora of features that elevate the blending experience.

One of the primary attributes of the Oster 137264 is its powerful motor, which provides a blend of speed and precision. With a motor that reaches up to 600 watts, this blender can handle a variety of ingredients—ranging from soft fruits to tougher vegetables—ensuring smooth and consistent results every time. The adjustable speed settings allow users to have complete control over the blending process, preparing everything from smoothies to sauces with ease.

The 6-cup glass jar is another standout feature. Its durable construction ensures that it withstands the rigors of daily use while also being dishwasher safe for easy cleanup. The thermal shock-resistant design means you can blend hot soups right alongside ice-cold drinks without fear of damage. The jar's design also includes measurement markings, allowing users to check ingredient quantities without using additional measuring tools.

In terms of blades, the Oster 137264 comes equipped with a stainless steel blade system that offers optimal performance. The combination of a sharp central blade with a unique design facilitates efficient blending and chopping. It ensures that ingredients are evenly combined, maximizing flavor and texture.

What sets this blender apart is its innovation in technology. The patented All Metal Drive system promotes durability, allowing for improved longevity and performance. This ensures that the connection between the jar and the motor remains robust throughout its usage, reducing the chances of wear and tear.

Safety features also play a crucial role in the design of this blender. The secure locking lid prevents spills while blending, allowing for a mess-free experience. The motor is equipped with a thermal reset button that protects it from overheating, extending its lifespan.

Additionally, the sleek, stainless steel finish gives the Oster 137264 an aesthetic appeal that complements any kitchen decor. Its compact design ensures that it occupies minimal counter space while still providing a powerful blending capability.

In summary, the Oster 137264 BVST-RDXSS43 is a reliable and efficient kitchen appliance that merges advanced technology with practical design. Its powerful motor, durable glass jar, stainless steel blades, and safety features make it an ideal addition to any home. Whether preparing smoothies, soups, or sauces, this blender meets a variety of culinary needs with ease and excellence.