Fryer specifications
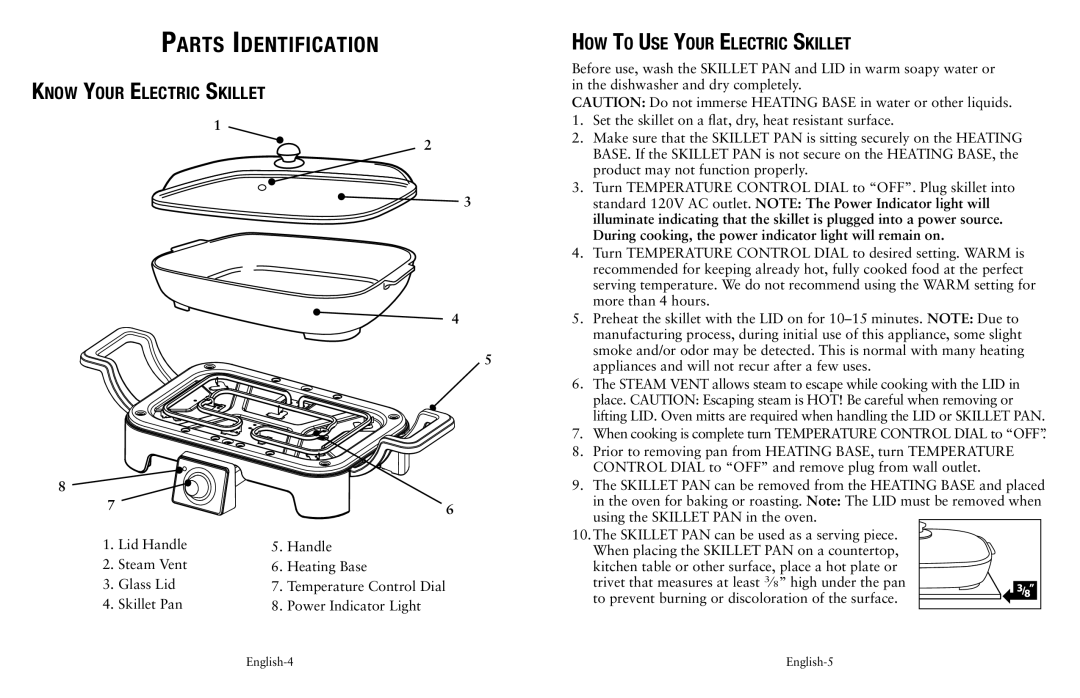
The Oster Fryer stands out in the world of kitchen appliances, offering an innovative way to enjoy fried foods with significantly less oil. Designed with health-conscious consumers in mind, this fryer utilizes advanced technologies that allow for crispy results without the excessive fat associated with traditional frying methods.One of the standout features of the Oster Fryer is its Rapid Air Technology, which circulates hot air around the food to create a deliciously crunchy exterior. By using this technology, users can achieve the perfect fry with up to 75% less calories compared to conventional frying. The system also helps to minimize the mess typically associated with frying, allowing for easy clean-up after use.
The fryer comes equipped with adjustable temperature controls, allowing users to set the perfect cooking environment for various types of foods. Whether you’re preparing chicken wings, French fries, or even vegetables, the flexibility of temperature settings ensures that every dish is cooked to perfection. Additionally, a built-in timer helps to prevent overcooking, providing a level of convenience that busy cooks will appreciate.
Another characteristic of the Oster Fryer is its spacious capacity. Despite its compact design, it boasts a generous cooking area that can accommodate family-sized portions, making it ideal for gatherings or meal prepping. This feature eliminates the need for batch cooking, thus saving time and effort in the kitchen.
Safety is also a priority with the Oster Fryer. It is designed with a cool-touch handle that ensures safe handling during and after cooking, providing peace of mind to users. Additionally, its non-slip feet guarantee stability on the countertop, preventing accidents.
The modern design of the fryer complements any kitchen decor, and its user-friendly interface makes it accessible for cooks of all skill levels. The removable parts, including the basket and tray, are dishwasher safe, further enhancing the ease of maintenance.
In summary, the Oster Fryer is an exceptional kitchen appliance that combines innovative technology with user-friendly features. Its ability to create healthier fried food options, coupled with safety and convenience attributes, makes it a valuable addition to any home kitchen. Whether one is a seasoned chef or a casual cook, the Oster Fryer is sure to impress with its performance and versatility.

