CF-31 specifications
The Panasonic CF-31, part of the Toughbook line, is a highly durable and versatile laptop designed for professionals who operate in demanding environments. Built to withstand the rigors of outdoor work, it combines robust construction with advanced technology to deliver reliable performance.One of the standout features of the CF-31 is its rugged design. The laptop meets military standards (MIL-STD-810G) for toughness, making it resistant to drops, shocks, vibrations, and even extreme temperatures. It is also water-resistant and dustproof, further enhancing its usability in harsh conditions. With a magnesium alloy case and shock-mounted hard drive, the CF-31 is built to endure challenging workspaces.
The CF-31 is powered by Intel’s powerful processors, which ensure brisk performance for multitasking and running demanding applications. Depending on the specific configuration, it can come with Intel Core i5 or i7 processors that provide a combination of processing speed and energy efficiency. With options for solid-state drives (SSDs), the laptop enhances data access speeds, contributing to faster boot times and application launches.
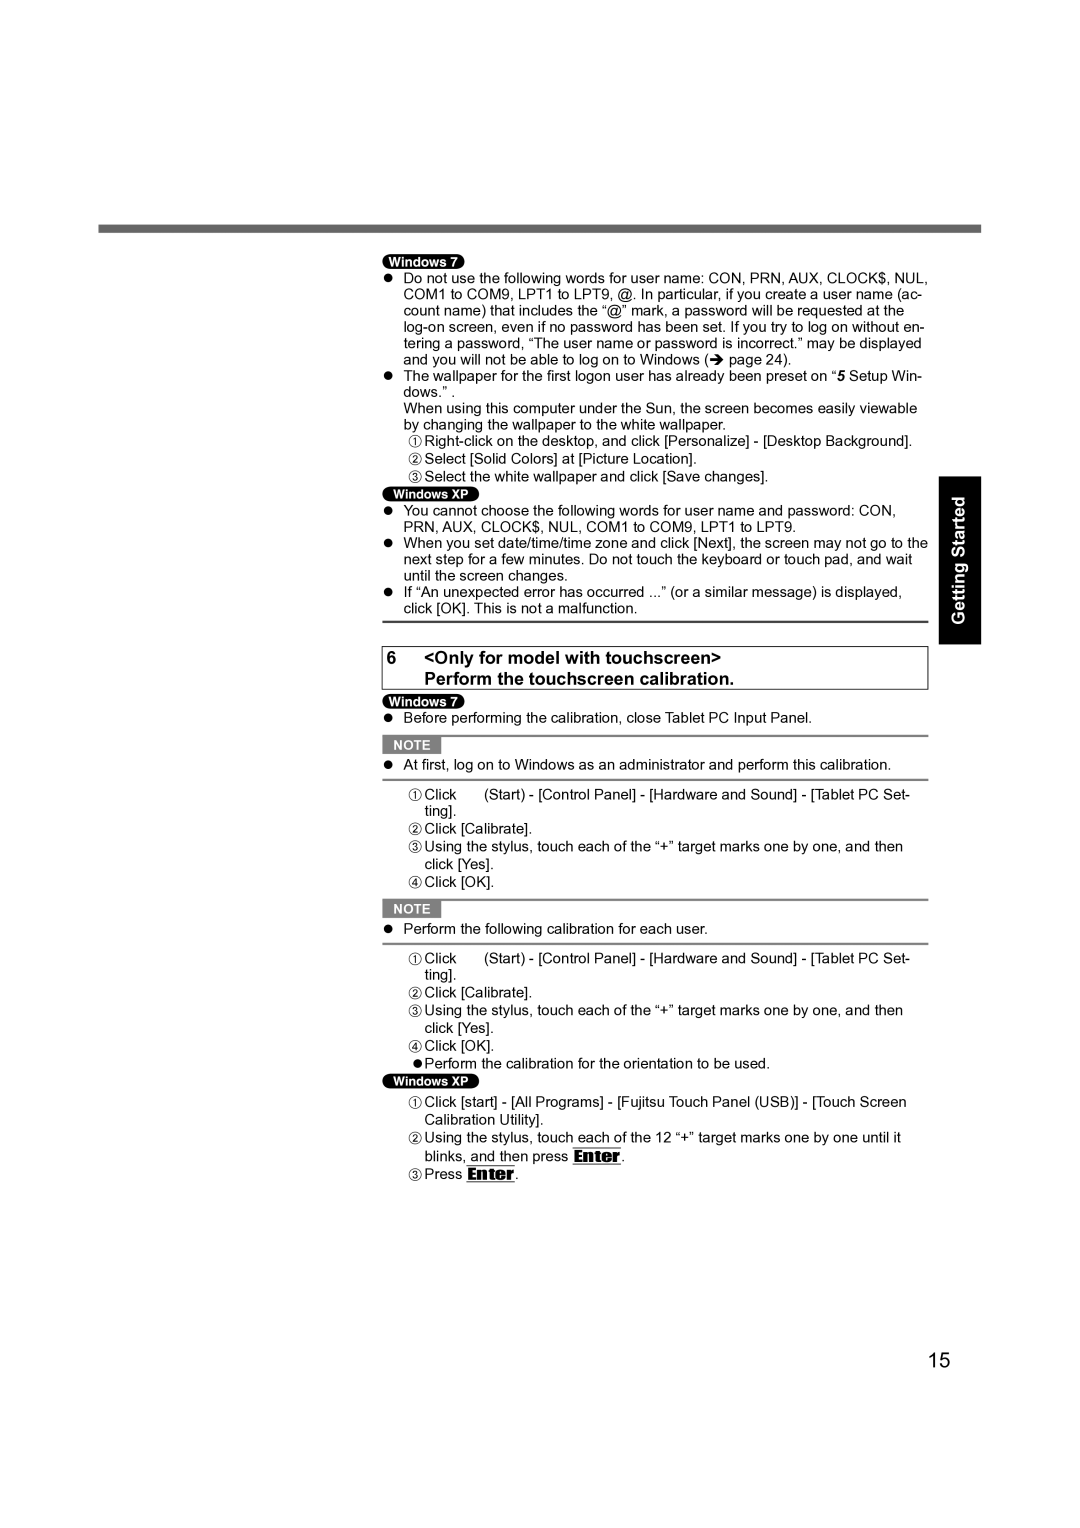
Regarding display technology, the Panasonic CF-31 features a 13.1-inch sunlight-readable touchscreen, making it suitable for outdoor use where visibility can be a challenge. The screen boasts a high brightness level, allowing users to view content clearly even in direct sunlight. The multi-touch functionality adds to its ease of use, catering to those who prefer a more intuitive interface.
Connectivity is another strong point of the CF-31, equipped with a range of ports such as USB 3.0, Ethernet, HDMI, and even legacy ports to support various peripherals and devices. It also offers optional features like 4G LTE for mobile connectivity in the field, ensuring that users remain connected no matter where their work takes them.
The keyboard is designed for use in challenging conditions, featuring a spill-resistant layout with an adjustable backlight for low-light environments. This makes it suitable for professionals such as field engineers, first responders, and military personnel who require dependable technology in their day-to-day tasks.
Battery life is impressive, with options for extended batteries that can last up to 18 hours, enabling all-day use without the need for frequent recharging. This feature is essential for users in the field who may not have easy access to power sources.
Overall, the Panasonic CF-31 embodies a blend of ruggedness, processing power, and user-friendly features, making it a top choice for professionals needing a reliable laptop in demanding conditions.

