Setting the clock
The clock is not set when the camera is shipped.
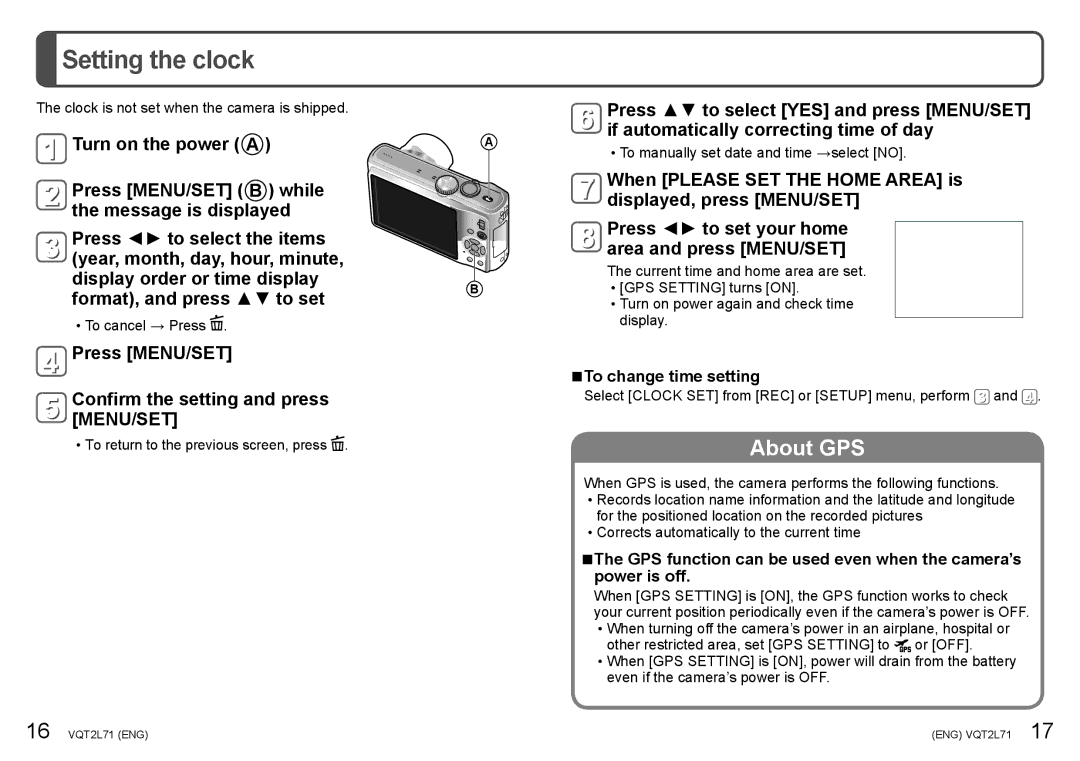
![]() Turn on the power ( A )
Turn on the power ( A )
Press [MENU/SET] ( B ) while the message is displayed
Press ◄► to select the items (year, month, day, hour, minute, display order or time display format), and press ▲▼ to set
••To cancel → Press ![]() .
.
 Press [MENU/SET]
Confirm the setting and press [MENU/SET]
••To return to the previous screen, press ![]() .
.
16 VQT2L71 (ENG)
Press ▲▼ to select [YES] and press [MENU/SET] if automatically correcting time of day
A
••To manually set date and time →select [NO].
When [PLEASE SET THE HOME AREA] is displayed, press [MENU/SET]
Press ◄► to set your home area and press [MENU/SET]
The current time and home area are set.
B••[GPS SETTING] turns [ON].
••Turn on power again and check time display.
■■To change time setting
Select [CLOCK SET] from [REC] or [SETUP] menu, perform ![]() and
and ![]() .
.
About GPS
When GPS is used, the camera performs the following functions. ••Records location name information and the latitude and longitude
for the positioned location on the recorded pictures ••Corrects automatically to the current time
■■The GPS function can be used even when the camera’s power is off.
When [GPS SETTING] is [ON], the GPS function works to check your current position periodically even if the camera’s power is OFF. ••When turning off the camera’s power in an airplane, hospital or
other restricted area, set [GPS SETTING] to ![]() or [OFF]. ••When [GPS SETTING] is [ON], power will drain from the battery
or [OFF]. ••When [GPS SETTING] is [ON], power will drain from the battery
even if the camera’s power is OFF.
(ENG) VQT2L71 17