9
| e | |
| b | |
f | c | |
a | ||
|
Before use
This Wet/Dry shaver can be used for wet shaving with shaving lather or for dry shaving. You can use this water- tight shaver in the shower and clean it in water. The following is the sym- bol of Wet shaver.The symbol means that
JLow battery indicator
KOn/Off switch
LTrimmer
MTrimmer handle
NAdaptor
OPower cord
READ ALL INSTRUCTIONS BE- FORE USE.
d
g
e ![]()
Treat yourself to wet lather shaves for at least three weeks and notice the difference. Your Panasonic Wet/ Dry shaver requires a little time to get used to because your skin and beard need about a month to adjust to any new shaving method.
Parts identification
(see fig. 1)
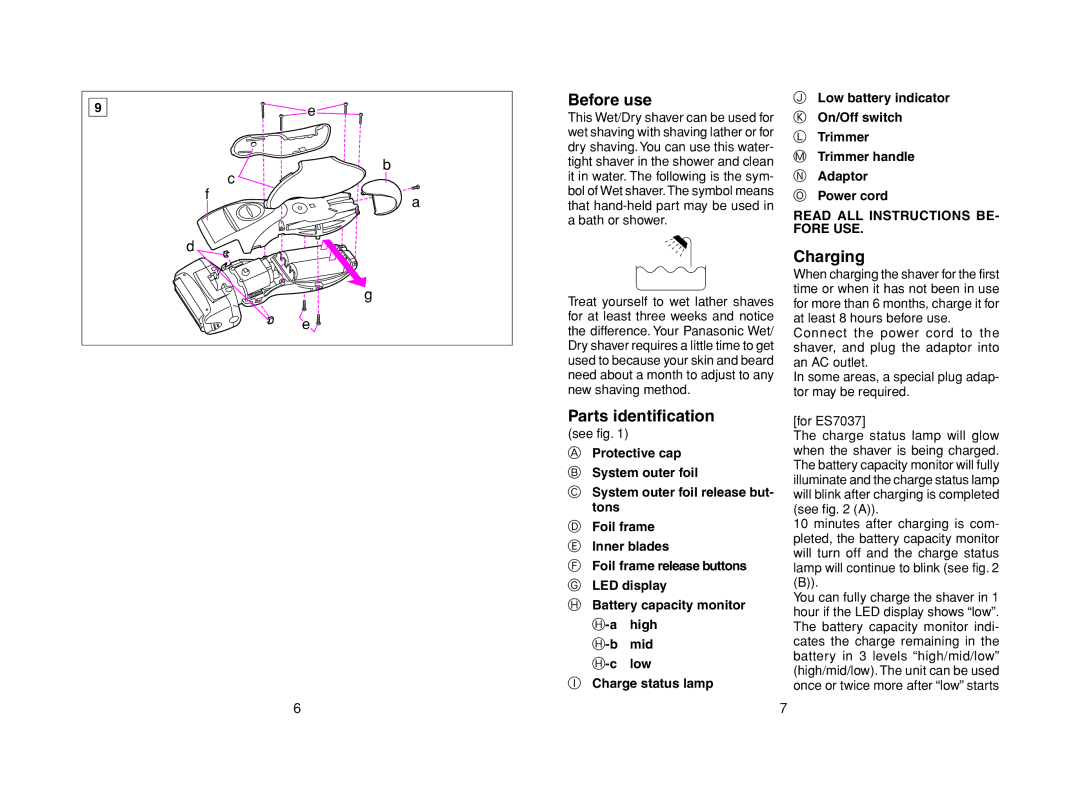
AProtective cap
BSystem outer foil
CSystem outer foil release but- tons
DFoil frame
EInner blades
FFoil frame release buttons
GLED display
HBattery capacity monitor
ICharge status lamp
Charging
When charging the shaver for the first time or when it has not been in use for more than 6 months, charge it for at least 8 hours before use.
Connect the power cord to the shaver, and plug the adaptor into an AC outlet.
In some areas, a special plug adap- tor may be required.
[for ES7037]
The charge status lamp will glow when the shaver is being charged. The battery capacity monitor will fully illuminate and the charge status lamp will blink after charging is completed (see fig. 2 (A)).
10 minutes after charging is com- pleted, the battery capacity monitor will turn off and the charge status lamp will continue to blink (see fig. 2 (B)).
You can fully charge the shaver in 1 hour if the LED display shows “low”. The battery capacity monitor indi- cates the charge remaining in the battery in 3 levels “high/mid/low” (high/mid/low). The unit can be used once or twice more after “low” starts
6 | 7 |
