Setting date and time
When the unit is turned on for the first time, a message asking you to set the date and time will appear.
Press the MENU/SET button and perform steps 2 to 3 below to set the date and time.
1Select the menu. (l 32)
![]() : [CLOCK SET] # desired setting
: [CLOCK SET] # desired setting
[DATE]: | Setting of the year/month/day |
[TIME]: | Setting of the hour/minute |
|
|
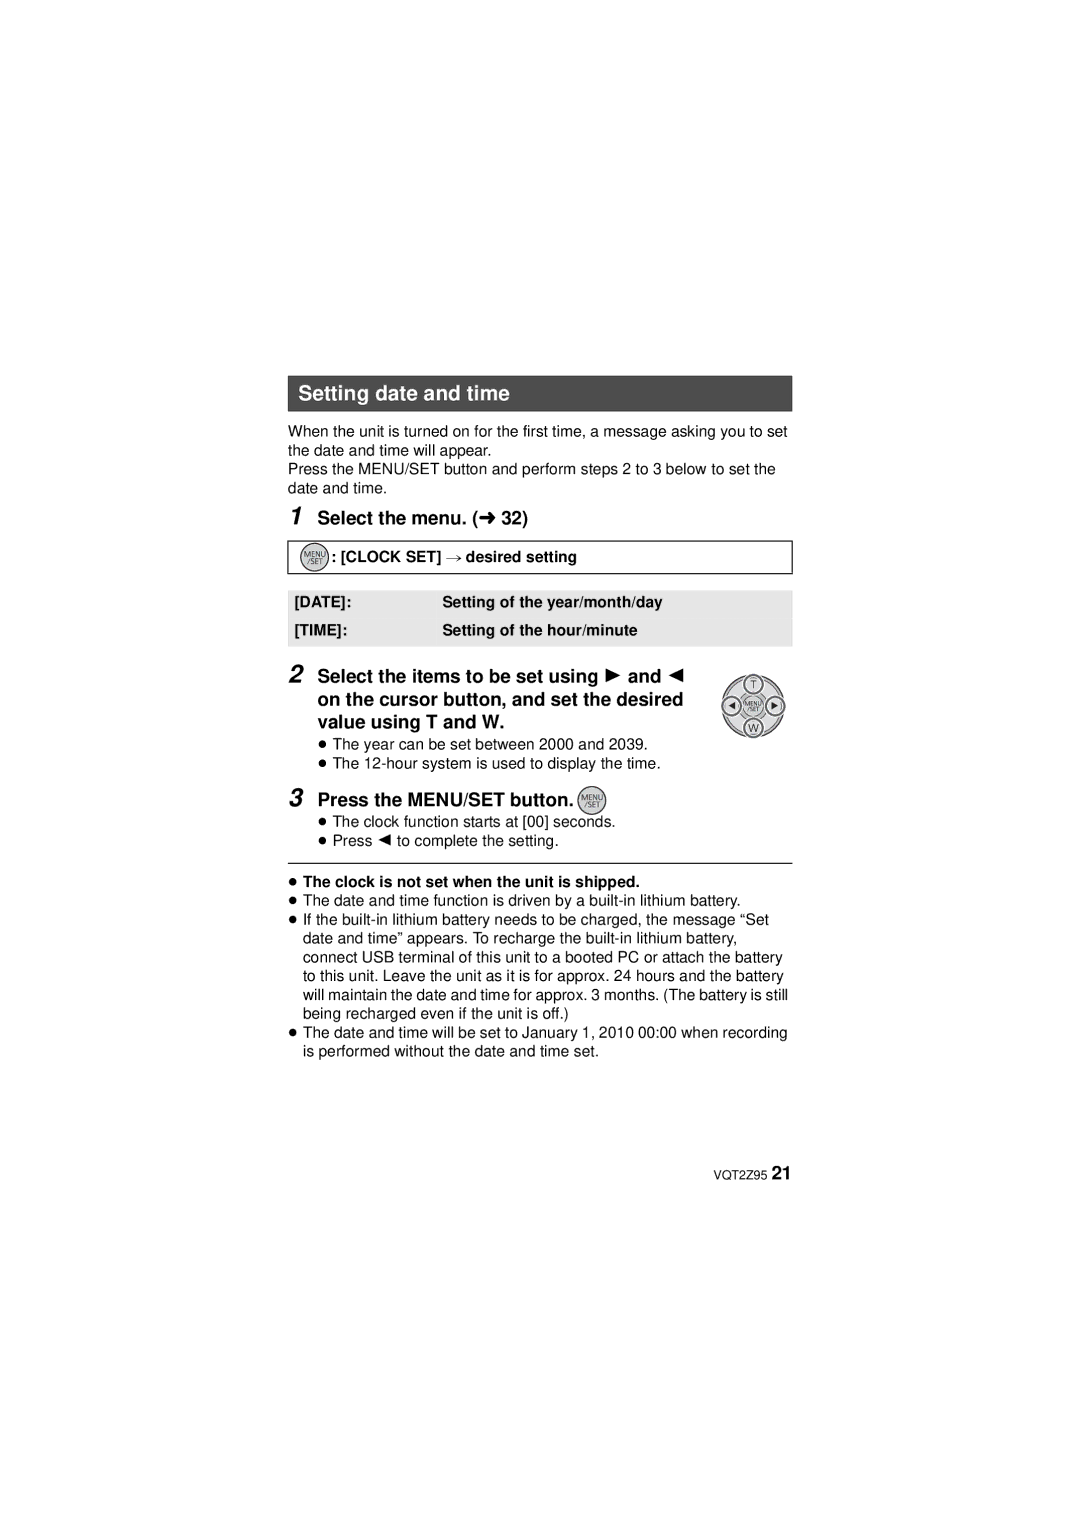
2Select the items to be set using 1 and 2
on the cursor button, and set the desired value using T and W.
≥The year can be set between 2000 and 2039.
≥The
3Press the MENU/SET button. 


≥The clock function starts at [00] seconds.
≥Press 2 to complete the setting.
≥The clock is not set when the unit is shipped.
≥The date and time function is driven by a
≥If the
≥The date and time will be set to January 1, 2010 00:00 when recording is performed without the date and time set.