Installing the Panasonic KX-T7775 Doorphone
The Panasonic
To surface-mount the Panasonic KX-T7775 Doorphone Module:
1.Separate the Doorphone Unit into two halves.
2.Adjust the sensitivity of the Doorphone's microphone, if required (see page 11).
3.Remove the required
4.Secure the Unit to the wall using the appropriate screws (not supplied).
5.
To flush-mount the Panasonic KX-T7775 Doorphone:
1.Separate the Doorphone Unit into two halves. Discard the rear section of the Unit.
2.Adjust the sensitivity of the Doorphone's microphone, if required (see page 11).
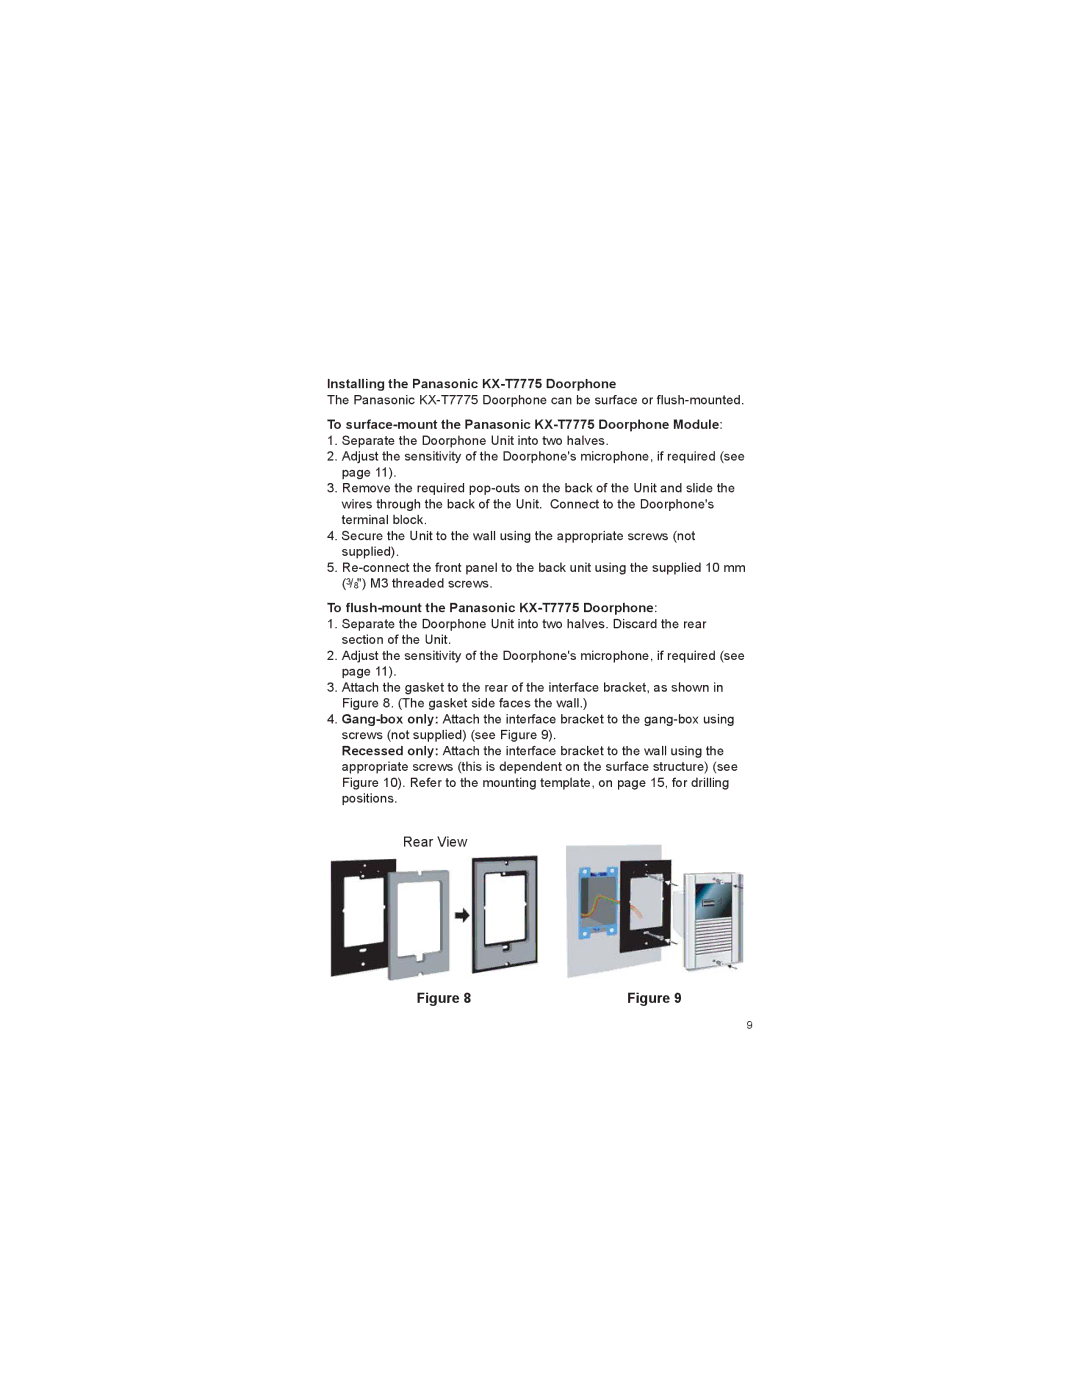
3.Attach the gasket to the rear of the interface bracket, as shown in Figure 8. (The gasket side faces the wall.)
4.
Recessed only: Attach the interface bracket to the wall using the appropriate screws (this is dependent on the surface structure) (see Figure 10). Refer to the mounting template, on page 15, for drilling positions.
Rear View
Figure 8 | Figure 9 |
9