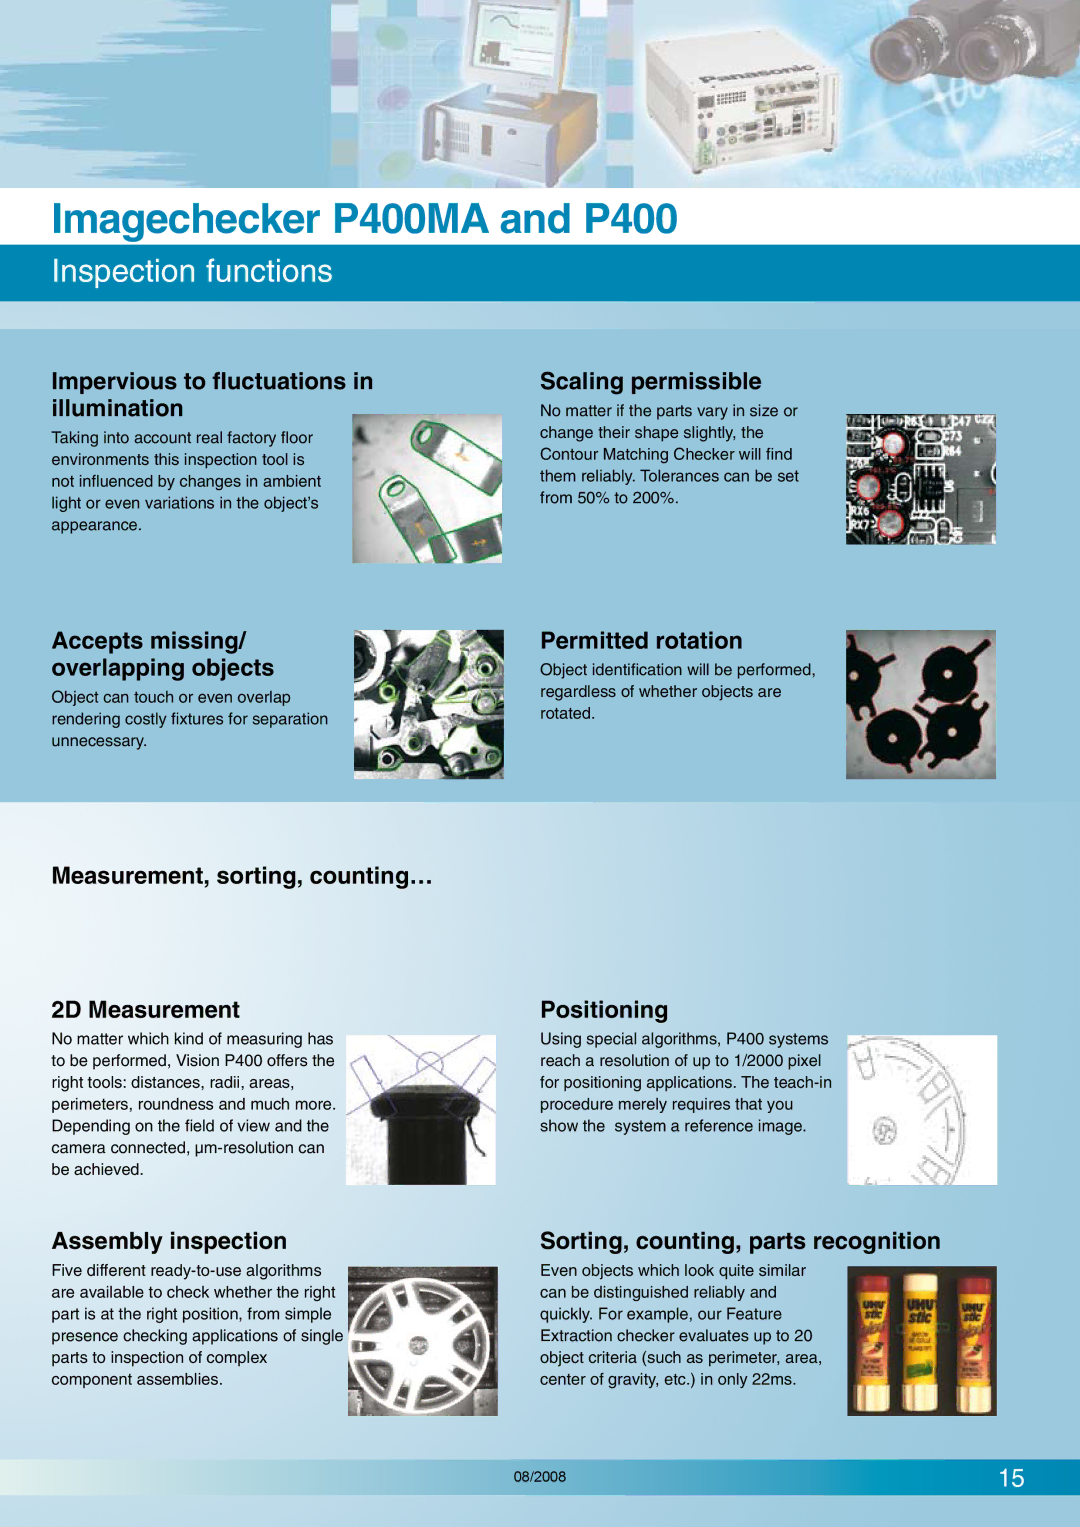
Imagechecker P400MA and P400
Inspection functions
Impervious to fluctuations in illumination
Taking into account real factory floor environments this inspection tool is not influenced by changes in ambient light or even variations in the object’s appearance.
Scaling permissible
No matter if the parts vary in size or change their shape slightly, the Contour Matching Checker will find them reliably. Tolerances can be set from 50% to 200%.
Accepts missing/ overlapping objects
Object can touch or even overlap rendering costly fixtures for separation unnecessary.
Measurement, sorting, counting…
2D Measurement
No matter which kind of measuring has to be performed, Vision P400 offers the right tools: distances, radii, areas, perimeters, roundness and much more. Depending on the field of view and the camera connected,
Assembly inspection
Five different
Permitted rotation
Object identification will be performed, regardless of whether objects are rotated.
Positioning
Using special algorithms, P400 systems reach a resolution of up to 1/2000 pixel for positioning applications. The
Sorting, counting, parts recognition
Even objects which look quite similar can be distinguished reliably and quickly. For example, our Feature Extraction checker evaluates up to 20 object criteria (such as perimeter, area, center of gravity, etc.) in only 22ms.
08/2008 | 15 |
