PV-D4743, PV-D4743S specifications
The Panasonic PV-D4743S and PV-D4743 represent a unique blend of advanced technology and user-friendly features in the world of DVD and VCR combo units. Designed primarily for home theater enthusiasts, these models stand as testament to Panasonic's commitment to innovation and quality.One of the standout features of the PV-D4743S and PV-D4743 is their combination of a DVD player and a VHS VCR. This dual functionality allows users to play both modern DVDs and classic VHS tapes, providing a versatile entertainment solution. The ability to playback various formats makes these units especially appealing for users who have extensive collections of both media types, bridging the gap between old and new.
In terms of video quality, Panasonic incorporates advanced Progressive Scan technology in the PV-D4743 models. This technology enhances video clarity and reduces motion blur, resulting in a more enjoyable viewing experience. The up-conversion feature of the DVD player transforms standard DVDs into near high-definition quality, making older titles look sharp and vibrant on modern televisions.
Another noteworthy characteristic is the built-in Dolby Digital and DTS support, which allows for an immersive audio experience. Users can connect the unit to external surround sound systems, enhancing the overall atmosphere of their viewing experience. The integrated audio and video capabilities ensure that you get a comprehensive home theater experience without needing multiple devices.
The PV-D4743S and PV-D4743 also come equipped with various connectivity options. With multiple audio and video outputs, including composite, S-Video, and digital audio outputs, users can easily connect the unit to a wide range of televisions and sound systems. This ensures compatibility with most home setups.
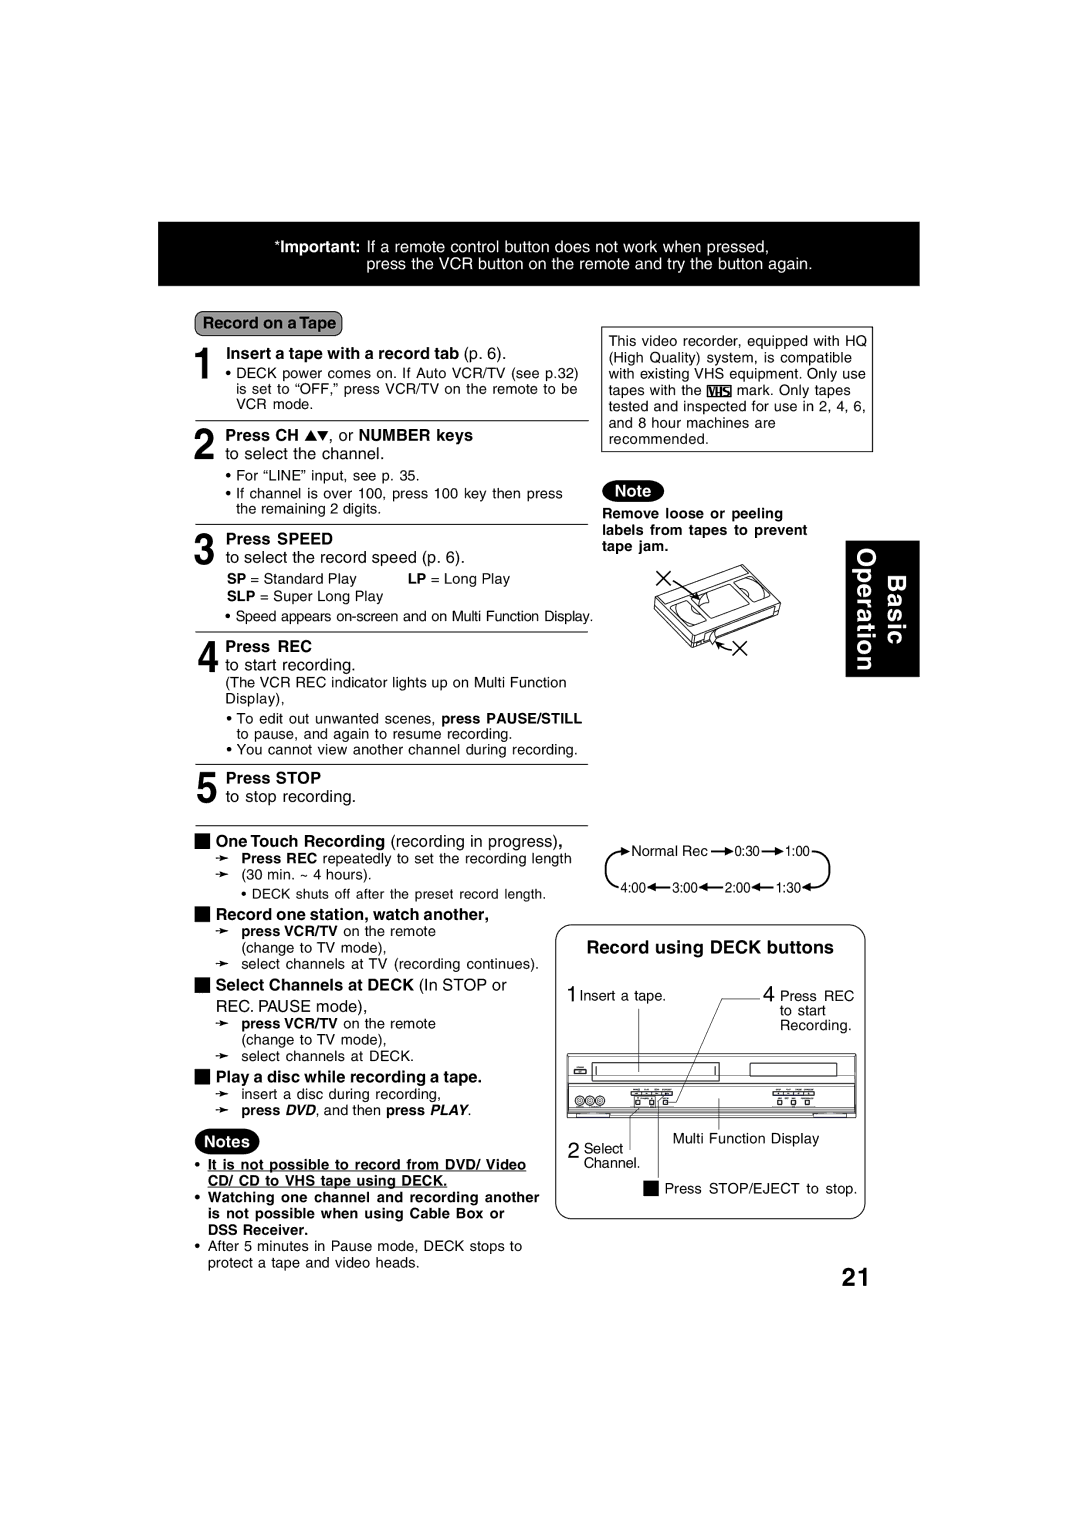
Furthermore, ease of use is a hallmark of these models. The on-screen menu simplifies navigation through different settings, and the remote control offers straightforward access to various functions. Programming recordings on VHS is facilitated by the built-in timer, allowing users to schedule shows with ease.
In conclusion, the Panasonic PV-D4743S and PV-D4743 offer a compelling package for anyone looking to enjoy both VHS and DVD formats in one device. With features like Progressive Scan technology, versatile connectivity options, and immersive audio support, these units create a well-rounded home entertainment experience that caters to all types of media enthusiasts.

