Disc operation (continued)

Page 3 for the buttons position of remote control and main unit.

Note on CD-R and CD-RW

This unit can play CD-R and CD-RW recorded with CD-DA or MP3. Use an audio recording disc for CD-DA and finalize* it when you finish recording. The unit may not be able to play some discs due to the condition of the recording.

*A process performed after recording that enables CD-R/CD-RW players to play audio CD-R and CD-RW.

Caution

Choose discs with this mark: Do not:

• use irregularly shaped CDs.

• attach extra labels and stickers.

• use CDs with labels and stickers that are coming off or with adhesive exuding from under labels and stickers.

attach scratch-proof covers or any other kind of accessory.

write anything on the CD.

clean CDs with liquids (Wipe with a soft, dry cloth.).

Note about using a DualDiscs

The digital audio content side of a DualDiscs does not meet the technical specifications of the Compact Disc Digital Audio (CD-DA) format, so play may not be possible.

Do not use a DualDiscs in this unit as it may not be possible to insert it correctly and it may get scratched or scraped.

MP3

The unit can play MP3, a method of compressing audio without overly hurting audio quality.

When creating MP3 files to play on this unit

Maximum number of tracks and albums: 999 tracks and 256 albums.

Compatible compression rate: Between 64 kbps and 320 kbps (stereo). 128 kbps (stereo) is recommended.

Disc formats: ISO9660 level 1 and level 2 (except for extended formats).

The time for reading TOC depends on the number of the tracks, the folders or folder structures.

Limitations on MP3

This unit is compatible with multi-session but if there are a lot of sessions it takes more time for play to start. Keep the number of sessions to a minimum to avoid this.

This unit cannot play files recorded using packet write.

If the disc includes both MP3 and normal audio data (CD-DA), the unit plays the type recorded in the inner part of the disc.

If the disc includes both MP3 and other types of audio data (e.g. WMA or WAV), the unit plays only the MP3.

Depending on how you create MP3 files, they may not play in the order you numbered them or may not play at all.

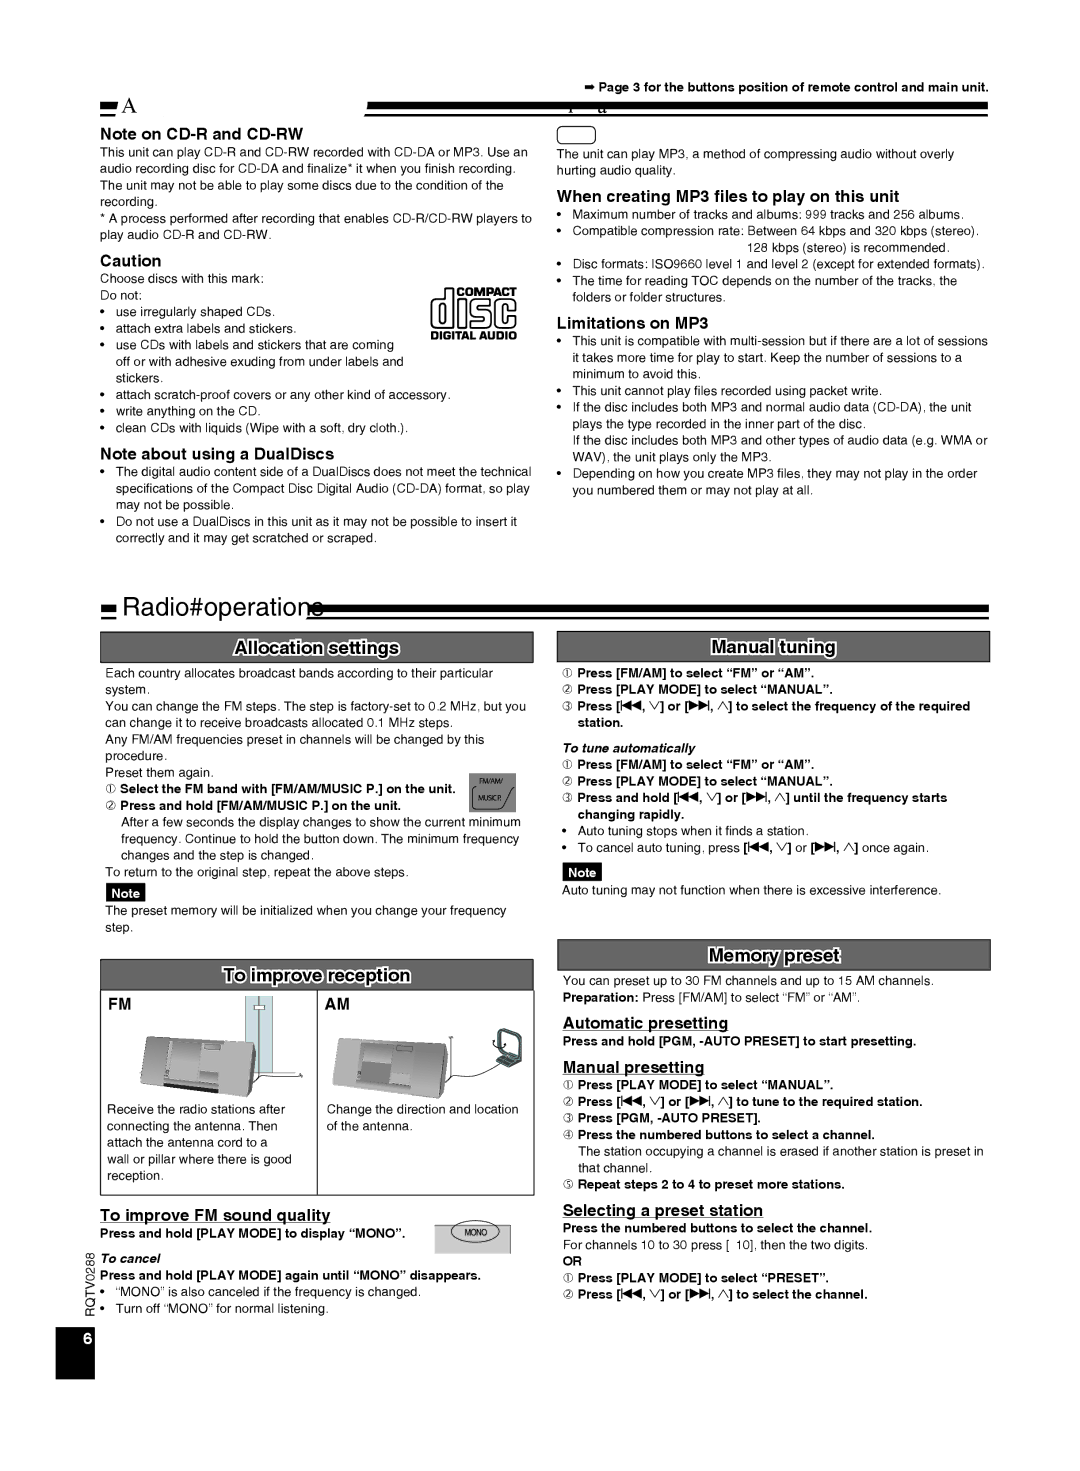
Radio operations

Allocation settings

Each country allocates broadcast bands according to their particular system.

You can change the FM steps. The step is factory-set to 0.2 MHz, but you can change it to receive broadcasts allocated 0.1 MHz steps.

Any FM/AM frequencies preset in channels will be changed by this procedure.

Preset them again.

Select the FM band with [FM/AM/MUSIC P.] on the unit. Press and hold [FM/AM/MUSIC P.] on the unit.

After a few seconds the display changes to show the current minimum frequency. Continue to hold the button down. The minimum frequency changes and the step is changed.

To return to the original step, repeat the above steps.

Note

The preset memory will be initialized when you change your frequency step.

To improve reception

Manual tuning

Press [FM/AM] to select “FM” or “AM”.

Press [PLAY MODE] to select “MANUAL”.

Press [u, 2] or [i, 1] to select the frequency of the required station.

To tune automatically

Press [FM/AM] to select “FM” or “AM”.

Press [PLAY MODE] to select “MANUAL”.

Press and hold [u, 2] or [i, 1] until the frequency starts changing rapidly.

• Auto tuning stops when it finds a station.

• To cancel auto tuning, press [u, 2] or [i, 1] once again.

Note

Auto tuning may not function when there is excessive interference.

Memory preset

You can preset up to 30 FM channels and up to 15 AM channels.

FM

Receive the radio stations after connecting the antenna. Then attach the antenna cord to a wall or pillar where there is good reception.

AM

Change the direction and location of the antenna.

Preparation: Press [FM/AM] to select “FM” or “AM”.

Automatic presetting

Press and hold [PGM, -AUTO PRESET] to start presetting.

Manual presetting

Press [PLAY MODE] to select “MANUAL”.

Press [u, 2] or [i, 1] to tune to the required station. Press [PGM, -AUTO PRESET].

Press the numbered buttons to select a channel.

The station occupying a channel is erased if another station is preset in that channel.

Repeat steps 2 to 4 to preset more stations.


To improve FM sound quality

RQTV0288

Press and hold [PLAY MODE] to display “MONO”.


To cancel


• Turn off “MONO” for normal listening.


Press and hold [PLAY MODE] again until “MONO” disappears.


• “MONO” is also canceled if the frequency is changed.

Selecting a preset station

Press the numbered buttons to select the channel. For channels 10 to 30 press [10], then the two digits.

OR

Press [PLAY MODE] to select “PRESET”.

Press [u, 2] or [i, 1] to select the channel.

6

Page 6
Image 6
Panasonic SCEN38 Radio operations, Allocation settings, To improve reception Manual tuning, Memory preset

SCEN38 specifications

The Panasonic SCEN38 is a cutting-edge addition to the world of home audio systems, designed to provide users with an immersive sound experience. This sleek, compact unit masterfully combines modern aesthetics with advanced audio technologies to meet the demands of contemporary lifestyles.

At the heart of the SCEN38 is its state-of-the-art sound processing technology. Utilizing high-resolution audio capabilities, the system supports various formats, ensuring that every note and nuance of your favorite tracks is rendered with stunning clarity. Whether you are listening to classic vinyl records or streaming the latest hits, the SCEN38 adapts effortlessly, optimizing sound quality and delivering a rich audio experience.

One of the standout features of the SCEN38 is its wireless connectivity options. The system supports Bluetooth and Wi-Fi, enabling seamless streaming from your mobile devices, tablets, and computers. The integration of popular music streaming services allows users to access their favorite playlists and discover new sounds without the hassle of wires. Additionally, the SCEN38 is compatible with voice assistants, making it easier than ever to control your music using just your voice.

The design of the SCEN38 is another highlight, featuring a minimalist look that fits perfectly in any setting. Its compact form factor makes it easy to place in various locations, while the premium materials used in its construction add a touch of elegance. The system’s intuitive controls further enhance the user experience, allowing for quick adjustments and customization to suit individual preferences.

Another key characteristic of the SCEN38 is its multi-room audio capability. Users can easily expand their audio experience by linking multiple units throughout the home, creating a cohesive sound environment. This feature is ideal for entertaining guests or simply enjoying music in different spaces.

In terms of durability, Panasonic has ensured that the SCEN38 is built to last, incorporating robust components that can withstand everyday use. The system also offers various input options, including USB and AUX, providing flexibility in how users choose to connect their devices.

Overall, the Panasonic SCEN38 is a versatile and feature-rich audio system that caters to the needs of both audiophiles and casual listeners alike. With its advanced technology, stylish design, and user-friendly features, the SCEN38 stands out as a top choice for anyone looking to enhance their home entertainment setup. Whether for solo listening or social gatherings, this audio system promises to deliver an unparalleled sonic experience.