SV-AV10U specifications
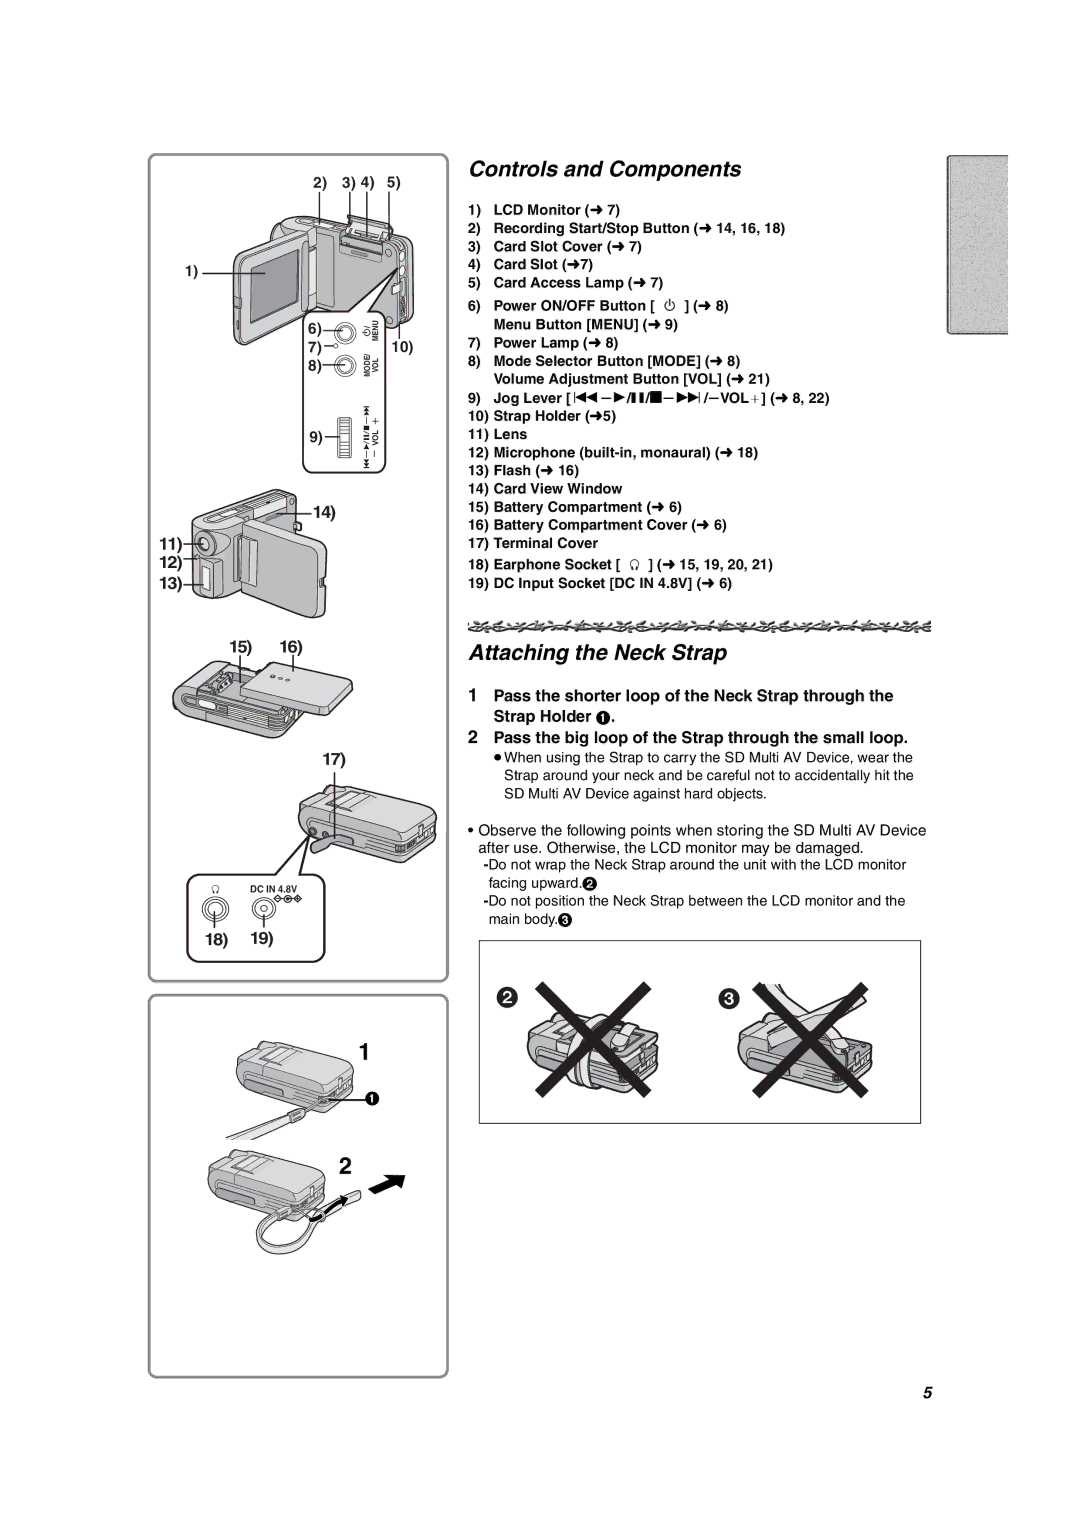
The Panasonic SV-AV10U is a compact digital audio-video recorder that combines innovation and convenience for users seeking a versatile device for capturing high-quality content. Designed primarily for portability and ease of use, the SV-AV10U integrates various advanced technologies that cater to both amateur and professional videographers alike.One of the standout features of the SV-AV10U is its ability to record video in a resolution of 640x480 pixels, which was considered quite notable for its time. This feature, along with a 30 frames per second recording capability, ensures smooth playback and clear images. Furthermore, it supports a variety of recording formats, including MPEG-4, which allows for efficient storage and easy sharing of content.
The device is powered by a built-in lithium-ion battery, providing extended recording times that are essential for capturing longer events or activities. The inclusion of a 1.5-inch color LCD screen enhances user experience by allowing for easy navigation of menus and immediate playback of recorded videos without needing an external device.
In terms of audio, the SV-AV10U features a built-in stereo microphone which captures clear audio, complementing the video recording capabilities. Additionally, it supports voice recording, making it a versatile option for those who also enjoy creating audio content.
Connectivity is another key aspect of the SV-AV10U. It comes equipped with a USB port, which facilitates easy transfer of files to computers or other devices, enhancing the overall user experience. The inclusion of a 1.5-inch speaker also allows for immediate audio playback, making it convenient for users to review their recordings on the go.
Durable construction is also a hallmark of the SV-AV10U, designed to withstand the rigors of travel and outdoor use. Its lightweight yet robust design makes it an excellent choice for users who are often on the move and require a reliable device.
Overall, the Panasonic SV-AV10U is a well-rounded digital video recorder that integrates essential features and technologies, making it ideal for casual users and content creators who need a portable solution for video and audio recording. Its blend of quality, durability, and user-friendly design ensures it remains a useful tool for capturing life's moments.

