Eyewear initial setup
To pair the 3D Eyewear with the TV for the first time, follow these steps:
![]() Turn the TV on
Turn the TV on
![]() Place the 3D Eyewear within 1.6 ft. (50 cm) of the TV.
Place the 3D Eyewear within 1.6 ft. (50 cm) of the TV.
![]() Remove the temporary pull tab to enable the battery.
Remove the temporary pull tab to enable the battery.
![]() Press and hold the power button on the 3D Eyewear for 1 second.
Press and hold the power button on the 3D Eyewear for 1 second.
•The LED will light for 2 seconds and then flash.
•The 3D Eyewear will turn on and pairing will begin.
•A confirmation message will be shown on the TV.
After the pairing process is complete, the 3D Eyewear will automatically reconnect with the TV anytime it is turned on near the TV. The TV should be in 3D mode.
Note
![]() The 3D Eyewear will turn off automatically when not paired with the TV or when 2D content is displayed.
The 3D Eyewear will turn off automatically when not paired with the TV or when 2D content is displayed.
Viewing 3D images
Using the television menu controls, set so that 3D images are shown.
●You can watch 3D images in the following cases:
•When a 3D image supporting
•3D image supported broadcast (program)
•3D Photo, 3D Movie taken by LUMIX/Camcorder.
●4K 3D format is not supported.
Turn the 3D Eyewear on and put it on
Make sure that registration is finished completely. (Displays messages and information on the screen.)
View
When the TV receives a 3D signal, it also tries to detect the 3D mode (format). 3D images are automatically displayed according to the signal. If the 3D images are not displayed correctly or the images cause discomfort, the images can be adjusted by 3D format select or 3D settings.
Turn off the 3D Eyewear
The 3D Eyewear indicator lamp turns off, and the power turns off.
●Please refer to eHELP (p. 21) for more details.
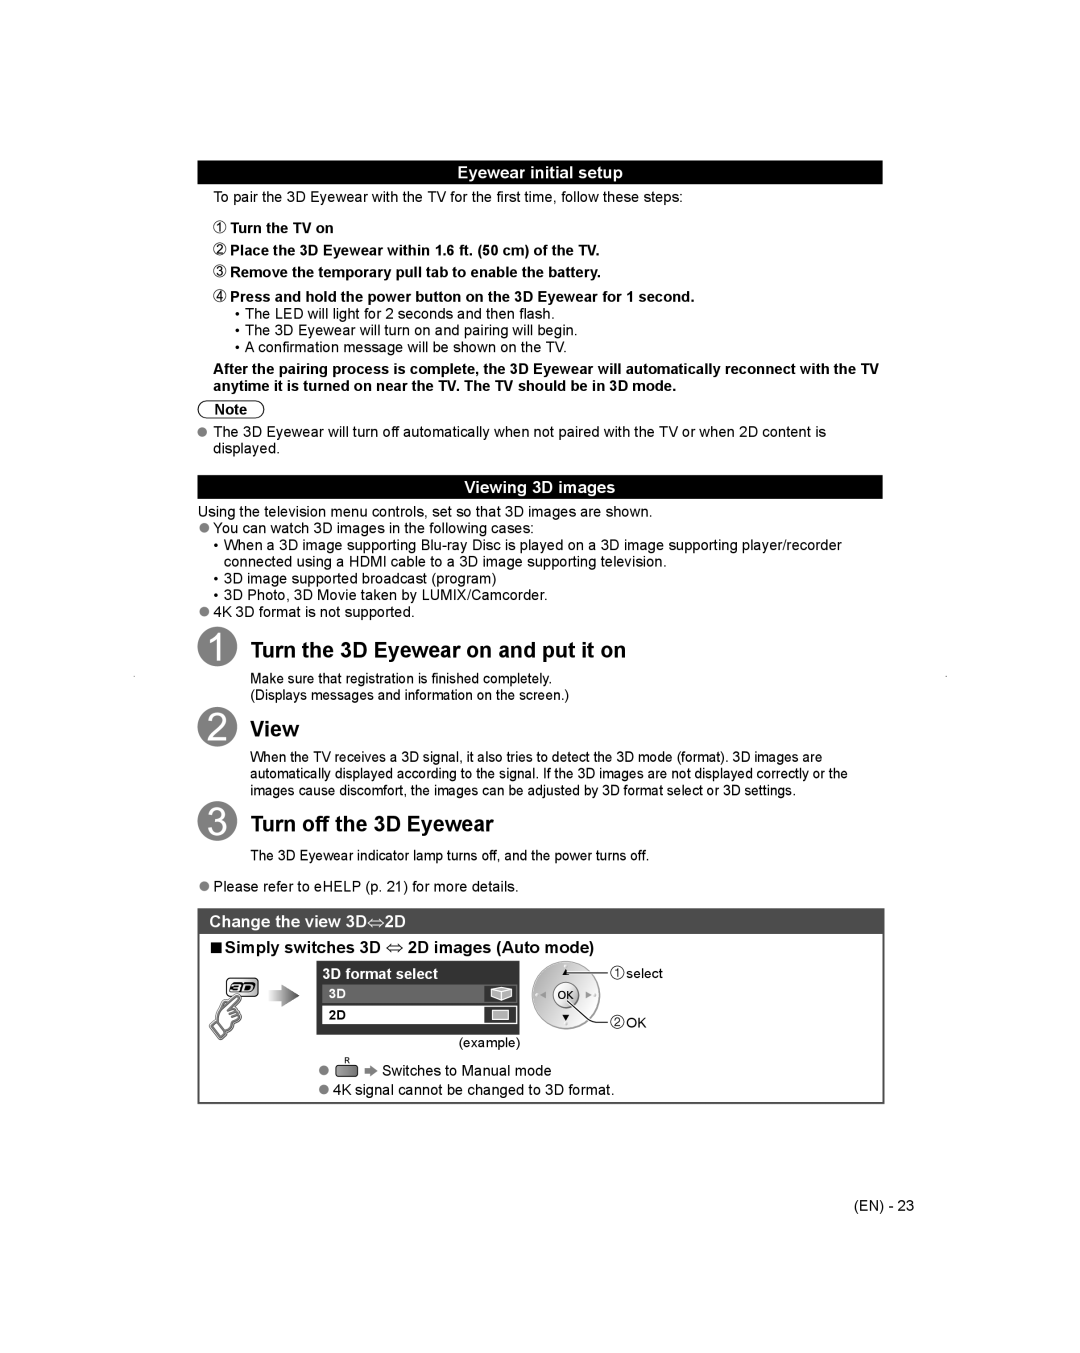
Change the view 3D⇔2D
■Simply switches 3D ⇔ 2D images (Auto mode)
3D format select | select |
3D |
|
2D | OK |
| |
| (example) |
●![]()
![]() Switches to Manual mode
Switches to Manual mode
●4K signal cannot be changed to 3D format.
(EN) - 23