Options Adjustments
Item |
|
|
|
|
| Adjustments | |
| Off | PC | INPUT1 | INPUT2 | INPUT3 | ||
| Locks the input switch operation. |
|
| ||||
| Notes: |
|
|
|
|
| |
| • Only the adjusted signal is displayed (see page 15). | ||||||
INPUT lock | • Signal can be displayed when the Terminal board is installed. | ||||||
• Input switch can be used when this is set to “Off”. | |||||||
| |||||||
| • In two screen display mode, if anything other than “Off” is set, the value will be fixed as the value input in | ||||||
| the single screen display mode. |
|
| ||||
| • When a dual input terminal board is attached, A or B is displayed depending on the selected input signal. | ||||||
| (Ex. INPUT1A, INPUT1B) |
|
| ||||
| Off | MENU&ENTER | On |
|
| ||
| Off: All the buttons on main unit can be used. | ||||||
| MENU&ENTER: Locks | and | buttons on main unit. | ||||
|
|
|
| MENU |
| ENTER/ |
|
|
|
|
|
Button lock | On: Locks all the button on main unit. |
|
|
|
| ||||||
Sets Button lock with the unit buttons in the following procedure. |
|
| |||||||||
| Off: Press | four times→Press | four times→Press | four times→Press |
| ||||||
| MENU&ENTER: Press |
| INPUT |
| four times→Press | ENTER/ |
| ||||
| four times→Press | four times→Press |
| ||||||||
| On: Press |
| ENTER/ |
|
| four times→Press | INPUT |
| ENTER/ | ||
| four times→Press | four times→Press |
| ||||||||
|
|
|
|
|
| ENTER/ |
|
|
| ENTER/ |
|
| Off | User1 | User2 | User3 |
|
|
|
| |||
| Off: | You can use all of the buttons on the remote control. |
|
| |||||||
Remocon User level | User1:You can only use | , | , , | , , | buttons on the remote control. |
| |||||
| User2:You can only use | button on the remote control. | |
| User3:Locks all the buttons on remote control. | ||
| Off: | Sets normal two screen display mode (see page 19). | |
| On: | Sets Advanced PIP mode (see page 20). | |
Advanced PIP | Notes: |
|
|
•When “INPUT lock” is “On”, you cannot use all the two screen display functions.
•![]()
![]()
![]() ,
, ![]() buttons are unavailable during Advanced PIP mode operation.
buttons are unavailable during Advanced PIP mode operation.
| Enable: | Enables the | ||||||||
Disable: | Disables the | |||||||||
| Note: |
| When “Disable” is set, the | |||||||
| Normal | Standby | On | |||||||
| Sets the power mode of the unit for when the power recovers from failure or after plugging off and in again. | |||||||||
Initial Power Mode | Normal: Power returns in as the same state as before the power interruption. | |||||||||
Standby: Power returns in standby mode. (Power Indicator : red/orange) | ||||||||||
| ||||||||||
| On: |
| Power returns in power On. (Power Indicator : green) | |||||||
| Note: When using multiple displays, “Standby” is preferred to be set in order to reduce a power load. | |||||||||
| Sets panel ID number when panel is used in “Remote ID” or “Serial ID”. | |||||||||
ID select | Set value range: 0 - 100 |
|
|
|
|
| ||||
| (Standard value: 0) |
|
|
|
|
| ||||
| The setting of this menu is valid only when using ID remote control. | |||||||||
Remote ID | Off: | Disables ID remote control functions. You can use normal remote control operations. | ||||||||
| On: | Enable ID remote control functions. | ||||||||
| Sets the panel ID Control. |
|
|
|
|
| ||||
Serial ID | Off: | Disables external control by the ID. | ||||||||
| On: | Enables the external control by the ID. | ||||||||
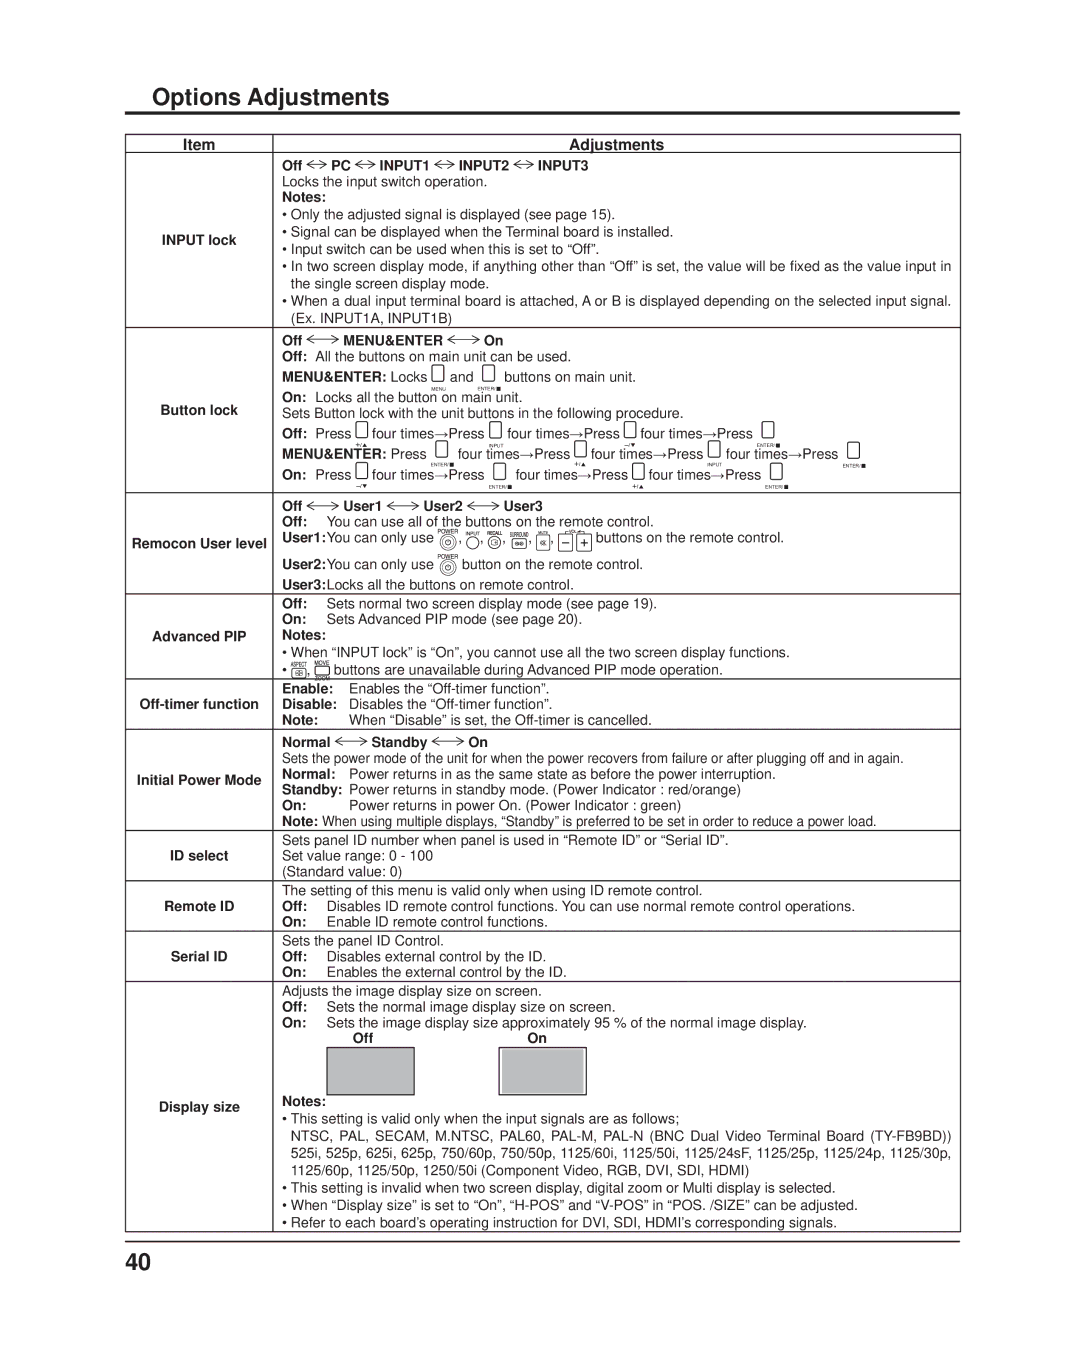
| Adjusts the image display size on screen. | |||||||||
| Off: | Sets the normal image display size on screen. | ||||||||
| On: | Sets the image display size approximately 95 % of the normal image display. | ||||||||
|
|
| Off |
|
| On | ||||
Display size | Notes: |
|
|
|
|
|
|
|
| |
|
|
|
|
|
|
|
| |||
• This setting is valid only when the input signals are as follows; | ||||||||||
| ||||||||||
| NTSC, PAL, SECAM, M.NTSC, PAL60, | |||||||||
| 525i, 525p, 625i, 625p, 750/60p, 750/50p, 1125/60i, 1125/50i, 1125/24sF, 1125/25p, 1125/24p, 1125/30p, | |||||||||
| 1125/60p, 1125/50p, 1250/50i (Component Video, RGB, DVI, SDI, HDMI) | |||||||||
| • This setting is invalid when two screen display, digital zoom or Multi display is selected. | |||||||||
| • When “Display size” is set to “On”, | |||||||||
| • Refer to each board’s operating instruction for DVI, SDI, HDMI’s corresponding signals. | |||||||||
40