Accessories / Options
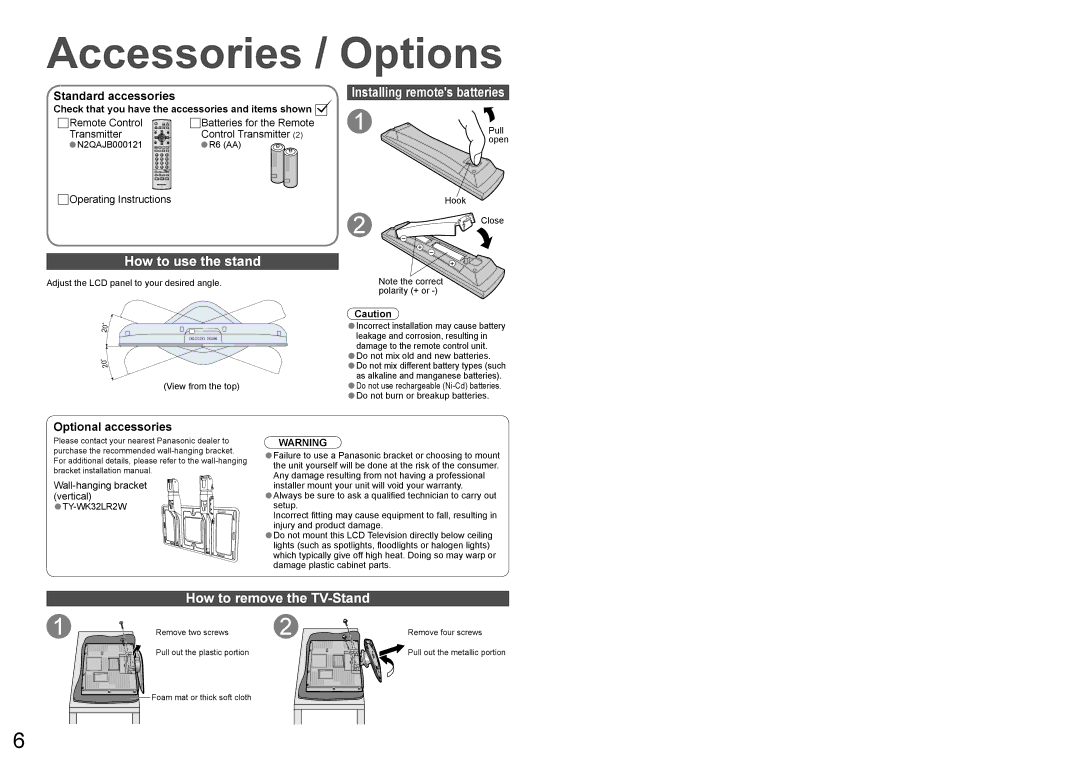
Standard accessories
Check that you have the accessories and items shown 

Remote Control |
| STILL | Batteries for the Remote | |||
Transmitter | MENU | OK | TV/AV | Control Transmitter (2) | ||
• |
|
| N | • |
| |
N2QAJB000121 | 4 | 5 | 6 | R6 (AA) | ||
|
| F.P. INDEX HOLD |
| |||
|
| 1 | 2 | 3 |
|
|
|
| 7 | 8 | 9 |
|
|
|
|
| 0 |
|
|
|
|
| REC |
| VCR DVD |
|
|
TV
![]()
![]() Operating Instructions
Operating Instructions
How to use the stand
Adjust the LCD panel to your desired angle.
20
20
(View from the top)
Installing remote's batteries
1 | Pull |
| open |
Hook
2 | Close |
|
-
+-
+
Note the correct polarity (+ or
Caution
•Incorrect installation may cause battery leakage and corrosion, resulting in damage to the remote control unit.
•Do not mix old and new batteries.
•Do not mix different battery types (such as alkaline and manganese batteries).
•Do not use rechargeable
•Do not burn or breakup batteries.
Optional accessories
Please contact your nearest Panasonic dealer to purchase the recommended
•TY-WK32LR2W
WARNING
•Failure to use a Panasonic bracket or choosing to mount the unit yourself will be done at the risk of the consumer. Any damage resulting from not having a professional installer mount your unit will void your warranty.
•Alwayssetup. be sure to ask a qualified technician to carry out Incorrect fitting may cause equipment to fall, resulting in injury and product damage.
•Do not mount this LCD Television directly below ceiling lights (such as spotlights, floodlights or halogen lights) which typically give off high heat. Doing so may warp or damage plastic cabinet parts.
How to remove the TV-Stand
1 | Remove two screws | 2 |
| Pull out the plastic portion |
|
Remove four screws ![]() Pull out the metallic portion
Pull out the metallic portion
Foam mat or thick soft cloth
6