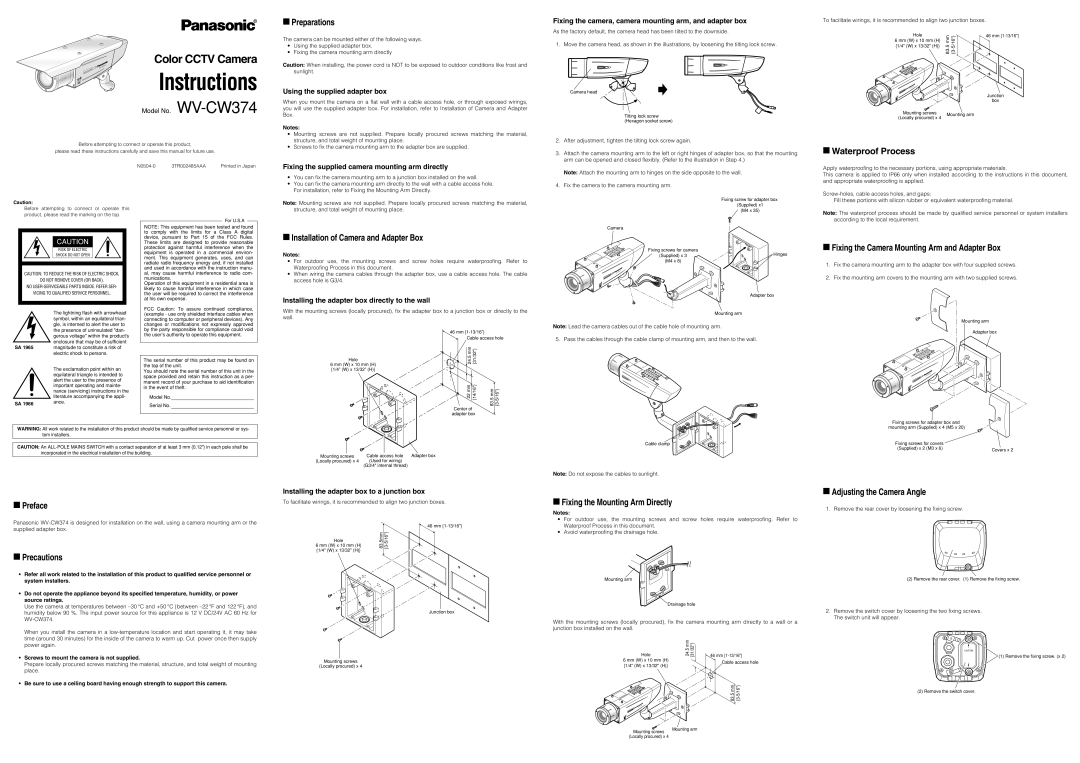
| | W3 | 74 | Color CCTV Camera |
WV | -C | | |
| | |
| | | |
II | Instructions |
SD | |
| Model No. WV-CW374 |
Before attempting to connect or operate this product,
please read these instructions carefully and save this manual for future use.
N0504-0 | 3TR002485AAA | Printed in Japan |
Caution:
■Preparations
The camera can be mounted either of the following ways.
•Using the supplied adapter box.
•Fixing the camera mounting arm directly
Caution: When installing, the power cord is NOT to be exposed to outdoor conditions like frost and sunlight.
Using the supplied adapter box
When you mount the camera on a flat wall with a cable access hole, or through exposed wirings, you will use the supplied adapter box. For installation, refer to Installation of Camera and Adapter Box.
Notes:
•Mounting screws are not supplied. Prepare locally procured screws matching the material, structure, and total weight of mounting place.
•Screws to fix the camera mounting arm to the adapter box are supplied.
Fixing the supplied camera mounting arm directly
•You can fix the camera mounting arm to a junction box installed on the wall.
•You can fix the camera mounting arm directly to the wall with a cable access hole. For installation, refer to Fixing the Mounting Arm Directly.
Note: Mounting screws are not supplied. Prepare locally procured screws matching the material,
Fixing the camera, camera mounting arm, and adapter box
As the factory default, the camera head has been tilted to the downside.
1. Move the camera head, as shown in the illustrations, by loosening the tilting lock screw.
Camera head
Tilting lock screw (Hexagon socket screw)
2.After adjustment, tighten the tilting lock screw again.
3.Attach the camera mounting arm to the left or right hinges of adapter box, so that the mounting arm can be opened and closed flexibly. (Refer to the illustration in Step 4.)
Note: Attach the mounting arm to hinges on the side opposite to the wall.
4.Fix the camera to the camera mounting arm.
Fixing screw for adapter box (Supplied) x1
To facilitate wirings, it is recommended to align two junction boxes.
Hole | 5/16"}-{3 | 46 mm {1-13/16"} |
83.5mm | |
6 mm (W) x 10 mm (H) | | |
{1/4" (W) x 13/32" (H)}
| | -CW | 374 | |
| WV | | |
| | | |
II | | | | Junction |
SD | | | | box |
| | | |
| Mounting screws | Mounting arm |
| (Locally procured) x 4 |
| |
■Waterproof Process
Apply waterproofing to the necessary portions, using appropriate materials.
This camera is applied to IP66 only when installed according to the instructions in this document, and appropriate waterproofing is applied.
Screw-holes, cable access holes, and gaps:
Fill these portions with silicon rubber or equivalent waterproofing material.
Before attempting to connect or operate this product, please read the marking on the top.
CAUTION
RISK OF ELECTRIC
SHOCK DO NOT OPEN
CAUTION: TO REDUCE THE RISK OF ELECTRIC SHOCK,
DO NOT REMOVE COVER (OR BACK).
NO USER-SERVICEABLE PARTS INSIDE. REFER SER-
VICING TO QUALIFIED SERVICE PERSONNEL.
The lightning flash with arrowhead symbol, within an equilateral trian- gle, is interned to alert the user to the presence of uninsulated "dan-
For U.S.A
NOTE: This equipment has been tested and found to comply with the limits for a Class A digital device, pursuant to Part 15 of the FCC Rules. These limits are designed to provide reasonable protection against harmful interference when the equipment is operated in a commercial environ- ment. This equipment generates, uses, and can radiate radio frequency energy and, if not installed and used in accordance with the instruction manu- al, may cause harmful interference to radio com- munications.
Operation of this equipment in a residential area is likely to cause harmful interference in which case the user will be required to correct the interference at his own expense.
FCC Caution: To assure continued compliance, (example - use only shielded interface cables when connecting to computer or peripheral devices). Any changes or modifications not expressly approved by the party responsible for compliance could void
structure, and total weight of mounting place.
■Installation of Camera and Adapter Box
Notes:
•For outdoor use, the mounting screws and screw holes require waterproofing. Refer to Waterproofing Process in this document.
•When wiring the camera cables through the adapter box, use a cable access hole. The cable access hole is G3/4.
Installing the adapter box directly to the wall
With the mounting screws (locally procured), fix the adapter box to a junction box or directly to the wall.
(M4 x 35)
Camera
Fixing screws for camera | Hinges |
(Supplied) x 3 |
(M4 x 8) | |
II
SD
Adapter box
Mounting arm
Note: Lead the camera cables out of the cable hole of mounting arm.
Note: The waterproof process should be made by qualified service personnel or system installers according to the local requirement.
■Fixing the Camera Mounting Arm and Adapter Box
1.Fix the camera mounting arm to the adapter box with four supplied screws.
2.Fix the mounting arm covers to the mounting arm with two supplied screws.
Mounting arm
gerous voltage" within the product's enclosure that may be of sufficient
SA 1965 magnitude to constitute a risk of electric shock to persons.
| The exclamation point within an |
| equilateral triangle is intended to |
| alert the user to the presence of |
| important operating and mainte- |
| nance (servicing) instructions in the |
| literature accompanying the appli- |
SA 1966 | ance. |
|
the user’s authority to operate this equipment.
The serial number of this product may be found on the top of the unit.
You should note the serial number of this unit in the space provided and retain this instruction as a per- manent record of your purchase to aid identification in the event of theft.
Model No.
Serial No.
Hole
6 mm (W) x 10 mm (H) {1/4” (W) x 13/32” (H)}
46 mm {1-13/16”}
Cable access hole
| 24.5 mm | {31/32"} | |
| 22 mm | | {14/16"} | 83.5 mm {3-5/16"} |
| |
| |
| | | |
Center of adapter box
5. Pass the cables through the cable clamp of mounting arm, and then to the wall.
WARNING: All work related to the installation of this product should be made by qualified service personnel or sys- tem installers.
CAUTION: An ALL-POLE MAINS SWITCH with a contact separation of at least 3 mm {0.12"} in each pole shall be incorporated in the electrical installation of the building.
■Preface
Mounting screws | Cable access hole | Adapter box |
(Locally procured) x 4 | (Used for wiring) | |
| (G3/4" internal thread) | |
Installing the adapter box to a junction box
To facilitate wirings, it is recommended to align two junction boxes.
Cable clamp
Note: Do not expose the cables to sunlight.
■Fixing the Mounting Arm Directly
Notes:
Fixing screws for adapter box and mounting arm (Supplied) x 4 (M5 x 20)
Fixing screws for covers | |
(Supplied) x 2 (M3 x 6) | Covers x 2 |
|
■Adjusting the Camera Angle
1.Remove the rear cover by loosening the fixing screw.
Panasonic WV-CW374 is designed for installation on the wall, using a camera mounting arm or the supplied adapter box.
46 mm {1-13/16"}
83.5mm 5/16"}
•For outdoor use, the mounting screws and screw holes require waterproofing. Refer to Waterproof Process in this document.
•Avoid waterproofing the drainage hole.
■ Precautions |
• Refer all work related to the installation of this product to qualified service personnel or |
| system installers. |
• | Do not operate the appliance beyond its specified temperature, humidity, or power |
| source ratings. |
| Use the camera at temperatures between –30 °C and +50 °C {between –22 °F and 122 °F}, and |
| humidity below 90 %. The input power source for this appliance is 12 V DC/24V AC 60 Hz for |
| WV-CW374. |
| When you install the camera in a low-temperature location and start operating it, it may take |
| time (around 30 minutes) for the inside of the camera to warm up. Cut power once then supply |
| power again. |
• | Screws to mount the camera is not supplied. |
| Prepare locally procured screws matching the material, structure, and total weight of mounting |
6 mm (W) x 10 mm (H) {1/4" (W) x 13/32" (H)}
Mounting screws
Mounting arm
Drainage hole
With the mounting screws (locally procured), fix the camera mounting arm directly to a wall or a junction box installed on the wall.
Hole | 24.5 mm {31/32"} | | 46 mm {1-13/16"} |
|
6 mm (W) x 10 mm (H) | | | Cable access hole |
| |
| | |
(2)Remove the rear cover. (1) Remove the fixing screw.
2.Remove the switch cover by loosening the two fixing screws. The switch unit will appear.
CAUTION
(1) Remove the fixing screw. (x 2)
 Mounting arm Mounting screws