To edit the CAMERA ID

1.Move the cursor to CAMERA ID. The factory default setting is OFF.

2.Press I. The CAMERA ID menu appears. The cursor on the letter “0” is highlighted.

3.Move the cursor to the character you want to edit by pressing L/M/J/ K.

4.After selecting the character, press I. The selected character appears in the editing area. (The cursor in the editing area moves to the right automatically at this moment.)

5.Repeat the steps above until all characters are edited.

Command Usage

Move the cursor to the respective commands, and press I.

SPACE: Adds a blank space to the cursor position in the editing area.

POSI: opens the camera ID position window. Move the highlighted camera ID to the desired posi- tion with L/M/J/K, and press I.

Note: The camera ID will be displayed under the clock display when both of them are set to ON.

RET: Returns to the CAM SETUP menu.

END: Closes the setup menu and returns to cam- era image screen.

RESET: Cancels all characters in the editing area.

Highlighted

WV-NP472

To replace a specific character in the CAMERA ID

1.Move the cursor to the editing area by pressing

K.

2.Move the cursor to the character to be replaced by pressing L or M. Then move the cursor to the character area and select a new character.

3.Press I to determine the CAMERA ID.

2. Light Control Setting (ALC/ELC)

You can select the mode for adjusting the lens iris. ALC: If you use a auto iris lens, select this parameter. ELC: If you use a fixed or manual iris lens, select this

parameter.

The factory default setting is ALC.

1.Move the cursor to ALC/ELC.

2.Select ALC or ELC.

Cautions:

1.Under bright lighting conditions such as outdoors, use an ALC type lens because the ELC control range is not wide enough under these conditions.

2.Use an ALC type lens if the following phenomena occur:

Strong smear and/or blooming on highlight objects such as spotlight or sunlight from win- dows.

Noticeable flicker in the picture and/or color rendition variations.

3.If ELC is selected, SUPER-D2 and SHUTTER are not available and white balance mode is automati- cally set to ATW1 or ATW2 previously set.

4.If ELC is selected for ALC/ELC and a fixed iris lens is used, the focal depth becomes shallower than with the ALC type lens. Therefore, the range of focus-to-object distance becomes narrower.

2-1. ALC Mode with SUPER-D2 ON

Super Dynamic2 Function (SUPER-D2)

The important object in a scene is usually placed in the center of the monitor screen. In the SUPER-D2 mode, more photometric weight is given to the center of the screen (where the important object is located) than to the edge of the screen (where bright backlight would most likely be located). You can use the SUPER-D2 function if you select ALC. It eliminates interference by strong background lighting which makes the camera picture dark, such as a spotlight.

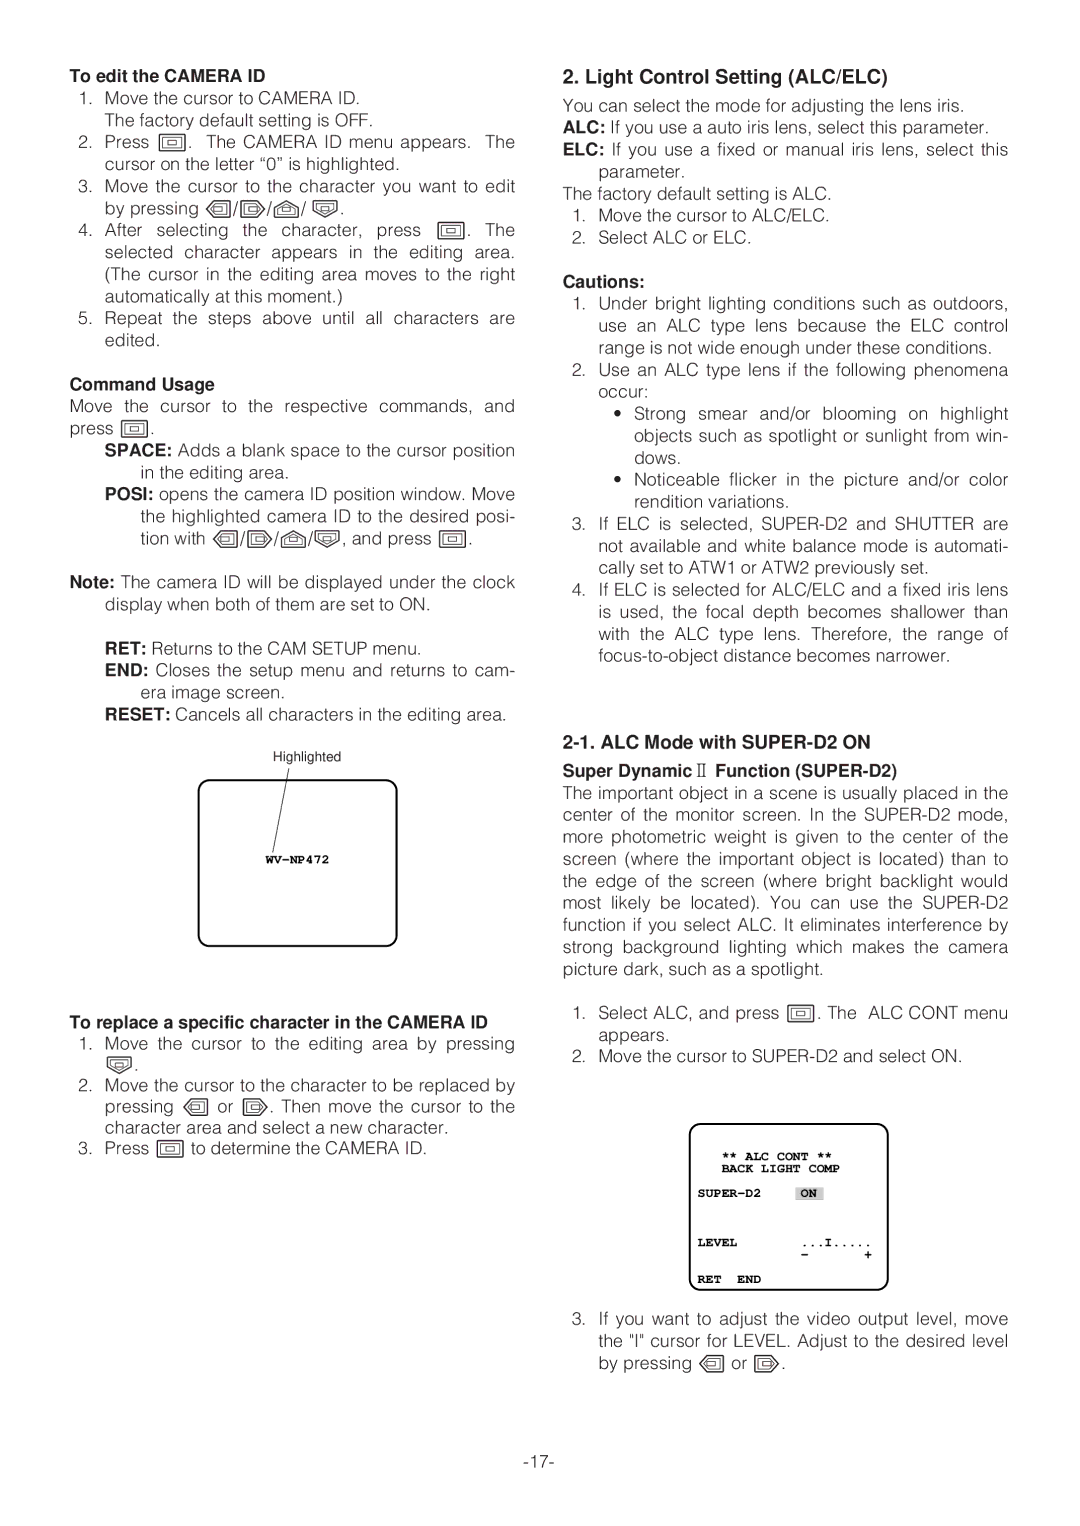
1.Select ALC, and press I. The ALC CONT menu appears.

2.Move the cursor to SUPER-D2 and select ON.

** ALC CONT **

BACK LIGHT COMP

SUPER-D2

ON


LEVEL

...I


-

+

RET END

3.If you want to adjust the video output level, move

the "I" cursor for LEVEL. Adjust to the desired level by pressing L or M.

-17-

Page 17
Image 17
Panasonic WV-NP472 operating instructions Light Control Setting ALC/ELC, ALC Mode with SUPER-D2 on

WV-NP472 specifications

The Panasonic WV-NP472 is an advanced network camera designed for professional surveillance applications. It features a sleek and compact design that is suitable for a variety of environments, from retail spaces to corporate offices. Key to its functionality is the capability to deliver high-quality video footage, ensuring that critical events are captured with clarity.

At the heart of the WV-NP472 is a powerful 1/3-inch CCD image sensor, which allows the camera to produce exceptional video resolution of 720x480 pixels. This high-resolution capability is essential for discerning details in both bright and low-light conditions. To enhance the image quality further, the camera employs advanced digital signal processing technology that optimizes picture clarity and reduces noise.

One of the standout features of the WV-NP472 is its infrared (IR) sensitivity, enabling effective monitoring in total darkness. With built-in IR illumination, the camera provides visibility of up to 15 meters at night, making it an ideal solution for 24/7 surveillance needs.

In addition to its imaging capabilities, the WV-NP472 supports multiple video formats, including JPEG and MPEG4, allowing flexibility in storage management and network bandwidth usage. The camera can be configured to stream video at various bit rates, accommodating both high-quality recording and efficient transmission for remote viewing.

The user-friendly interface of the WV-NP472 includes an intuitive web-based configuration tool. This allows for easy adjustments in settings, such as motion detection, alarm notifications, and user management. With its multi-layered security features, including password protection and HTTPS encryption, the camera ensures that surveillance data remains secure.

The WV-NP472 is also equipped with a weatherproof housing, providing protection against environmental elements. This durability makes it suitable for outdoor installations, ensuring reliable operation regardless of the weather conditions.

Furthermore, the camera is part of Panasonic’s i-PRO lineup, integrating seamlessly with various Panasonic NVRs and cloud services. This interoperability enhances the overall surveillance experience, enabling operators to monitor multiple camera feeds effortlessly and maintain comprehensive security coverage across multiple premises.

In summary, the Panasonic WV-NP472 combines innovative technology with robust features, making it a reliable choice for any surveillance requirement. With its high-resolution video quality, night vision capabilities, and strong security measures, it stands out as a valuable asset in the realm of modern security solutions.