Step 3: Select Antenna or Cable
This selection is only available when this TV is prepared to receive
Select Antenna to install all digital terrestrial (DVB- T) and analogue channels available.
Select Cable to install all digital cable
‡Press o or œ to select Antenna or Cable. ® Press Next.
ÒIf the TV asks for it, enter the Network ID you received from your provider.
rNote
You can do a Channel installation if you are both connected to a digital antenna and a cable network. Therefore do the installation twice. To watch the stored Antenna channels or the stored Cable channels, you will have to switch between Antenna or Cable in the Channel installation > Antenna or Cable menu.
Step 4: Install TV and radio channels
Your TV will search for and store all available digital and analogue TV channels and all available digital radio channels.
If you selected Cable in Step 3, a Settings menu is available. Leave these settings unchanged unless your provider supplied specific values to use for Network frequency, Network ID or Symbol rate. Follow the text on screen to change the settings. Use the digit keys to enter the numbers. You can also select to install analogue channels or not.
‡Select Start.
The installation may take a few minutes.
In case of Cable selection, the TV can ask to enter the Network ID supplied by the cable provider. Enter this ID with the digit keys.
®When the installation is done, press Finish to return to the Channel installation menu.
ÒPress Menu to quit the menu.
àTip
When digital channels are found, the list of installed channels may show some empty channel numbers. If you want to rename, reorder or uninstall stored channels, see section 6.3 Rearrange channels.
Step 5 Clock, time zone and daylight saving selection
Only available when the country selected supports digital broadcasts.
Go to a next step if this step is not applicable.
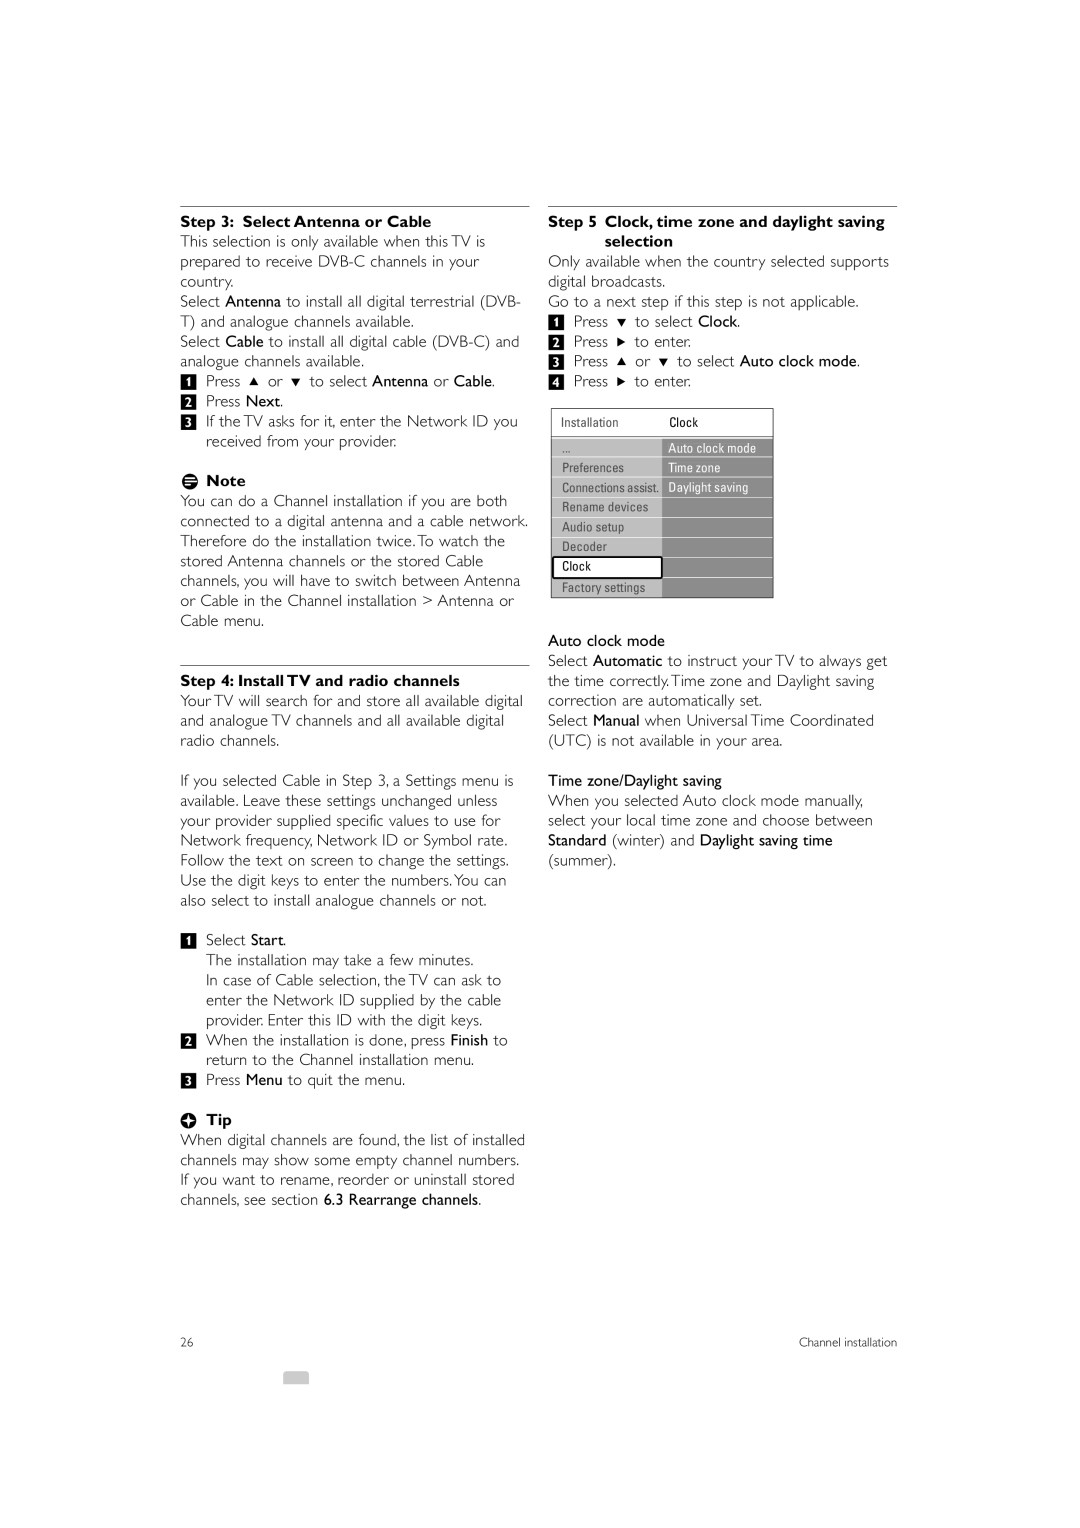
‡Press œ to select Clock. ® Press π to enter.
ÒPress o or œ to select Auto clock mode.
† Press π to enter.
Installation Clock
Auto clock mode
Preferences Time zone
Connections assist. Daylight saving
Rename devices
Audio setup
Decoder
Clock
Factory settings
Auto clock mode
Select Automatic to instruct your TV to always get the time correctly. Time zone and Daylight saving correction are automatically set.
Select Manual when Universal Time Coordinated (UTC) is not available in your area.
Time zone/Daylight saving
When you selected Auto clock mode manually, select your local time zone and choose between Standard (winter) and Daylight saving time (summer).
26 | Channel installation |