●DIP Switch Setup
An
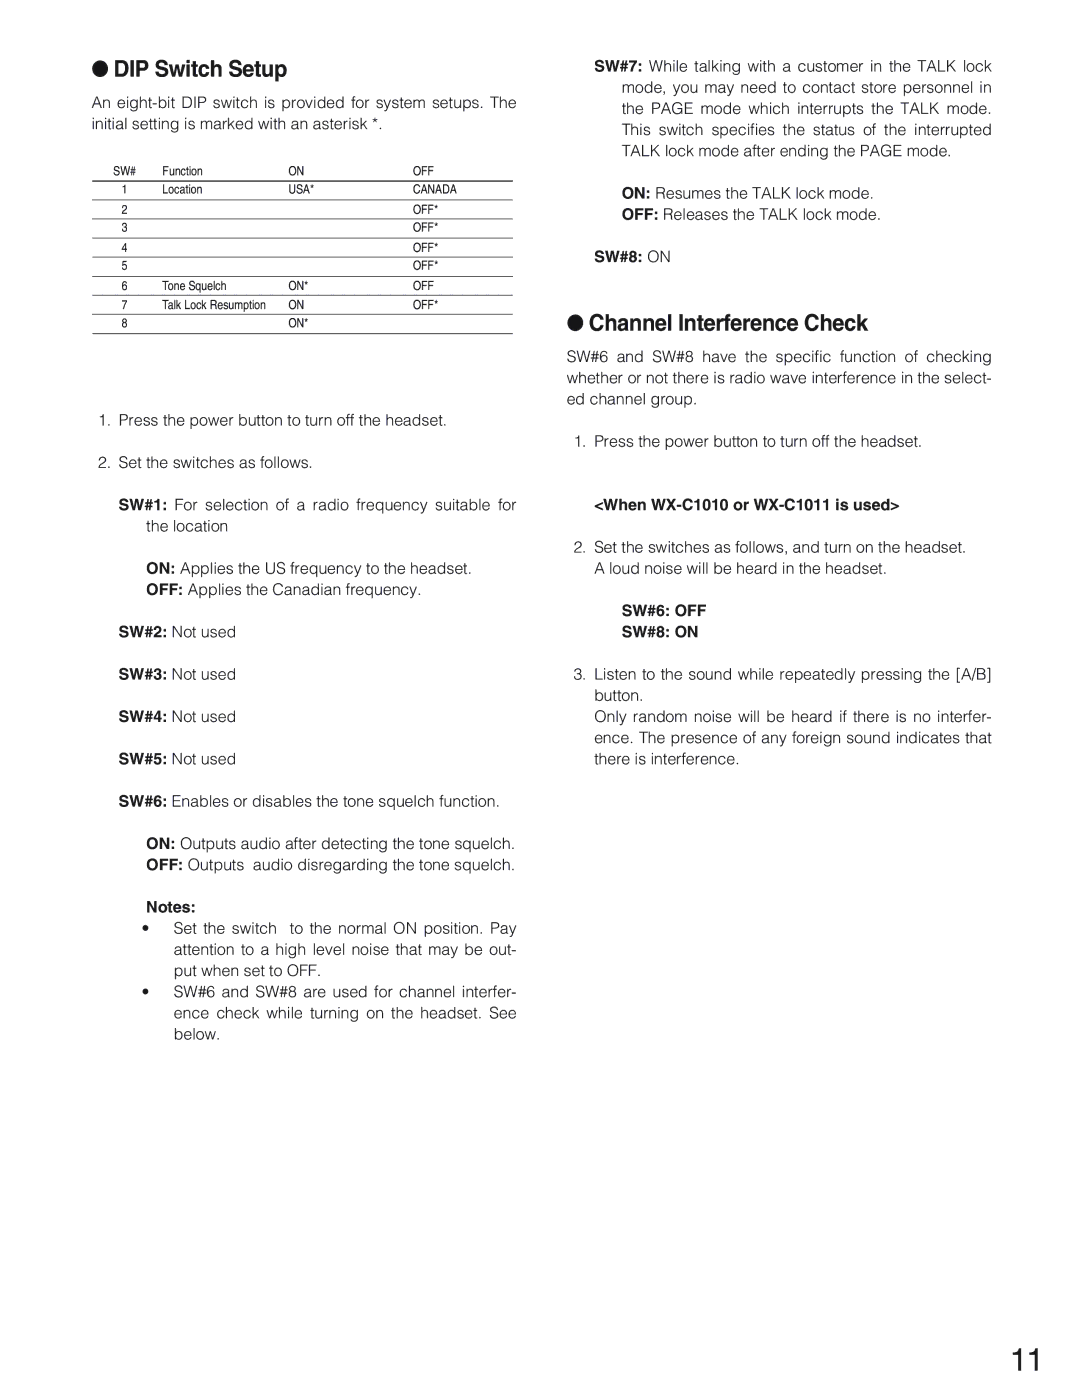
SW# | Function | ON | OFF |
1 | Location | USA* | CANADA |
|
|
|
|
2 |
|
| OFF* |
|
|
|
|
3 |
|
| OFF* |
|
|
|
|
4 |
|
| OFF* |
|
|
|
|
5 |
|
| OFF* |
|
|
|
|
6 | Tone Squelch | ON* | OFF |
|
|
|
|
7 | Talk Lock Resumption | ON | OFF* |
|
|
|
|
8 |
| ON* |
|
|
|
|
|
1.Press the power button to turn off the headset.
2.Set the switches as follows.
SW#1: For selection of a radio frequency suitable for the location
ON: Applies the US frequency to the headset.
OFF: Applies the Canadian frequency.
SW#2: Not used
SW#3: Not used
SW#4: Not used
SW#5: Not used
SW#6: Enables or disables the tone squelch function.
ON: Outputs audio after detecting the tone squelch.
OFF: Outputs audio disregarding the tone squelch.
Notes:
•Set the switch to the normal ON position. Pay attention to a high level noise that may be out- put when set to OFF.
•SW#6 and SW#8 are used for channel interfer- ence check while turning on the headset. See below.
SW#7: While talking with a customer in the TALK lock mode, you may need to contact store personnel in the PAGE mode which interrupts the TALK mode. This switch specifies the status of the interrupted TALK lock mode after ending the PAGE mode.
ON: Resumes the TALK lock mode.
OFF: Releases the TALK lock mode.
SW#8: ON
●Channel Interference Check
SW#6 and SW#8 have the specific function of checking whether or not there is radio wave interference in the select- ed channel group.
1.Press the power button to turn off the headset.
<When WX-C1010 or WX-C1011 is used>
2.Set the switches as follows, and turn on the headset. A loud noise will be heard in the headset.
SW#6: OFF
SW#8: ON
3.Listen to the sound while repeatedly pressing the [A/B] button.
Only random noise will be heard if there is no interfer- ence. The presence of any foreign sound indicates that there is interference.
11