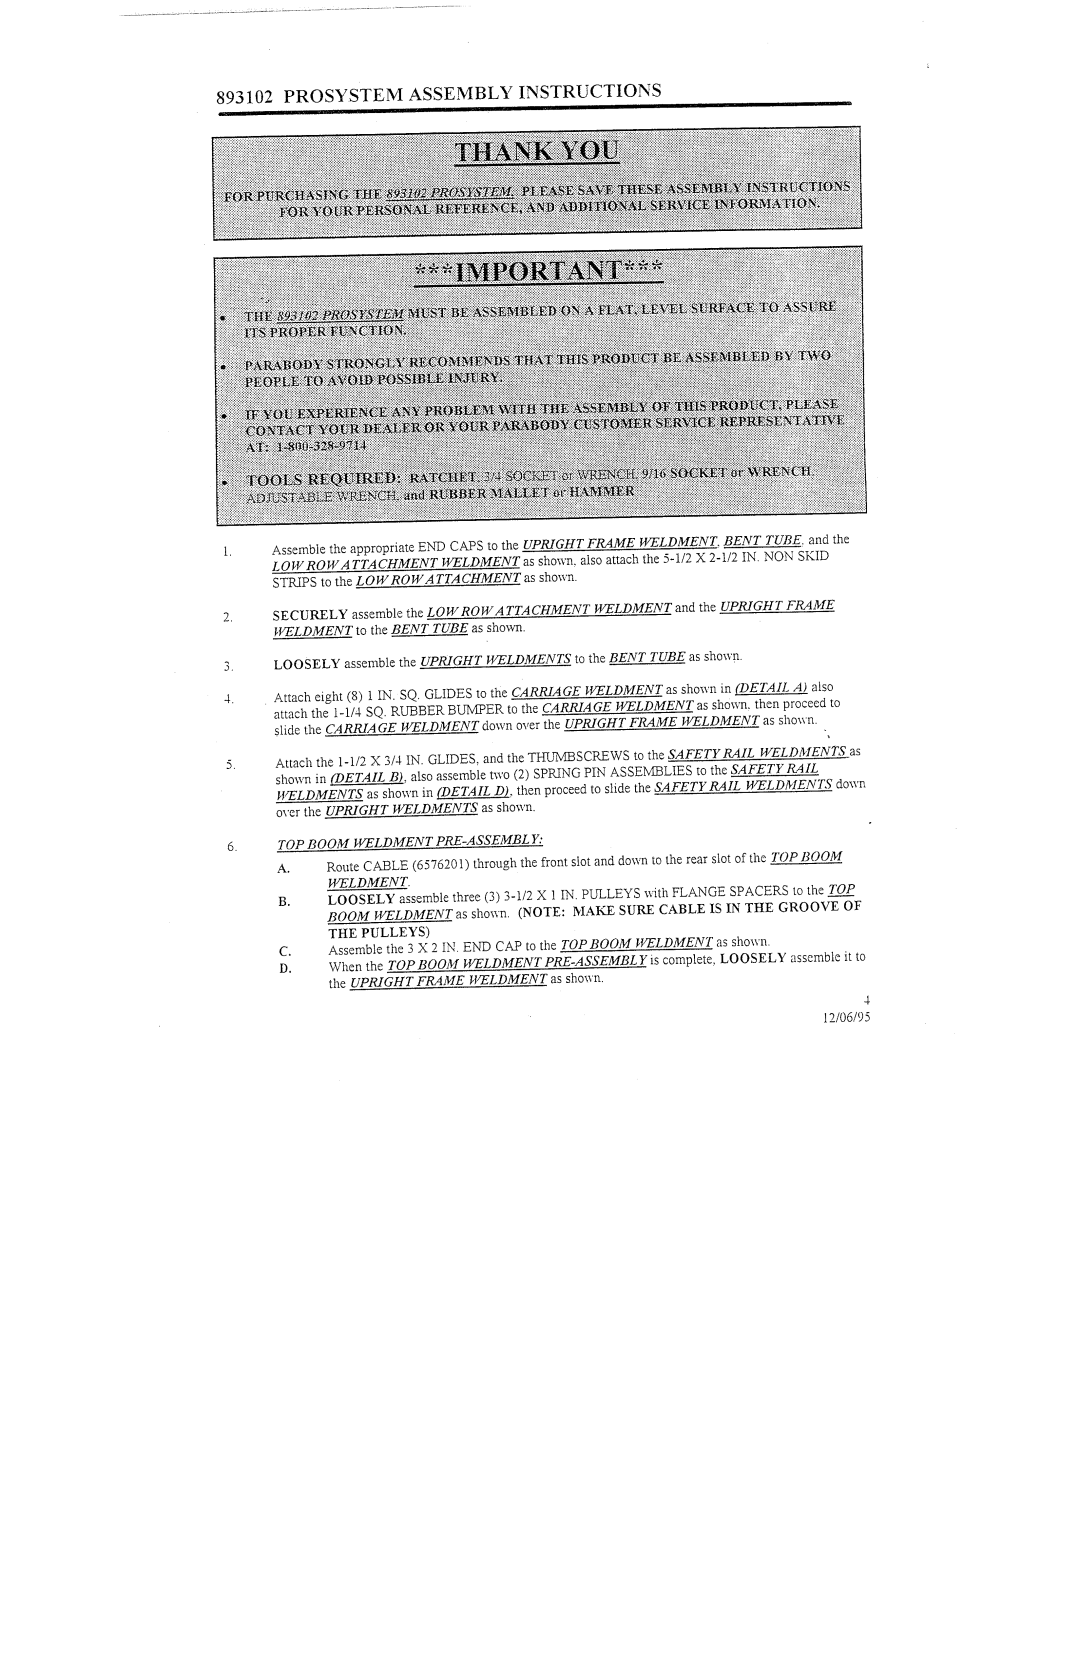
893102 PROSYSTEM ASSEMBLY INSTRUCTIONS
Assemble the appropriate ENDCAY~Sto the UPRIGHTFRAMEWELDMENT..BENTTUBE. and the
LOWROWATTACHMENTWELDMENTas shown, also attach the
SECURELY assemble the LOW ROWATTACHMENTWELDMENTand the UPRIGHT FRAME ~VELDJ~IENTto the BENTTUBEas shown.
LOOSELYassemble the UPRIGHTWELDMENTSto the BENT TUBE as shown.
Attach eight (8) 1 IN. SQ. GLIDESto the CARRIAGEWELDMENTas shown in (DETAIL A) also attach the
slide the CARRIAGEWELDMENTdown over the UPRIGHTFRAMEWELDMENTas shown..
Attach the
shown in (DETAILB), also assembie two (2) SPRINGPIN ASSEMBLIESto the SAFETYRAIL WELDMENTSas shown in (DETAIL D), then proceed to slide the SAFETYRAILWELDMENTSdown
over the UPRIGHTWELDMENTSas shown.
TOP BOOMWELD~'~IENT PRE-ASSEMBL Y:
A.Route CABLE(6576201) through the front slot and downte the rear slot of the TOPBOOM WELDkIENT.
B.LOOSELYassemble three (3)
C.Assemble the 3 X 2 IN. ENDCAP to the TOPBOOMWELDMENTas shown.
D. When the TOP
4
12/06/95
