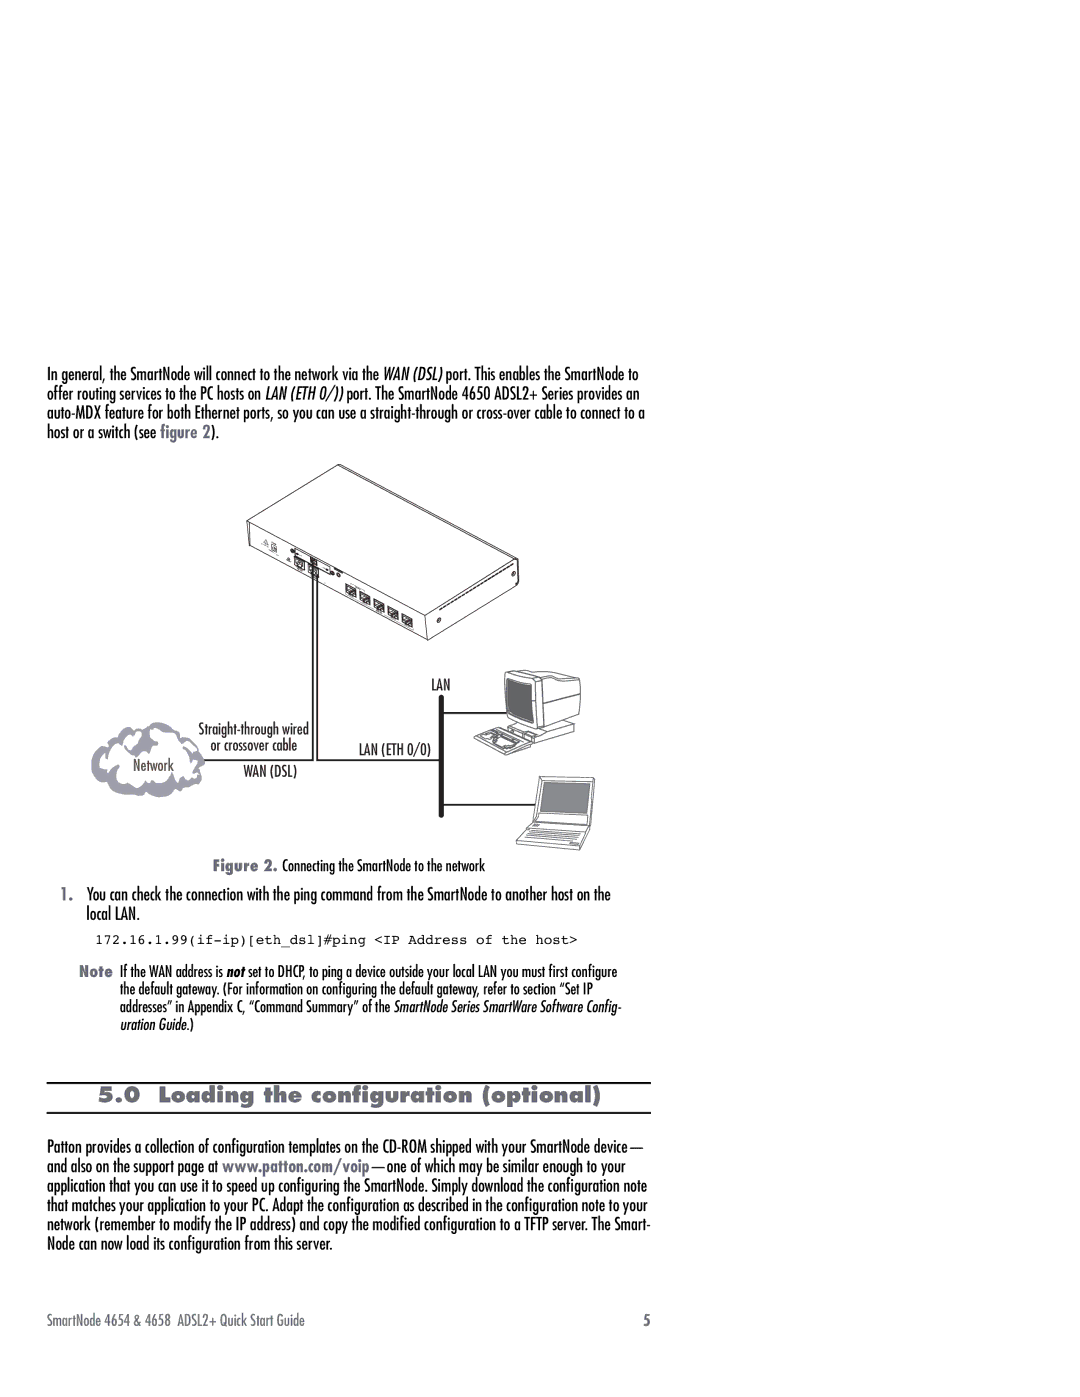
In general, the SmartNode will connect to the network via the WAN (DSL) port. This enables the SmartNode to offer routing services to the PC hosts on LAN (ETH 0/)) port. The SmartNode 4650 ADSL2+ Series provides an
12V, | 1.25A |
|
![]() ACT
ACT
LINK
LAN
|
| |
| or crossover cable | LAN (ETH 0/0) |
Network |
| |
WAN (DSL) |
| |
|
|
Figure 2. Connecting the SmartNode to the network
1.You can check the connection with the ping command from the SmartNode to another host on the local LAN.
Note If the WAN address is not set to DHCP, to ping a device outside your local LAN you must first configure the default gateway. (For information on configuring the default gateway, refer to section “Set IP addresses” in Appendix C, “Command Summary” of the SmartNode Series SmartWare Software Config- uration Guide.)
5.0 Loading the configuration (optional)
Patton provides a collection of configuration templates on the
SmartNode 4654 & 4658 ADSL2+ Quick Start Guide | 5 |
