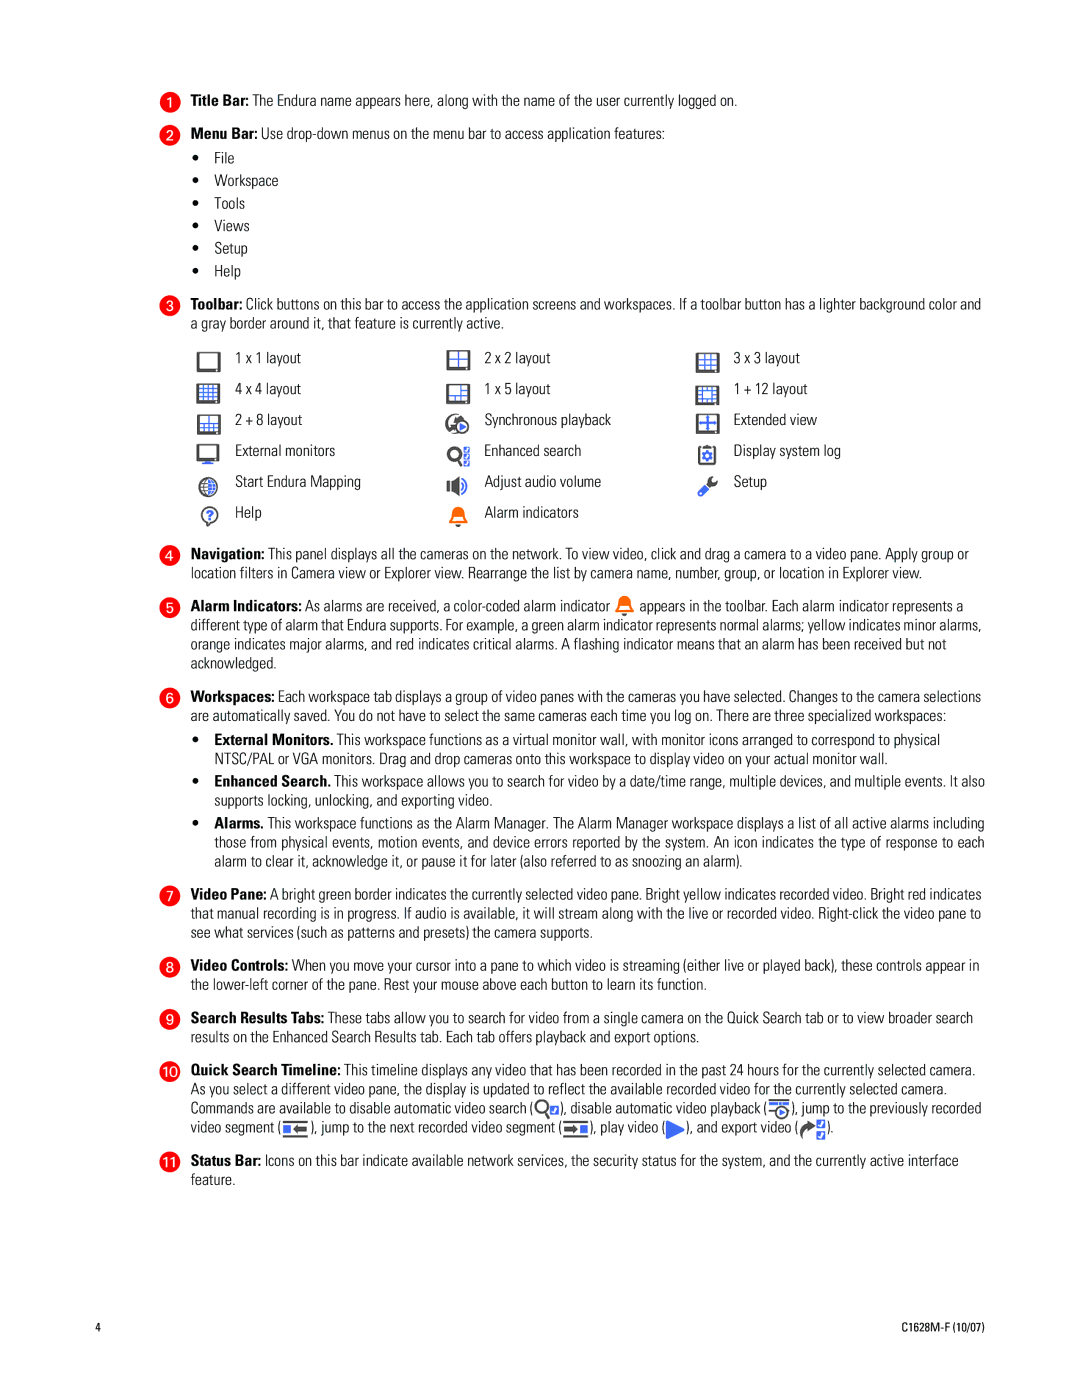
Title Bar: The Endura name appears here, along with the name of the user currently logged on.
Menu Bar: Use
•File
•Workspace
•Tools
•Views
•Setup
•Help
Toolbar: Click buttons on this bar to access the application screens and workspaces. If a toolbar button has a lighter background color and a gray border around it, that feature is currently active.
1 x 1 layout
4 x 4 layout
2 + 8 layout
External monitors
Start Endura Mapping
Help
2 x 2 layout
1 x 5 layout
Synchronous playback
Enhanced search
Adjust audio volume
Alarm indicators
3 x 3 layout
1 + 12 layout
Extended view
Display system log
Setup
Navigation: This panel displays all the cameras on the network. To view video, click and drag a camera to a video pane. Apply group or location filters in Camera view or Explorer view. Rearrange the list by camera name, number, group, or location in Explorer view.
Alarm Indicators: As alarms are received, a ![]() appears in the toolbar. Each alarm indicator represents a different type of alarm that Endura supports. For example, a green alarm indicator represents normal alarms; yellow indicates minor alarms, orange indicates major alarms, and red indicates critical alarms. A flashing indicator means that an alarm has been received but not acknowledged.
appears in the toolbar. Each alarm indicator represents a different type of alarm that Endura supports. For example, a green alarm indicator represents normal alarms; yellow indicates minor alarms, orange indicates major alarms, and red indicates critical alarms. A flashing indicator means that an alarm has been received but not acknowledged.
Workspaces: Each workspace tab displays a group of video panes with the cameras you have selected. Changes to the camera selections are automatically saved. You do not have to select the same cameras each time you log on. There are three specialized workspaces:
•External Monitors. This workspace functions as a virtual monitor wall, with monitor icons arranged to correspond to physical NTSC/PAL or VGA monitors. Drag and drop cameras onto this workspace to display video on your actual monitor wall.
•Enhanced Search. This workspace allows you to search for video by a date/time range, multiple devices, and multiple events. It also supports locking, unlocking, and exporting video.
•Alarms. This workspace functions as the Alarm Manager. The Alarm Manager workspace displays a list of all active alarms including those from physical events, motion events, and device errors reported by the system. An icon indicates the type of response to each alarm to clear it, acknowledge it, or pause it for later (also referred to as snoozing an alarm).
Video Pane: A bright green border indicates the currently selected video pane. Bright yellow indicates recorded video. Bright red indicates that manual recording is in progress. If audio is available, it will stream along with the live or recorded video.
Video Controls: When you move your cursor into a pane to which video is streaming (either live or played back), these controls appear in the
Search Results Tabs: These tabs allow you to search for video from a single camera on the Quick Search tab or to view broader search results on the Enhanced Search Results tab. Each tab offers playback and export options.
Quick Search Timeline: This timeline displays any video that has been recorded in the past 24 hours for the currently selected camera. As you select a different video pane, the display is updated to reflect the available recorded video for the currently selected camera.
Commands are available to disable automatic video search (![]() ), disable automatic video playback (
), disable automatic video playback (![]() ), jump to the previously recorded
), jump to the previously recorded
video segment ( ![]()
![]() ), jump to the next recorded video segment (
), jump to the next recorded video segment (![]()
![]() ), play video ( ), and export video ( ).
), play video ( ), and export video ( ).
Status Bar: Icons on this bar indicate available network services, the security status for the system, and the currently active interface feature.
4 |
|
