CONFIGURING DDNS

Specify a dynamic domain name service (DDNS) user name and password by doing the following:

1.In the Setup window, on the front panel or remote control, press the up/down arrow buttons to select Network. Using the mouse, click Network. The Network page opens.

2.On the front panel or remote control, press ENTER, and then press the up/down arrow buttons to select DDNS. Using the mouse, click DDNS. The DDNS properties are displayed.

3.Enter the DDNS user name settings.

a.On the front panel or remote control, press ENTER. Using the mouse, click User Name. The settings for the selected property are highlighted.

b.On the front panel or remote control, press ENTER. Using the mouse, click the property setting. The settings box changes color and the virtual keyboard opens.

4.Enter the DDNS user name (use the Shift button to display uppercase or lowercase characters.)

a.

On the front panel or remote control, press any of the arrow buttons

to move the cursor to a character, and then


press ENTER. Using the mouse, click a character. The selected character appears in the text entry box.

b.Repeat step 4a to enter the remaining characters of the user name.

5. On the front panel or remote control, press any of the arrow buttons

to highlight OK, and then press ENTER. Using the

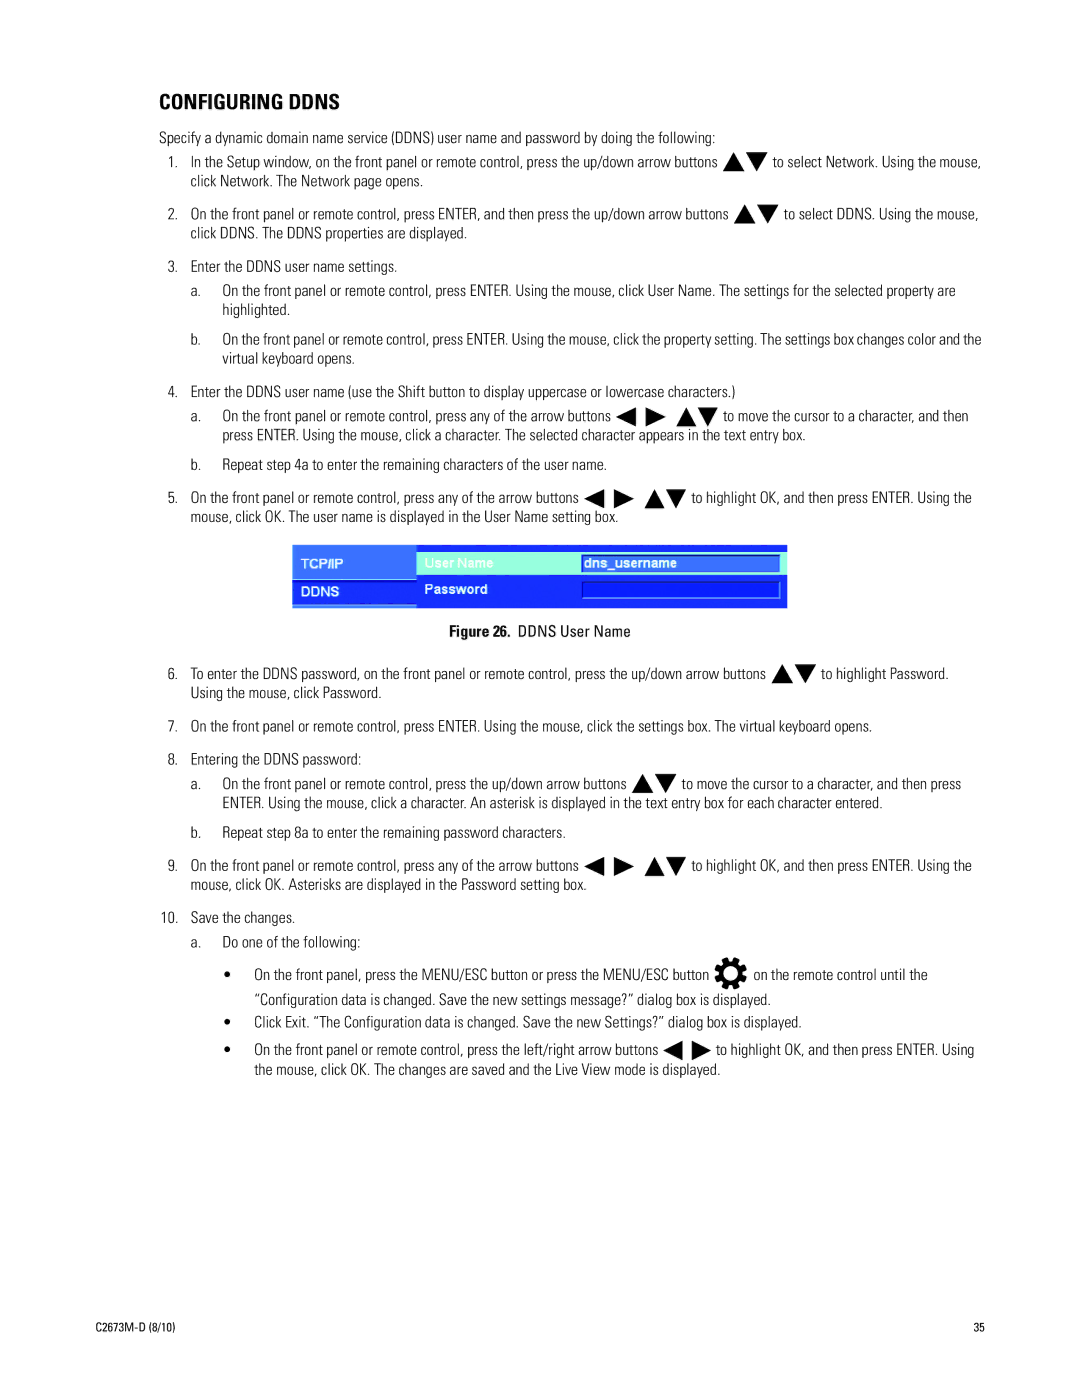
mouse, click OK. The user name is displayed in the User Name setting box.


Figure 26. DDNS User Name

6.To enter the DDNS password, on the front panel or remote control, press the up/down arrow buttons to highlight Password. Using the mouse, click Password.

7.On the front panel or remote control, press ENTER. Using the mouse, click the settings box. The virtual keyboard opens.

8.Entering the DDNS password:

a.On the front panel or remote control, press the up/down arrow buttons to move the cursor to a character, and then press ENTER. Using the mouse, click a character. An asterisk is displayed in the text entry box for each character entered.

b.Repeat step 8a to enter the remaining password characters.

9. On the front panel or remote control, press any of the arrow buttons

to highlight OK, and then press ENTER. Using the

mouse, click OK. Asterisks are displayed in the Password setting box.


10.Save the changes.

a. Do one of the following:

On the front panel, press the MENU/ESC button or press the MENU/ESC button on the remote control until the “Configuration data is changed. Save the new settings message?” dialog box is displayed.

Click Exit. “The Configuration data is changed. Save the new Settings?” dialog box is displayed.

On the front panel or remote control, press the left/right arrow buttons to highlight OK, and then press ENTER. Using the mouse, click OK. The changes are saved and the Live View mode is displayed.

C2673M-D (8/10)

35

Page 35
Image 35
Pelco DX4500, DX4600 manual Configuring Ddns, Save the changes Do one of the following

DX4600, DX4500 specifications

The Pelco DX4500 is a robust digital video recorder (DVR) designed for a variety of security and surveillance applications. Renowned for its reliability and versatile functionalities, the DX4500 offers a compelling solution for both small and large-scale environments, making it a popular choice among security professionals.

One of the defining features of the DX4500 is its multi-channel recording capability. The device supports up to 16 channels, allowing for simultaneous recording and monitoring from multiple security cameras. This feature is critical for comprehensive surveillance systems, providing users with a unified platform to manage video feeds from various locations.

In terms of storage, the DX4500 is equipped with a high-capacity hard drive that enables extensive recording times. The DVR utilizes advanced data compression technology, such as H.264 encoding, which optimizes storage efficiency while maintaining impressive video quality. This enables users to store significant amounts of footage without the need for frequent data management, making it ideal for long-term surveillance needs.

User interface and remote access are also key highlights of the Pelco DX4500. The system is designed with an intuitive interface that simplifies the navigation process, allowing users to easily access recorded footage and manage settings. Additionally, the DVR supports network capabilities, enabling remote viewing through PCs and mobile devices. This feature empowers users to monitor their premises from virtually anywhere, enhancing situational awareness and response times.

Another important characteristic of the DX4500 is its compatibility with a wide range of Pelco cameras and third-party surveillance systems. This interoperability ensures that businesses can customize their surveillance solution to meet specific security requirements. Furthermore, the DVR supports advanced features such as motion detection, alert notifications, and event tagging, adding layers of intelligence to security monitoring.

Moreover, the resilience of the DX4500 is noteworthy. Designed to operate in diverse conditions, it provides a reliable solution in environments where consistent performance is critical. With robust security features, such as password protection and user access levels, the DX4500 ensures that sensitive footage remains secure.

In summary, the Pelco DX4500 is a feature-rich, reliable DVR that stands out in the security market. Its multi-channel capabilities, advanced recording technologies, user-friendly interface, and compatibility with various camera systems make it an excellent choice for businesses seeking an effective surveillance solution.