EH8000 specifications
The Pelco EH8000 is a cutting-edge outdoor camera enclosure specifically designed to accommodate various security camera models while providing superior protection against environmental elements. With the rise of urban surveillance and the increasing importance of security measures, the EH8000 stands out due to its unique features and advanced technologies, making it a preferred choice among security professionals.One of the primary characteristics of the Pelco EH8000 is its robust construction. The enclosure is made from heavy-duty aluminum, ensuring durability and a long service life, even in challenging weather conditions. This material not only resists corrosion but also provides an added layer of protection from vandalism and tampering, making it suitable for high-crime areas.
The EH8000 is designed to support a range of camera types, including PTZ, fixed, and varifocal cameras. This versatility allows installers to use the enclosure for various security applications without compromising on functionality. The internal mounting provisions are adjustable, providing flexibility to accommodate different camera models and sizes easily.
One of the standout features of the Pelco EH8000 is its integrated heater and blower system. This technology ensures optimal temperature control, preventing the internal components from overheating during hot weather and protecting the camera from freezing conditions in cold climates. This capability is particularly important for maintaining clear image quality, as extreme temperatures can negatively impact camera performance.
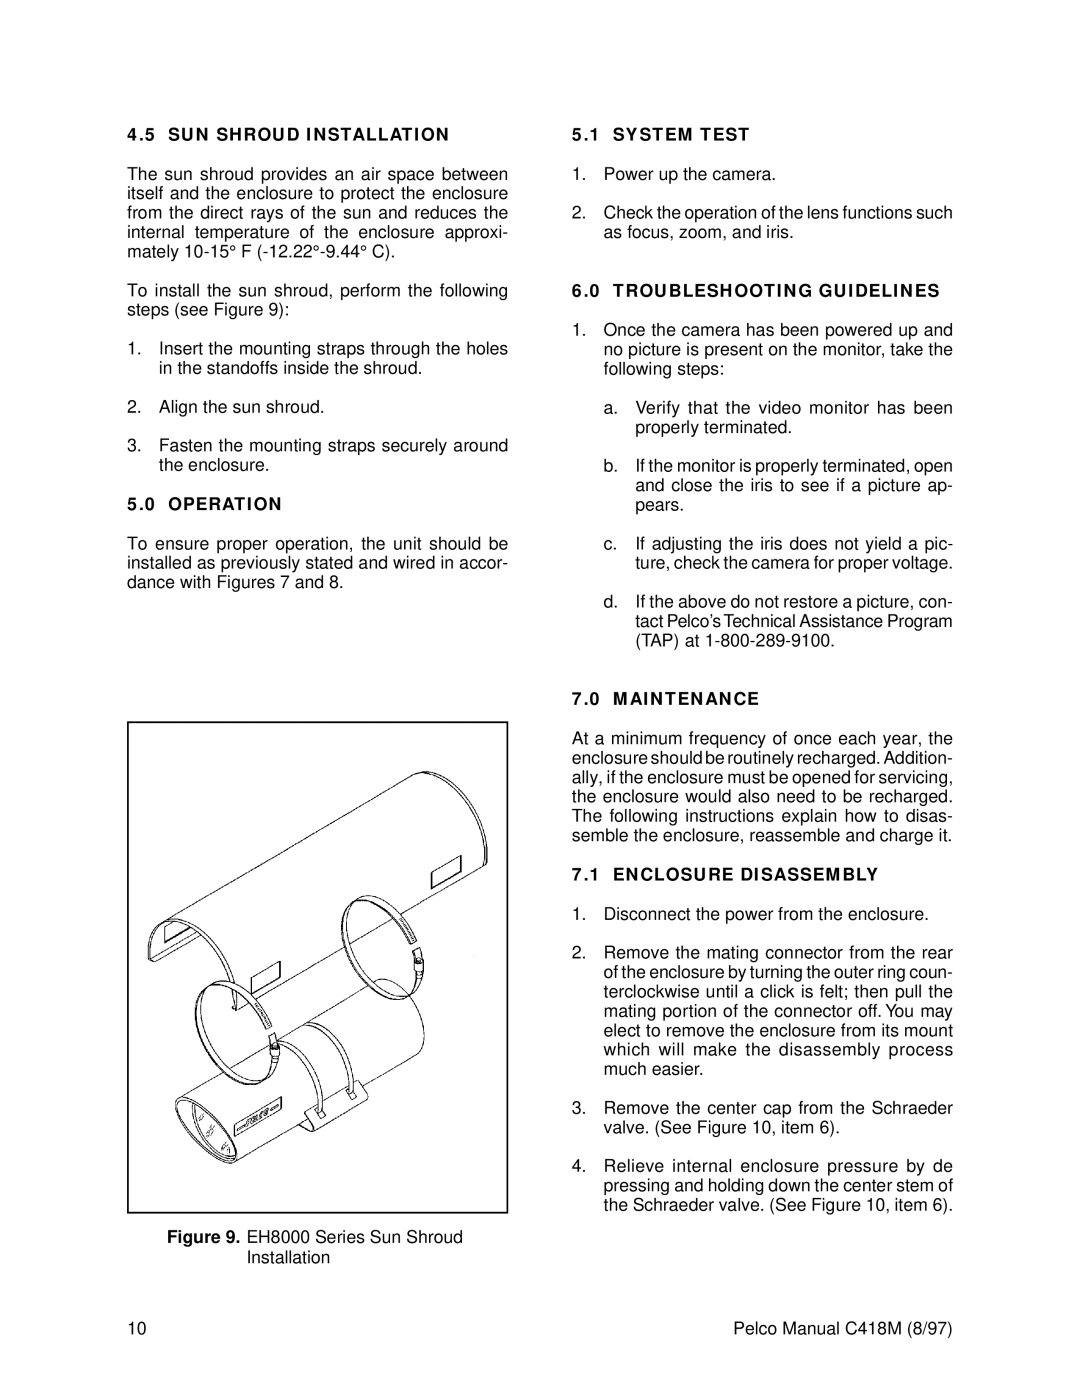
The enclosure supports a wide range of lenses and can be easily customized to fit specific security needs. It also features a built-in sunshade, which helps reduce glare and reflections that could compromise image clarity. The EH8000's design emphasizes streamlined aesthetics while ensuring high levels of functionality and effectiveness.
Installation of the Pelco EH8000 is straightforward, thanks to its modular design. The enclosure comes with a variety of mounting options, making it adaptable for different mounting surfaces, whether on walls, ceilings, or poles. The ease of installation translates into reduced labor costs and shortened project timelines, making it an economical choice for large-scale surveillance projects.
Furthermore, the EH8000 is equipped with weatherproof ratings, ensuring that it meets stringent standards for water and dust ingress protection. This level of security is crucial for outdoor setups where exposure to the elements is inevitable.
In summary, the Pelco EH8000 offers advanced protection for security cameras with its durable construction, versatile compatibility, integrated climate control, and customizable options. These features, combined with its ease of installation, make it a top choice for professionals looking to enhance their surveillance systems in outdoor environments.

