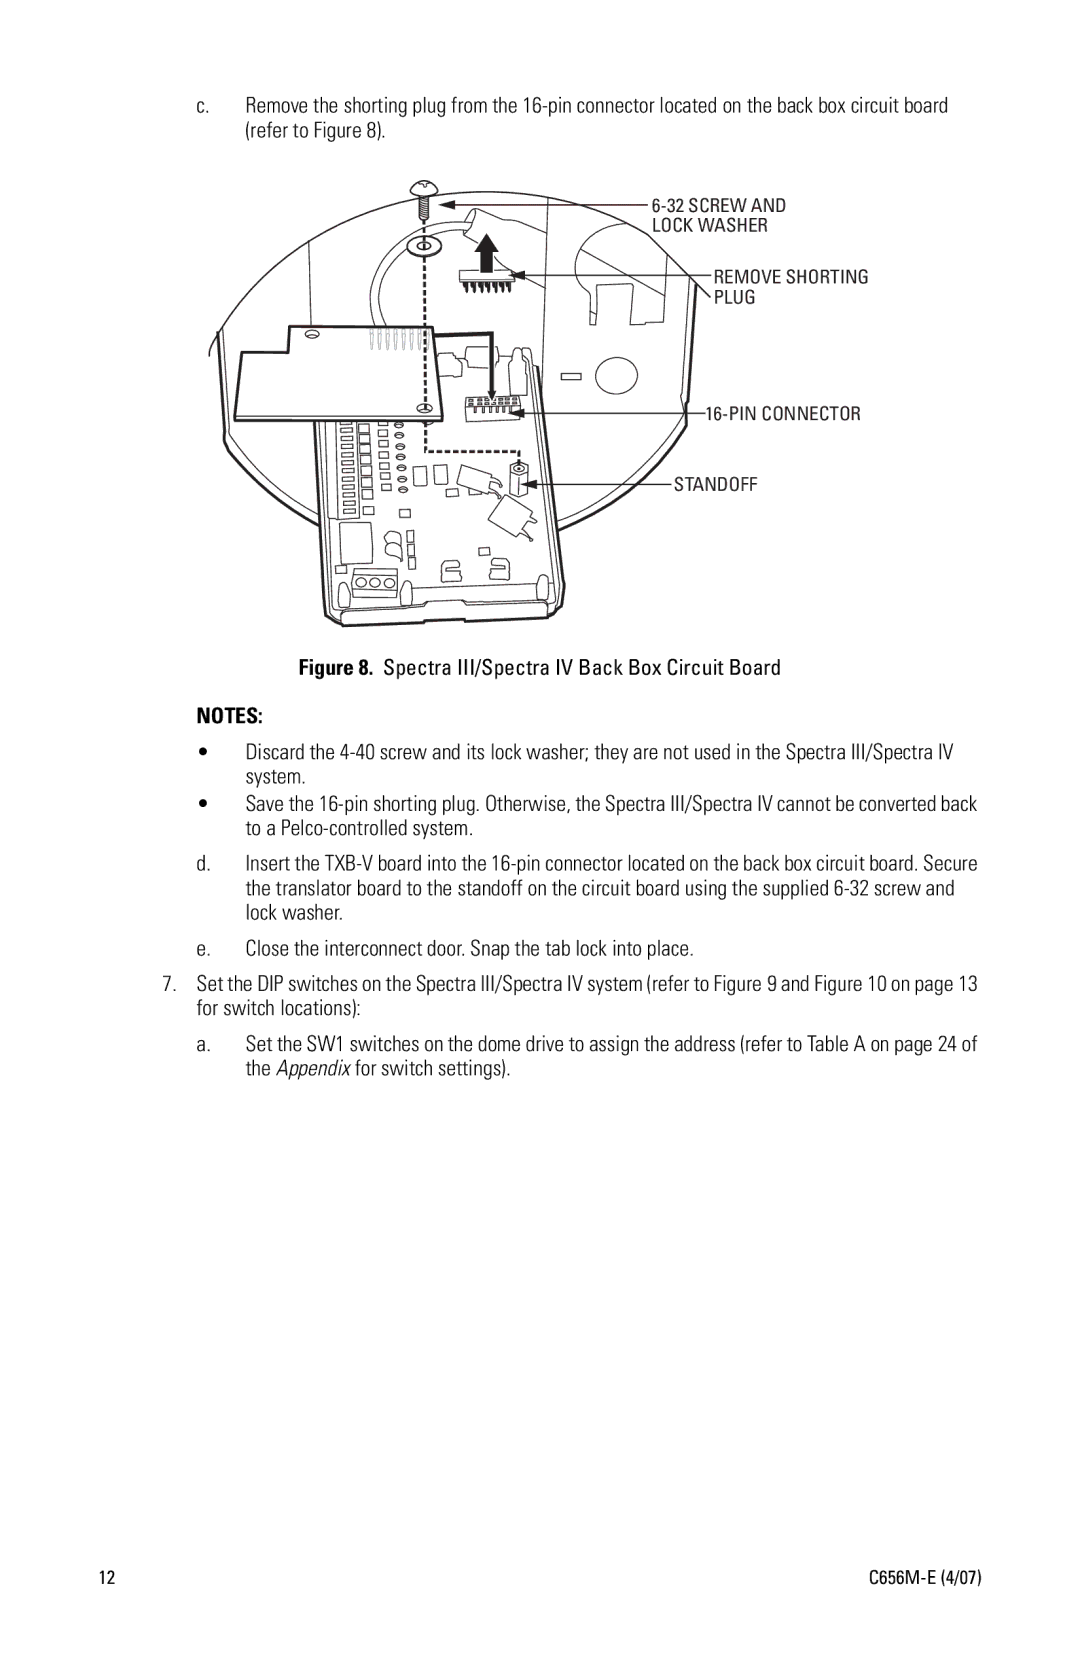
TXB-V specifications
The Pelco TXB-V is a prominent model in the realm of surveillance technology, specifically designed to meet the demanding needs of security professionals. As a part of the TX series, this camera is specifically engineered for high-performance applications, making it an ideal choice for various environments including retail, transportation, and critical infrastructure.One of the main features of the Pelco TXB-V is its advanced imaging capabilities. It typically incorporates a high-resolution image sensor that delivers exceptional video clarity, enabling users to capture detailed footage even in challenging lighting conditions. With its ability to perform well in both daylight and low-light environments, the TXB-V is equipped with a robust infrared (IR) technology, allowing for quality night vision without compromising image integrity.
Another key characteristic of the TXB-V is its versatility. The camera supports multiple resolutions and frame rates, which provides flexibility in terms of storage and bandwidth management. Users can configure the settings according to their specific needs, ensuring optimal performance in various scenarios. Furthermore, the TXB-V is often designed with a weather-resistant housing, making it suitable for outdoor applications whether it be rain, snow, or extreme temperatures.
The TXB-V also boasts advanced video analytics capabilities, which significantly enhance the surveillance experience. This includes features such as motion detection, tamper detection, and line crossing detection. These analytics empower users by allowing them to receive alerts and notifications when unusual activities are detected, effectively enhancing site security.
In terms of connectivity, the Pelco TXB-V typically supports multiple networking options including Power over Ethernet (PoE). This simplifies installation and reduces the need for additional wiring, enabling a more straightforward deployment in various settings. The camera's compatibility with both IP systems and traditional analog systems further extends its applicability across different security infrastructures.
Overall, the Pelco TXB-V combines cutting-edge technology with robust features to deliver an effective surveillance solution. Its high-definition imaging, advanced analytics, weatherproof design, and versatile connectivity make it an excellent choice for anyone seeking to enhance their security infrastructure with reliable and efficient surveillance technology.

