V981553 specifications
The Pella V981553 is a premium window offering that combines innovative design with advanced technologies to enhance both aesthetic appeal and energy efficiency. This window model is part of Pella's renowned product line, known for its durability, style, and environmental performance.One of the standout features of the Pella V981553 is its exclusive InsulShield technology. This advanced glass option significantly reduces heat transfer, ensuring that homes remain comfortable regardless of the weather outside. The technology utilizes multiple panes of glass, along with gas fills like argon or krypton, to create an effective thermal barrier. This not only enhances comfort but also helps homeowners save on energy bills.
In terms of design, the Pella V981553 is highly customizable. Homeowners can choose from a variety of styles, colors, and finishes to complement their home’s architecture. The window is available in different grid patterns and configurations, allowing for personalized aesthetics that suit any design preference. Additionally, Pella provides options for decorative glass, which can add a unique touch while maintaining privacy.
Durability is another hallmark of the V981553 model. It features constructed frames made from high-quality materials that resist warping, fading, and cracking. The window’s exterior is often coated with a protective finish that enhances longevity and reduces maintenance needs, allowing homeowners to enjoy their investment without the hassle of frequent upkeep.
The Pella V981553 also prioritizes security, employing robust locking mechanisms that provide peace of mind. The use of laminated glass further enhances safety by reducing the likelihood of breakage.
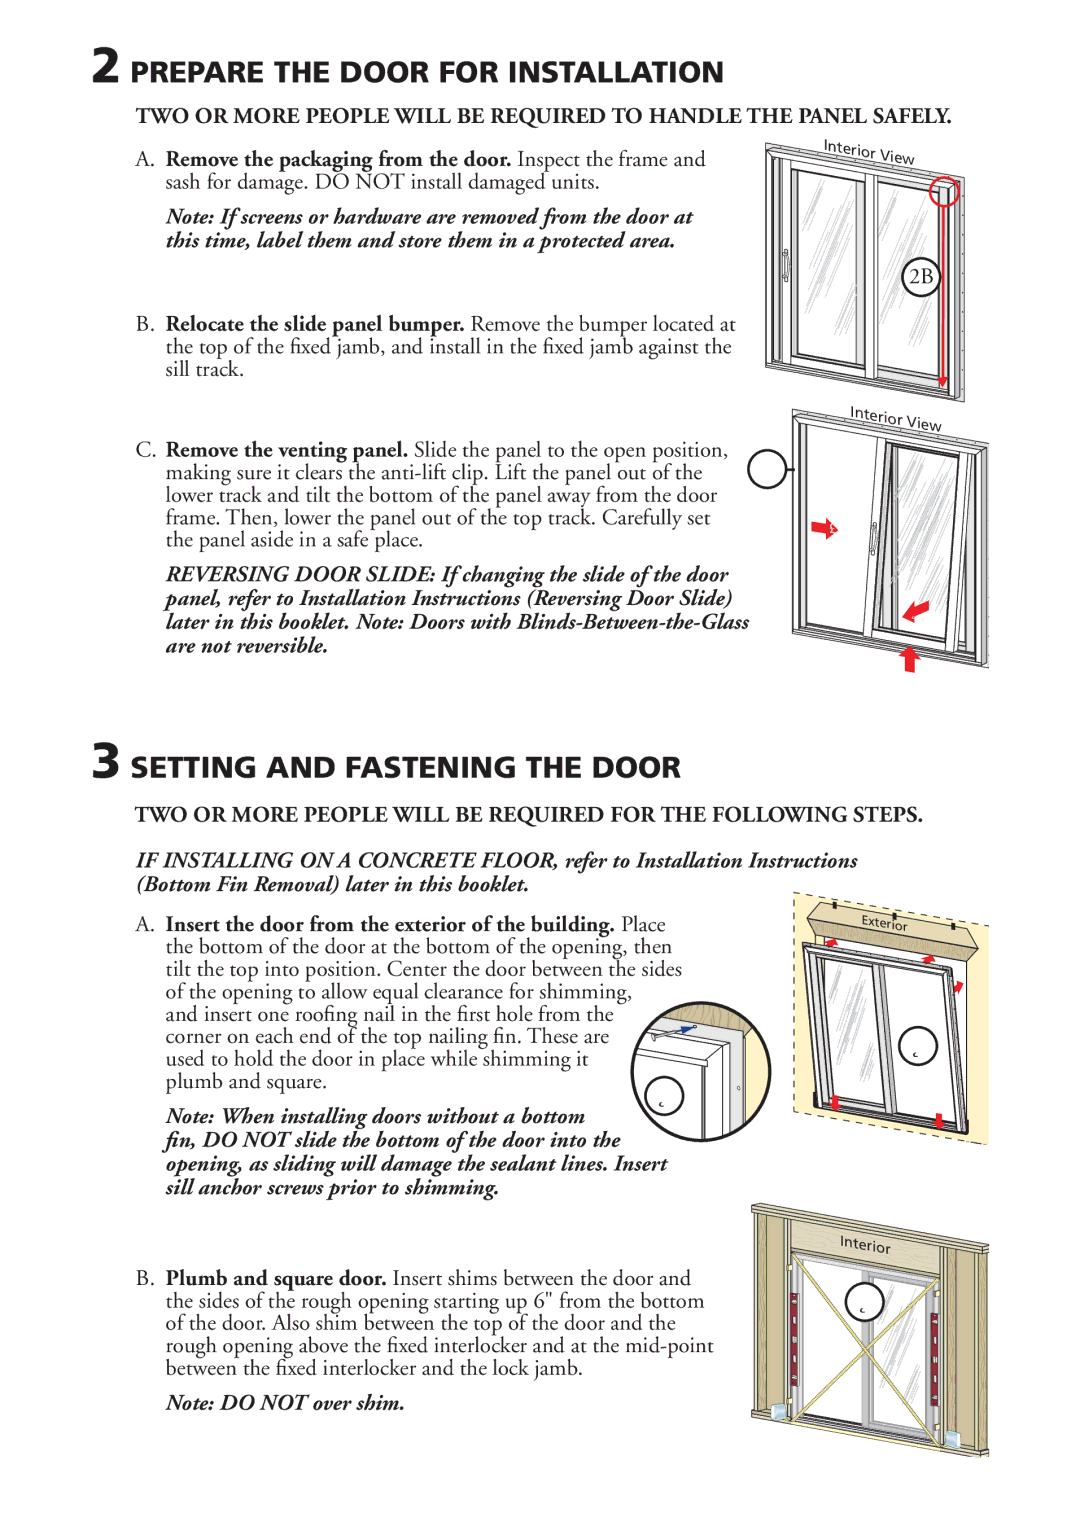
Installation of the Pella V981553 is designed to be user-friendly. Pella’s windows come with pre-drilled frames, which simplifies the process for builders and homeowners alike. The product is engineered to fit standard openings, minimizing the need for extensive modifications during installation.
Overall, the Pella V981553 exemplifies a commitment to quality, innovation, and style. With its energy-efficient features, customizable options, and robust construction, it is a smart choice for homeowners looking to enhance their living spaces while adhering to modern standards of performance and aesthetics. Whether for new builds or renovations, the Pella V981553 is a testament to Pella’s dedication to superior craftsmanship.

