RECORD/OTR I

6. Manual recording

General information

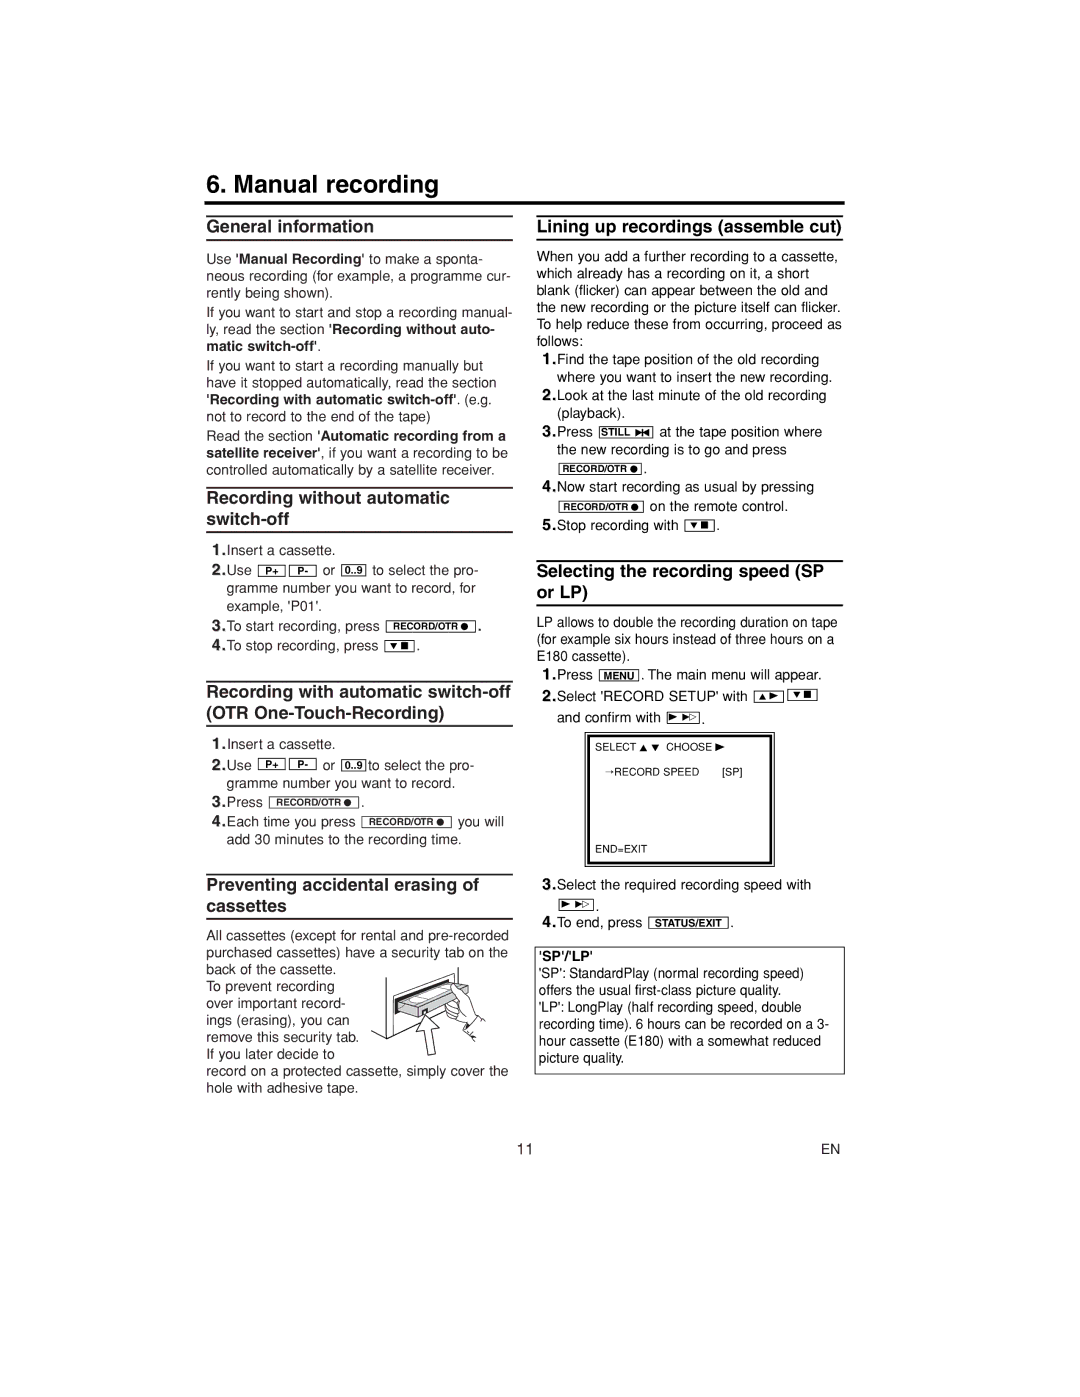
Use 'Manual Recording' to make a sponta- neous recording (for example, a programme cur- rently being shown).

If you want to start and stop a recording manual- ly, read the section 'Recording without auto- matic switch-off'.

If you want to start a recording manually but have it stopped automatically, read the section

'Recording with automatic switch-off'. (e.g. not to record to the end of the tape)

Read the section 'Automatic recording from a satellite receiver', if you want a recording to be controlled automatically by a satellite receiver.

Recording without automatic switch-off

1.Insert a cassette.


2.Use P+ P- or

0..9 to select the pro-

gramme number you want to record, for example, 'P01'.

3.To start recording, press

RECORD/OTR I .

4.To stop recording, press

L C .

Recording with automatic switch-off (OTR One-Touch-Recording)

1.Insert a cassette.

2.Use P+ P- or 0..9 to select the pro- gramme number you want to record.

3.Press RECORD/OTR I .

4.Each time you press RECORD/OTR I you will add 30 minutes to the recording time.

Preventing accidental erasing of cassettes

All cassettes (except for rental and pre-recorded purchased cassettes) have a security tab on the back of the cassette.

To prevent recording

over important record- ings (erasing), you can remove this security tab. If you later decide to

record on a protected cassette, simply cover the hole with adhesive tape.

Lining up recordings (assemble cut)

When you add a further recording to a cassette, which already has a recording on it, a short blank (flicker) can appear between the old and the new recording or the picture itself can flicker. To help reduce these from occurring, proceed as follows:

1.Find the tape position of the old recording where you want to insert the new recording.

2.Look at the last minute of the old recording (playback).

3.Press STILL 2 at the tape position where the new recording is to go and press

RECORD/OTR I .

4.Now start recording as usual by pressing on the remote control.

5.Stop recording with L C .

Selecting the recording speed (SP or LP)

LP allows to double the recording duration on tape (for example six hours instead of three hours on a E180 cassette).

1.Press MENU . The main menu will appear.

2.Select 'RECORD SETUP' with

K B


L C


and confirm with


.


B 1


SELECT K L CHOOSE B


RECORD SPEED [SP]


END=EXIT

3.Select the required recording speed with

B 1 .

4.To end, press STATUS/EXIT .

'SP'/'LP'

'SP': StandardPlay (normal recording speed) offers the usual first-class picture quality. 'LP': LongPlay (half recording speed, double recording time). 6 hours can be recorded on a 3- hour cassette (E180) with a somewhat reduced picture quality.

11

EN

Page 11
Image 11
Philips 14PV460/07, 14PV203/07, 14PV415/07, 14PV111/07, 14PV112/07 specifications Manual recording

14PV460/07, 14PV203/07, 14PV111/07, 14PV415/07, 14PV112/07 specifications

The Philips 14PV112/07, 14PV415/07, 14PV111/07, 14PV203/07, and 14PV460/07 are part of Philips' innovative range of compact televisions that cater to diverse viewing preferences. Designed with a blend of functionality and user-friendly features, these models deliver quality performance while maintaining a compact footprint, ideal for small living spaces or secondary rooms.

The Philips 14PV112/07 is known for its clear picture quality and is equipped with a 14-inch screen. This model excels in delivering vibrant colors and sharp images, making it ideal for casual viewing. It incorporates the innovative EasyLink feature, allowing seamless connectivity with compatible devices.

The Philips 14PV415/07 features a similar screen size but elevates the user experience with enhanced sound quality. It comes with built-in stereo speakers that deliver clean and powerful audio, ensuring an immersive experience for viewers. Additionally, it supports multiple input options, making it versatile for connecting different devices such as gaming consoles and DVD players.

The Philips 14PV111/07 stands out with its sleek design and energy-efficient operation. This model is equipped with a unique power-saving feature, reducing energy consumption without compromising performance. It also includes an easy-to-navigate on-screen menu, allowing users to customize their settings effortlessly.

The 14PV203/07 model is recognized for its advanced picture enhancement technology, which optimally adjusts the display settings based on the content being played. This results in an overall improved viewing experience, with clearer images and enhanced contrast ratios. Its compact design makes it an excellent choice for kitchens or bedrooms.

Lastly, the Philips 14PV460/07 is a powerful model that combines a 14-inch display with features like a digital tuner for superior reception of local channels. This model emphasizes connectivity, with multiple HDMI and USB ports that facilitate various multimedia options. The sleek appearance and modern aesthetics of this model make it a stylish addition to any room.

Overall, these Philips television models are designed to accommodate a variety of needs while providing reliable performance, exceptional picture quality, and enhanced sound. Whether for entertainment or everyday viewing, these TVs offer stylish solutions tailored to today’s diverse media consumption trends.