Pierwsze kroki

4.Wybierz zakładkę 'Ustawienia' i kliknij 'Zaawansowane...'.

5.Wybierz 'Monitor'

-Jeśli przycisk 'Właściwości' jest nieaktywny, to monitor jest właściwie skonfigurowany. Proszę przerwać instalację.

-Jeśli przycisk 'Właściwości' jest aktywny, kliknij 'Właściwości' i postępuj zgodnie z kolejnymi punktami.

6.Kliknij 'Sterownik' i 'Aktualizuj Sterownik...', a następnie 'Dalej'.

7.Wybierz „Utworzyć listę wszystkich sterowników w określonej lokalizacji, aby można było wybrać odpowiedni sterownik” i kliknij 'Dalej' a następnie 'Z Dysku'.

8.Kliknij 'Przeglądaj...' i wybierz odpowiedni napęd F: (Napęd CD-ROM).

9.Kliknij 'Otwórz', a następnie 'OK'.

10.Kliknij 'OK', wybierz model swojego monitora i kliknij 'Dalej' a następnie 'Dalej'.

11.Kliknij 'Zakończ', a następnie 'Zamknij'.

Jeśli ukaże się okno "Nie odnaleziono podpisu elektronicznego" kliknij "Tak".

W przypadku Windows® Me

1.Uruchom Windows® 98

2.Kliknij 'Start', wskaż na 'Ustawienia' i kliknij 'Panel Sterowania'.

3.Kliknij dwukrotnie ikonę 'Ekran'.

4.Wybierz zakładkę 'Ustawienia' i kliknij 'Zaawansowane...'.

5.Wybierz 'Monitor' i kliknij 'Zmień...'.

6.Wybierz „Określ lokalizacje sterownika (Zaawansowane)” i kliknij 'Dalej'.

7.Wybierz „Utworzyć listę wszystkich sterowników w określonej lokalizacji, aby można było

wybrać odpowiedni sterownik” i kliknij 'Dalej' a następnie 'Z Dysku'.

8.Kliknij 'Przeglądaj...' i wybierz odpowiedni napęd F: (Napęd CD-ROM), a następnie 'OK'.

9.Kliknij 'OK', wybierz model swojego monitora i kliknij 'Dalej', a następnie 'Dalej'.

10.Kliknij 'Zakończ', a następnie 'Zamknij'.

W przypadku Windows® XP

1.Uruchom system operacyjny Windows® XP.

2.Kliknij przycisk Start, a następnie Control Panel (Panel sterowania).

3.Wybierz kategorię Printers and Other Hardware (Drukarki i inne urządzenia).

4.Kliknij pozycję Display (Ekran).

5.Wybierz kartę Settings (Ustawienia), a następnie kliknij przycisk Advanced (Zaawansowane).

6.Wybierz kartę Monitor.

-Jeśli przycisk Properties (Właściwości) jest nieaktywny, monitor jest prawidłowo skonfigurowany. Przerwij instalację.

-Jeśli przycisk Properties (Właściwości) jest aktywny, kliknij go.

Postępuj zgodnie z poniższymi instrukcjami.

7.Kliknij kartę Driver (Sterownik), a następnie kliknij przycisk Update Driver... (Aktualizuj sterownik).

8.Wybierz przycisk opcji Install from a list or specific location [advanced] (Instaluj z listy lub określonej lokalizacji), a następnie kliknij przycisk Next (Dalej).

9.Wybierz przycisk opcji Don•t Search I will choose the driver to install (Nie wyszukuj, wybiorę sterownik do zainstalowania). Następnie kliknij przycisk Next (Dalej).

10.Kliknij przycisk Have disk... (Z dysku), a następnie przycisk Browse... (Przeglądaj).

file:///I/PHILIPS/polish/POLISH/170V9/install/GT_START.HTM 2 / 3 [2008/2/26 下午 04:27:29]

Page 45
Image 45
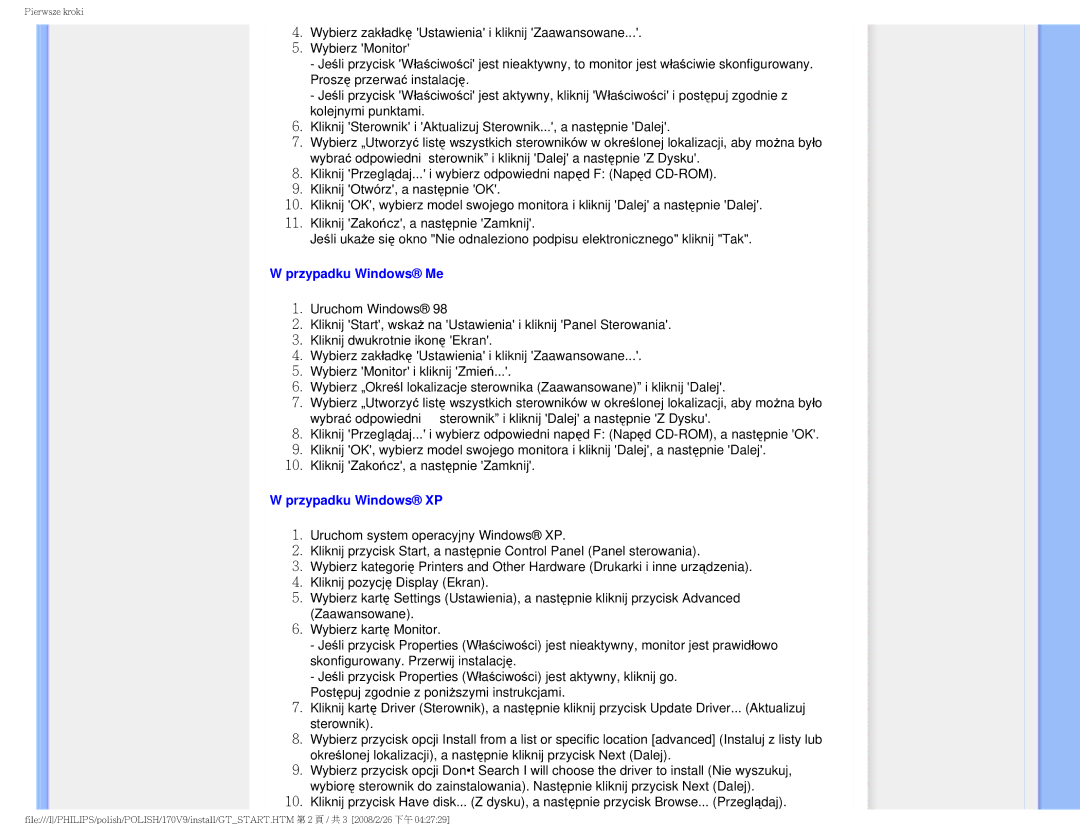
Philips 170V9 user manual Przypadku Windows Me

170V9 specifications

The Philips 170V9 is an impressive monitor that combines design, functionality, and performance, catering to both home and office users. With a 17-inch display, this monitor packs a punch in its compact size, making it ideal for workspaces where space is a concern while still providing a clear and vibrant viewing experience.

One of the stand-out features of the Philips 170V9 is its crystal-clear display resolution of 1280 x 1024 pixels. This resolution ensures sharp images and text, making it suitable for a variety of tasks, from office work to casual gaming. The monitor utilizes an LCD panel technology that enhances color reproduction and contrast, delivering vivid visuals that are essential for graphic design and multimedia purposes.

In terms of connectivity, the Philips 170V9 offers a range of input options, including VGA, which is often used in many computing environments. This versatility allows users to connect the monitor to various devices without any hassles, making it suitable for both older and newer systems.

Energy efficiency is another notable characteristic of the Philips 170V9. It is designed to be eco-friendly, boasting low power consumption levels, which helps reduce electricity bills and minimizes environmental impact. This monitor is also equipped with a high-efficiency power adapter that further adds to its energy-saving features.

Ergonomics play a significant role in the design of the Philips 170V9. It has a slim profile and a lightweight build, making it easy to adjust or reposition as needed. Moreover, the monitor supports various tilt angles, allowing users to customize their viewing experience for maximum comfort.

The Philips 170V9 integrates user-friendly technologies such as SmartContrast, which automatically adjusts display settings based on the content being shown. This feature enhances the overall viewing experience by optimizing colors and brightness for different applications.

In summary, the Philips 170V9 is a well-rounded monitor that offers high-resolution display capabilities, eco-friendly features, versatile connectivity options, and ergonomic design. It stands out as a reliable choice for those seeking quality and performance in a compact form, making it an excellent addition to both home and professional environments. Whether for work or leisure, the Philips 170V9 creates an enjoyable viewing experience tailored to the needs of its users.