Getting Started

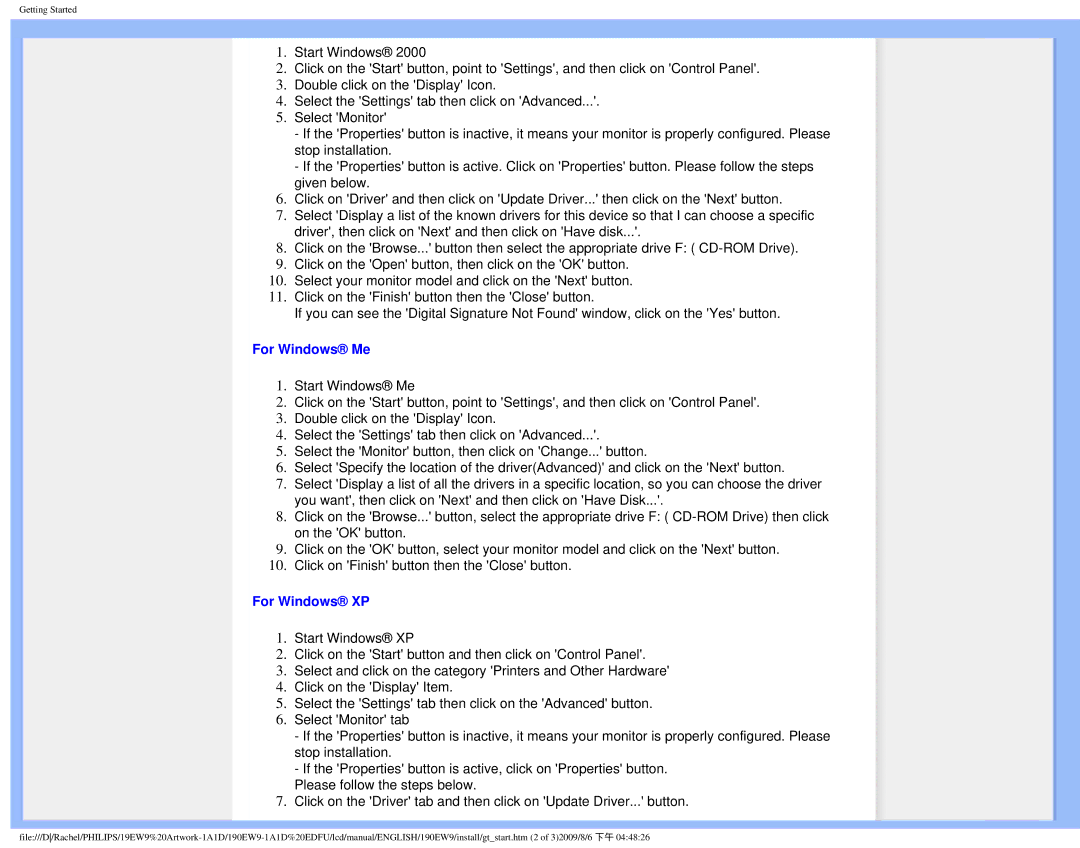
1.Start Windows® 2000

2.Click on the 'Start' button, point to 'Settings', and then click on 'Control Panel'.

3.Double click on the 'Display' Icon.

4.Select the 'Settings' tab then click on 'Advanced...'.

5.Select 'Monitor'

-If the 'Properties' button is inactive, it means your monitor is properly configured. Please stop installation.

-If the 'Properties' button is active. Click on 'Properties' button. Please follow the steps given below.

6.Click on 'Driver' and then click on 'Update Driver...' then click on the 'Next' button.

7.Select 'Display a list of the known drivers for this device so that I can choose a specific driver', then click on 'Next' and then click on 'Have disk...'.

8.Click on the 'Browse...' button then select the appropriate drive F: ( CD-ROM Drive).

9.Click on the 'Open' button, then click on the 'OK' button.

10.Select your monitor model and click on the 'Next' button.

11.Click on the 'Finish' button then the 'Close' button.

If you can see the 'Digital Signature Not Found' window, click on the 'Yes' button.

For Windows® Me

1.Start Windows® Me

2.Click on the 'Start' button, point to 'Settings', and then click on 'Control Panel'.

3.Double click on the 'Display' Icon.

4.Select the 'Settings' tab then click on 'Advanced...'.

5.Select the 'Monitor' button, then click on 'Change...' button.

6.Select 'Specify the location of the driver(Advanced)' and click on the 'Next' button.

7.Select 'Display a list of all the drivers in a specific location, so you can choose the driver you want', then click on 'Next' and then click on 'Have Disk...'.

8.Click on the 'Browse...' button, select the appropriate drive F: ( CD-ROM Drive) then click on the 'OK' button.

9.Click on the 'OK' button, select your monitor model and click on the 'Next' button.

10.Click on 'Finish' button then the 'Close' button.

For Windows® XP

1.Start Windows® XP

2.Click on the 'Start' button and then click on 'Control Panel'.

3.Select and click on the category 'Printers and Other Hardware'

4.Click on the 'Display' Item.

5.Select the 'Settings' tab then click on the 'Advanced' button.

6.Select 'Monitor' tab

-If the 'Properties' button is inactive, it means your monitor is properly configured. Please stop installation.

-If the 'Properties' button is active, click on 'Properties' button.

Please follow the steps below.

7.Click on the 'Driver' tab and then click on 'Update Driver...' button.

file:///D/Rachel/PHILIPS/19EW9%20Artwork-1A1D/190EW9-1A1D%20EDFU/lcd/manual/ENGLISH/190EW9/install/gt_start.htm (2 of 3)2009/8/6 下午 04:48:26

Page 45
Image 45
Philips 190EW9 user manual For Windows Me, For Windows XP

190EW9 specifications

The Philips 190EW9 is a versatile and aesthetically pleasing monitor that excels in both functionality and design. At the heart of its appeal is the 19-inch display, which features an elegant widescreen format, providing a spacious viewing area ideal for various applications, from everyday computing tasks to multimedia entertainment.

This monitor employs a high-quality TN (Twisted Nematic) panel technology, recognized for its rapid response times and brightness capabilities. The 190EW9 boasts a resolution of 1440 x 900 pixels, delivering clear and crisp visuals suitable for watching videos, playing games, or browsing the web. The widescreen aspect ratio enhances the viewing experience, allowing users to multitask efficiently by displaying multiple windows side by side.

One of the standout features of the Philips 190EW9 is its commitment to energy efficiency. The monitor incorporates various technologies aimed at reducing power consumption, including an energy-saving mode. This not only benefits the environment but also contributes to lower electricity bills, making it an economical choice for users concerned about sustainability.

The design of the Philips 190EW9 is equally commendable. It sports a sleek and modern aesthetic with a glossy finish that complements any workspace. The monitor is equipped with a tilt function, providing users the ability to adjust the angle for optimal viewing comfort. The slim profile further enhances its appeal, making it an attractive addition to any home or office setup.

Connectivity options are abundant with the 190EW9, featuring both VGA and DVI inputs. This flexibility ensures compatibility with various devices, from older computers to modern graphics cards, facilitating seamless integration into a wide range of setups.

In terms of additional technologies, the Philips 190EW9 includes SmartContrast, a feature that enhances images by adjusting the contrast dynamically based on the content being displayed. This results in improved image depth, richness, and detail, enhancing the overall viewing experience.

In conclusion, the Philips 190EW9 is a well-rounded monitor that combines impressive performance features with a stylish design. With its excellent display capabilities, energy-efficient technologies, and versatile connectivity options, it is an ideal choice for anyone seeking a reliable monitor for both work and play.