Pierwsze kroki

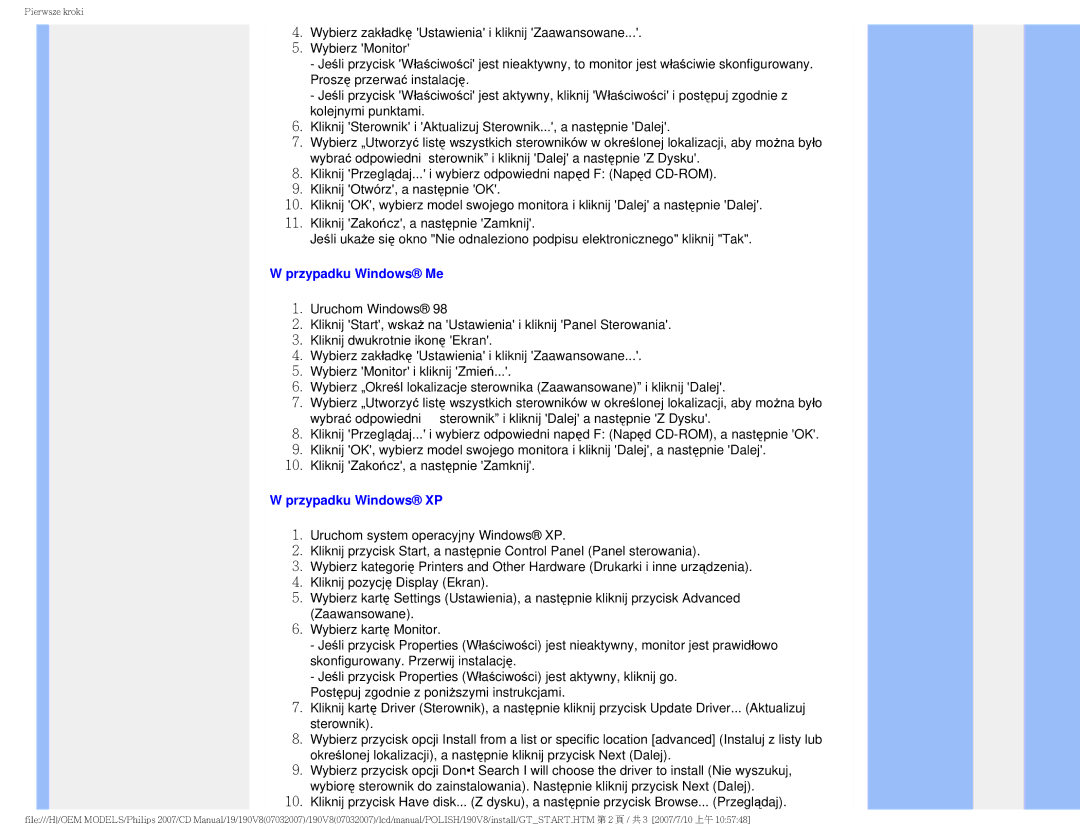
4.Wybierz zakładkę 'Ustawienia' i kliknij 'Zaawansowane...'.

5.Wybierz 'Monitor'

-Jeśli przycisk 'Właściwości' jest nieaktywny, to monitor jest właściwie skonfigurowany. Proszę przerwać instalację.

-Jeśli przycisk 'Właściwości' jest aktywny, kliknij 'Właściwości' i postępuj zgodnie z kolejnymi punktami.

6.Kliknij 'Sterownik' i 'Aktualizuj Sterownik...', a następnie 'Dalej'.

7.Wybierz „Utworzyć listę wszystkich sterowników w określonej lokalizacji, aby można było wybrać odpowiedni sterownik” i kliknij 'Dalej' a następnie 'Z Dysku'.

8.Kliknij 'Przeglądaj...' i wybierz odpowiedni napęd F: (Napęd CD-ROM).

9.Kliknij 'Otwórz', a następnie 'OK'.

10.Kliknij 'OK', wybierz model swojego monitora i kliknij 'Dalej' a następnie 'Dalej'.

11.Kliknij 'Zakończ', a następnie 'Zamknij'.

Jeśli ukaże się okno "Nie odnaleziono podpisu elektronicznego" kliknij "Tak".

W przypadku Windows® Me

1.Uruchom Windows® 98

2.Kliknij 'Start', wskaż na 'Ustawienia' i kliknij 'Panel Sterowania'.

3.Kliknij dwukrotnie ikonę 'Ekran'.

4.Wybierz zakładkę 'Ustawienia' i kliknij 'Zaawansowane...'.

5.Wybierz 'Monitor' i kliknij 'Zmień...'.

6.Wybierz „Określ lokalizacje sterownika (Zaawansowane)” i kliknij 'Dalej'.

7.Wybierz „Utworzyć listę wszystkich sterowników w określonej lokalizacji, aby można było

wybrać odpowiedni sterownik” i kliknij 'Dalej' a następnie 'Z Dysku'.

8.Kliknij 'Przeglądaj...' i wybierz odpowiedni napęd F: (Napęd CD-ROM), a następnie 'OK'.

9.Kliknij 'OK', wybierz model swojego monitora i kliknij 'Dalej', a następnie 'Dalej'.

10.Kliknij 'Zakończ', a następnie 'Zamknij'.

W przypadku Windows® XP

1.Uruchom system operacyjny Windows® XP.

2.Kliknij przycisk Start, a następnie Control Panel (Panel sterowania).

3.Wybierz kategorię Printers and Other Hardware (Drukarki i inne urządzenia).

4.Kliknij pozycję Display (Ekran).

5.Wybierz kartę Settings (Ustawienia), a następnie kliknij przycisk Advanced (Zaawansowane).

6.Wybierz kartę Monitor.

-Jeśli przycisk Properties (Właściwości) jest nieaktywny, monitor jest prawidłowo skonfigurowany. Przerwij instalację.

-Jeśli przycisk Properties (Właściwości) jest aktywny, kliknij go.

Postępuj zgodnie z poniższymi instrukcjami.

7.Kliknij kartę Driver (Sterownik), a następnie kliknij przycisk Update Driver... (Aktualizuj sterownik).

8.Wybierz przycisk opcji Install from a list or specific location [advanced] (Instaluj z listy lub określonej lokalizacji), a następnie kliknij przycisk Next (Dalej).

9.Wybierz przycisk opcji Don•t Search I will choose the driver to install (Nie wyszukuj, wybiorę sterownik do zainstalowania). Następnie kliknij przycisk Next (Dalej).

10.Kliknij przycisk Have disk... (Z dysku), a następnie przycisk Browse... (Przeglądaj).

file:///H/OEM MODELS/Philips 2007/CD Manual/19/190V8(07032007)/190V8(07032007)/lcd/manual/POLISH/190V8/install/GT_START.HTM 2 / 3 [2007/7/10 上午 10:57:48]

Page 71
Image 71
Philips 190V8 user manual Przypadku Windows Me

190V8 specifications

The Philips 190V8 is a versatile and reliable monitor that caters to both professional and personal use. It is designed to deliver excellent performance across various applications, making it an ideal choice for home offices, business environments, and casual gaming.

At the heart of the Philips 190V8 is its 19-inch display, which features a resolution of 1280 x 1024 pixels. This optimal resolution ensures crisp images and vivid colors, perfect for tasks that require attention to detail, such as graphic design and photo editing. The monitor utilizes a VGA connection, allowing compatibility with a wide range of devices, including older computers and laptops.

One of the standout features of the Philips 190V8 is its SmartContrast technology. This innovative feature dynamically enhances the contrast of images displayed on the screen, providing deeper blacks and more luminous whites. As a result, visuals appear more lifelike and immersive, whether you're watching videos or working on documents.

The monitor also incorporates an anti-glare coating, which reduces reflections and ensures clear visibility in various lighting conditions. This is particularly beneficial for users who work in bright environments, as it minimizes distractions and eye strain during prolonged usage.

In terms of design, the Philips 190V8 boasts a sleek and modern aesthetic, with a thin bezel that maximizes screen real estate. The adjustable stand allows for height and tilt adjustments, enabling users to customize their viewing experience for maximum comfort. This ergonomic design helps promote better posture and reduces the risk of discomfort during extended periods of use.

Energy efficiency is another key characteristic of the Philips 190V8. It is equipped with low-power consumption features, contributing to reduced energy bills and a smaller carbon footprint. This makes it a sustainable choice for environmentally conscious consumers.

For those concerned with their eye health, the Philips 190V8 includes features like flicker-free technology and low blue light mode. These technologies help reduce eye fatigue and discomfort, making it safer for extended viewing sessions, whether for work or leisure.

In conclusion, the Philips 190V8 combines a range of features and technologies to deliver a high-quality visual experience. Its impressive display, ergonomic design, and energy-efficient characteristics make it a reliable choice for anyone in need of a solid monitor for everyday use.