Pour Commencer

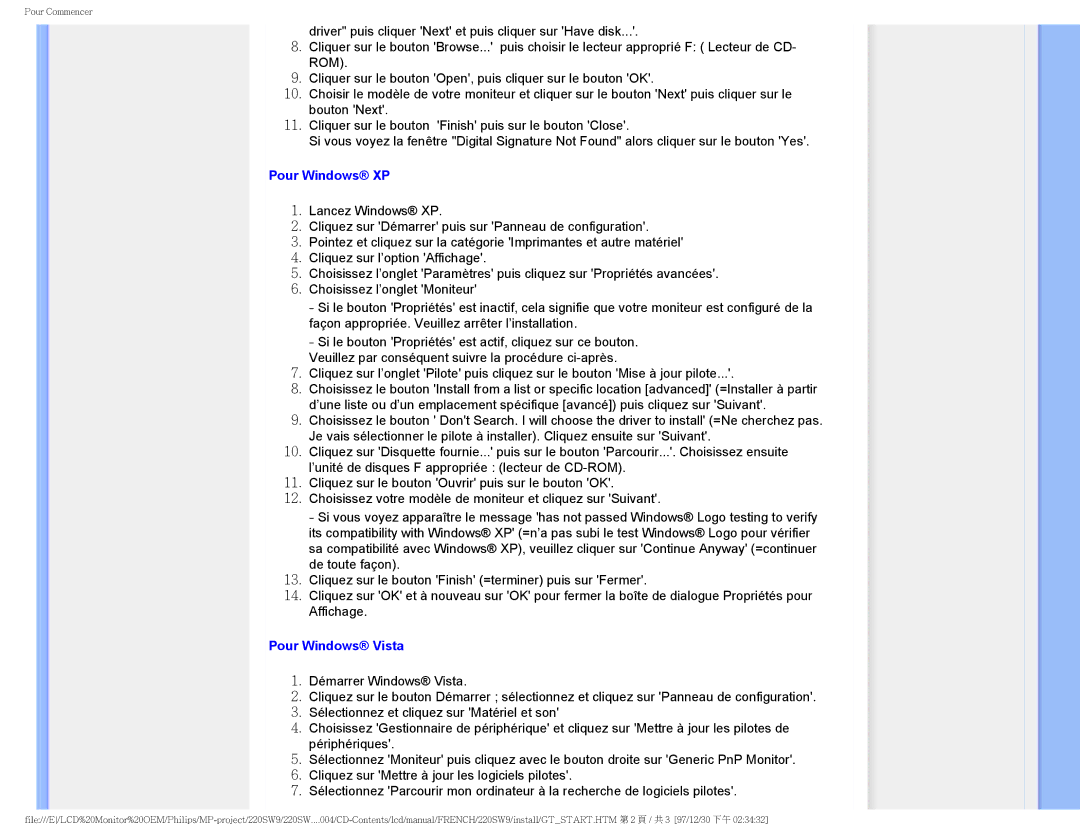
driver" puis cliquer 'Next' et puis cliquer sur 'Have disk...'.

8.Cliquer sur le bouton 'Browse...' puis choisir le lecteur approprié F: ( Lecteur de CD- ROM).

9.Cliquer sur le bouton 'Open', puis cliquer sur le bouton 'OK'.

10.Choisir le modèle de votre moniteur et cliquer sur le bouton 'Next' puis cliquer sur le bouton 'Next'.

11.Cliquer sur le bouton 'Finish' puis sur le bouton 'Close'.

Si vous voyez la fenêtre "Digital Signature Not Found" alors cliquer sur le bouton 'Yes'.

Pour Windows® XP

1.Lancez Windows® XP.

2.Cliquez sur 'Démarrer' puis sur 'Panneau de configuration'.

3.Pointez et cliquez sur la catégorie 'Imprimantes et autre matériel'

4.Cliquez sur l’option 'Affichage'.

5.Choisissez l’onglet 'Paramètres' puis cliquez sur 'Propriétés avancées'.

6.Choisissez l’onglet 'Moniteur'

-Si le bouton 'Propriétés' est inactif, cela signifie que votre moniteur est configuré de la façon appropriée. Veuillez arrêter l’installation.

-Si le bouton 'Propriétés' est actif, cliquez sur ce bouton.

Veuillez par conséquent suivre la procédure ci-après.

7.Cliquez sur l’onglet 'Pilote' puis cliquez sur le bouton 'Mise à jour pilote...'.

8.Choisissez le bouton 'Install from a list or specific location [advanced]' (=Installer à partir d’une liste ou d’un emplacement spécifique [avancé]) puis cliquez sur 'Suivant'.

9.Choisissez le bouton ' Don't Search. I will choose the driver to install' (=Ne cherchez pas. Je vais sélectionner le pilote à installer). Cliquez ensuite sur 'Suivant'.

10.Cliquez sur 'Disquette fournie...' puis sur le bouton 'Parcourir...'. Choisissez ensuite l’unité de disques F appropriée : (lecteur de CD-ROM).

11.Cliquez sur le bouton 'Ouvrir' puis sur le bouton 'OK'.

12.Choisissez votre modèle de moniteur et cliquez sur 'Suivant'.

- Si vous voyez apparaître le message 'has not passed Windows® Logo testing to verify its compatibility with Windows® XP' (=n’a pas subi le test Windows® Logo pour vérifier sa compatibilité avec Windows® XP), veuillez cliquer sur 'Continue Anyway' (=continuer de toute façon).

13.Cliquez sur le bouton 'Finish' (=terminer) puis sur 'Fermer'.

14.Cliquez sur 'OK' et à nouveau sur 'OK' pour fermer la boîte de dialogue Propriétés pour Affichage.

Pour Windows® Vista

1.Démarrer Windows® Vista.

2.Cliquez sur le bouton Démarrer ; sélectionnez et cliquez sur 'Panneau de configuration'.

3.Sélectionnez et cliquez sur 'Matériel et son'

4.Choisissez 'Gestionnaire de périphérique' et cliquez sur 'Mettre à jour les pilotes de périphériques'.

5.Sélectionnez 'Moniteur' puis cliquez avec le bouton droite sur 'Generic PnP Monitor'.

6.Cliquez sur 'Mettre à jour les logiciels pilotes'.

7.Sélectionnez 'Parcourir mon ordinateur à la recherche de logiciels pilotes'.

file:///E/LCD%20Monitor%20OEM/Philips/MP-project/220SW9/220SW....004/CD-Contents/lcd/manual/FRENCH/220SW9/install/GT_START.HTM 2 / 3

[97/12/30 下午 02:34:32]

Page 87
Image 87
Philips 220SW9 user manual Pour Windows XP, Pour Windows Vista

220SW9 specifications

The Philips 220SW9 is a remarkable flat-panel LCD monitor that offers users an ideal blend of performance, energy efficiency, and ergonomic design. This model, equipped with a 22-inch display, is designed to meet the demands of both professional environments and home users, providing stunning visuals for various applications.

One of the standout features of the Philips 220SW9 is its resolution. It boasts a native resolution of 1680 x 1050 pixels, delivering sharp and clear images that enhance text clarity and color precision. This widescreen aspect ratio allows for more efficient multitasking and immersive viewing experiences. With a brightness of 250 cd/m², the monitor ensures vibrant images and improved visibility in various lighting conditions.

The monitor utilizes advanced LCD technology which not only enhances its image quality but also contributes to lower power consumption compared to traditional CRT monitors. The Philips 220SW9 adheres to Energy Star standards, making it an environmentally friendly choice. Users can enjoy significant savings on energy bills while reducing their carbon footprint.

The 220SW9 is equipped with a response time of 5ms, which minimizes the chances of motion blur during fast-paced video playback or gaming. This feature ensures a smooth viewing experience, making it suitable for various applications from graphic design to casual gaming.

Ergonomics play a crucial role in the design of the Philips 220SW9. The monitor features a height-adjustable stand, allowing users to customize their viewing height for maximum comfort. This adjustable design helps reduce neck strain during extended use, promoting a healthier workspace.

Connectivity options on the Philips 220SW9 include both VGA and DVI ports, ensuring compatibility with a range of devices, including PCs and laptops. This flexibility allows users to connect their monitor to different systems without hassle.

In summary, the Philips 220SW9 combines an expansive 22-inch display, impressive resolution, and ergonomic design with energy efficiency. Its array of features makes it a compelling choice for users looking for a reliable and versatile monitor that meets their everyday computing and entertainment needs. Whether for professional use or casual enjoyment, the Philips 220SW9 stands as a testament to quality and performance in the world of LCD monitors.