Setting up the router | 9 |
Using the Setup Wizard
Follow the Wizard
To use the Setup Wizard:
1Start the
2Click Run Wizard. The
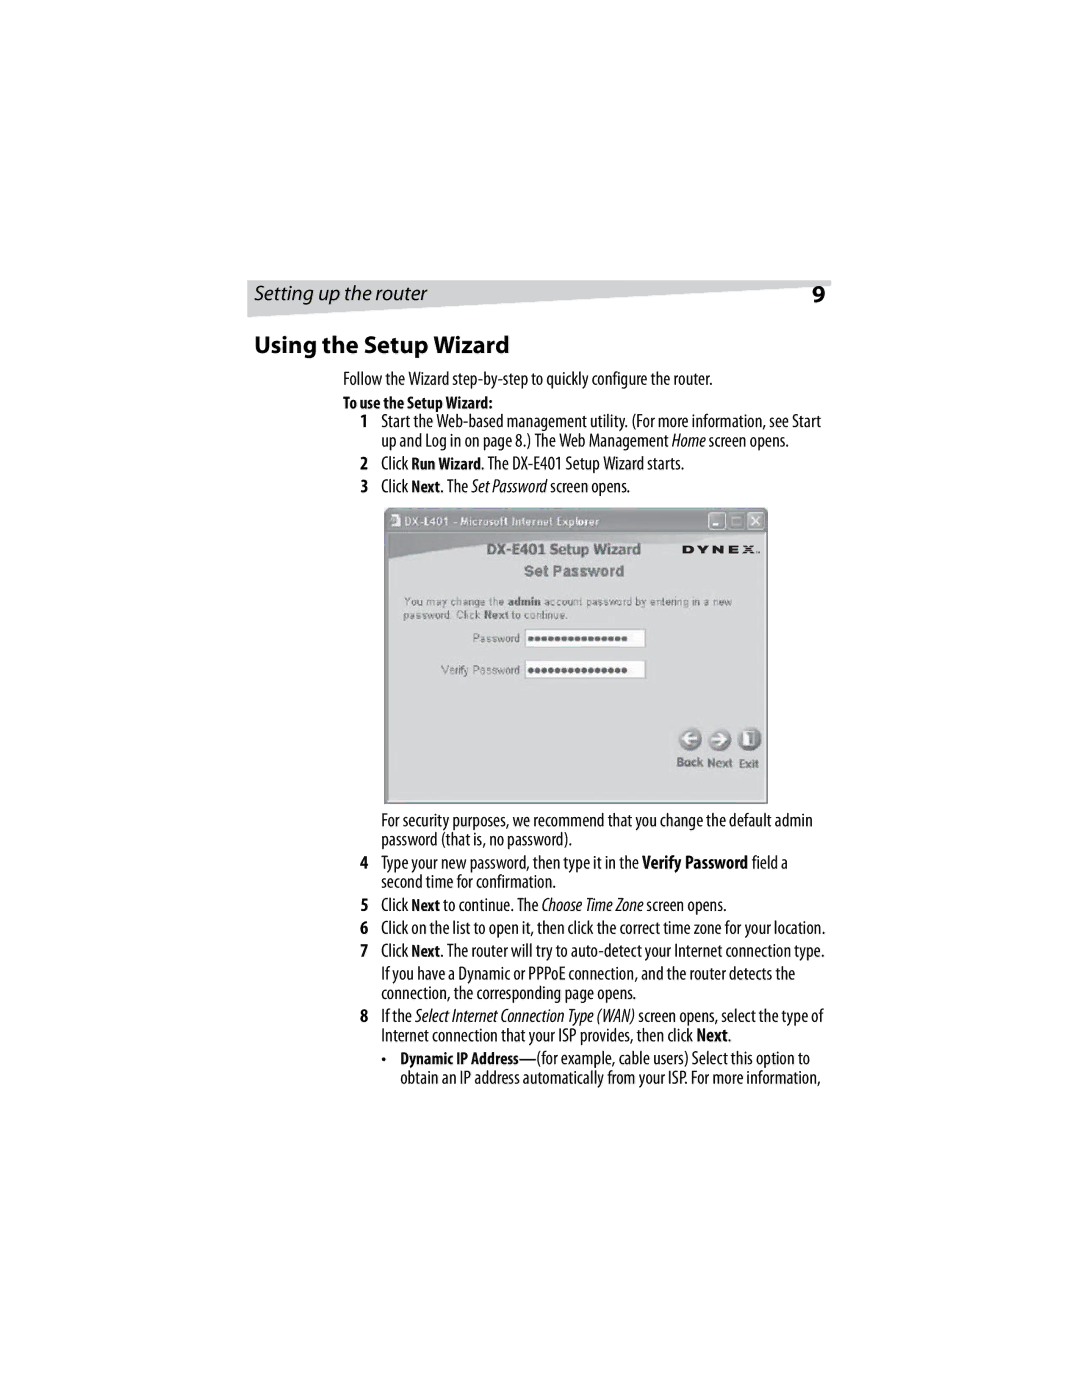
3 Click Next. The Set Password screen opens.
For security purposes, we recommend that you change the default admin password (that is, no password).
4Type your new password, then type it in the Verify Password field a second time for confirmation.
5Click Next to continue. The Choose Time Zone screen opens.
6Click on the list to open it, then click the correct time zone for your location.
7 Click Next. The router will try to
If you have a Dynamic or PPPoE connection, and the router detects the connection, the corresponding page opens.
8If the Select Internet Connection Type (WAN) screen opens, select the type of Internet connection that your ISP provides, then click Next.
•Dynamic IP