16 | Configuring the router |
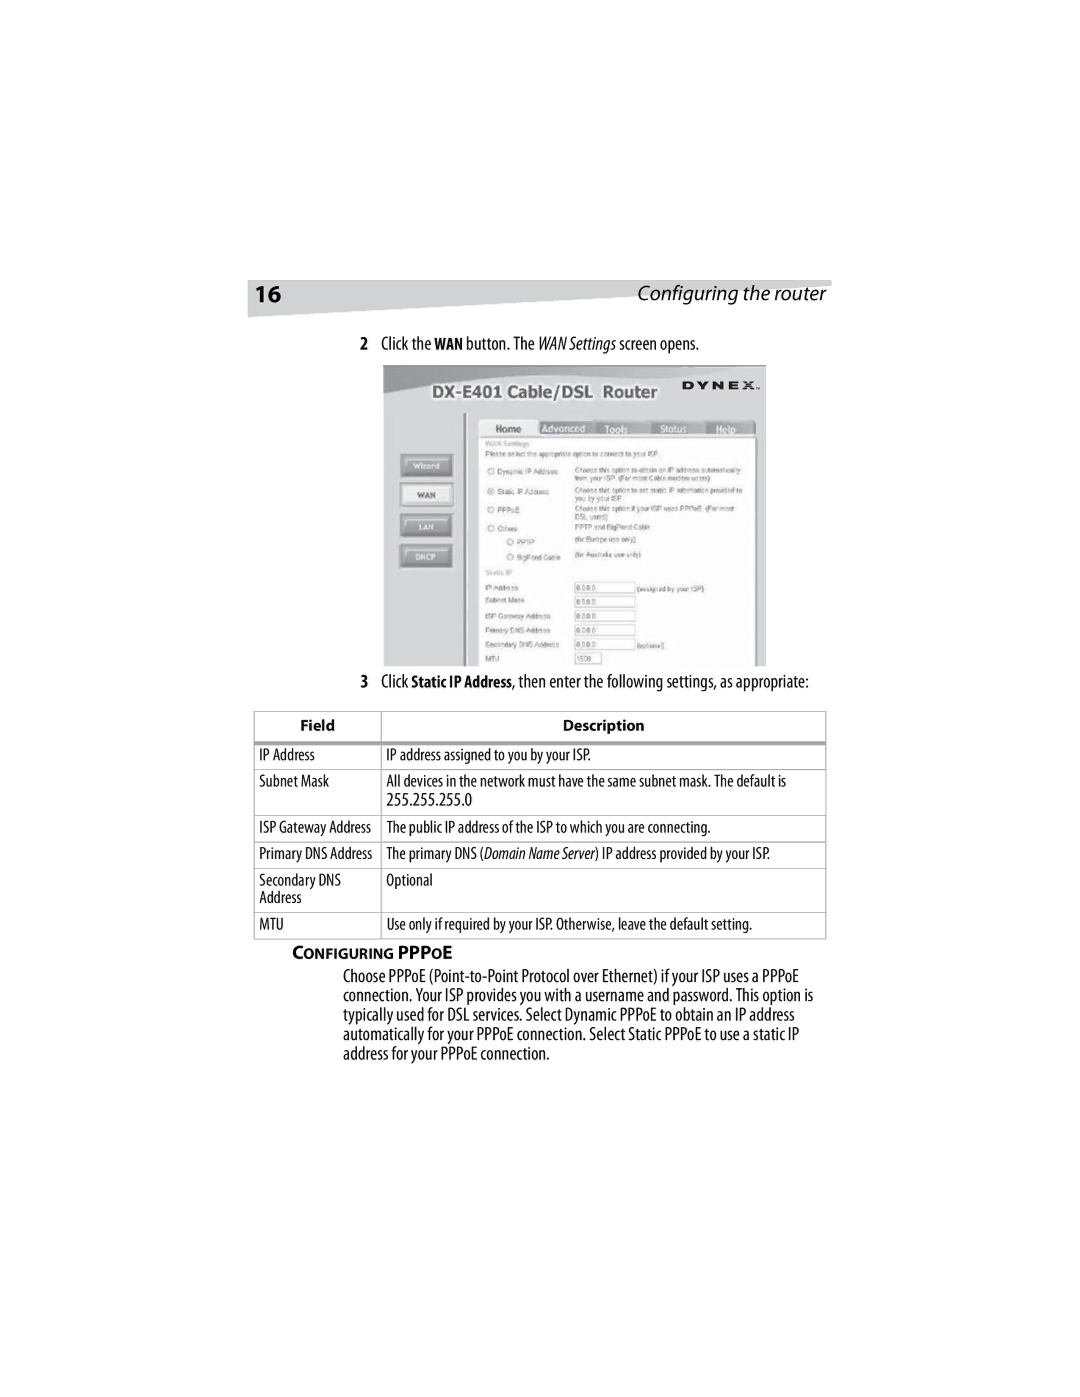
2Click the WAN button. The WAN Settings screen opens.
3Click Static IP Address, then enter the following settings, as appropriate:
Field | Description |
|
|
IP Address | IP address assigned to you by your ISP. |
|
|
Subnet Mask | All devices in the network must have the same subnet mask. The default is |
| 255.255.255.0 |
|
|
ISP Gateway Address | The public IP address of the ISP to which you are connecting. |
|
|
Primary DNS Address | The primary DNS (Domain Name Server) IP address provided by your ISP. |
|
|
Secondary DNS | Optional |
Address |
|
|
|
MTU | Use only if required by your ISP. Otherwise, leave the default setting. |
|
|
CONFIGURING PPPOE
Choose PPPoE