52 | Configuring your computers |
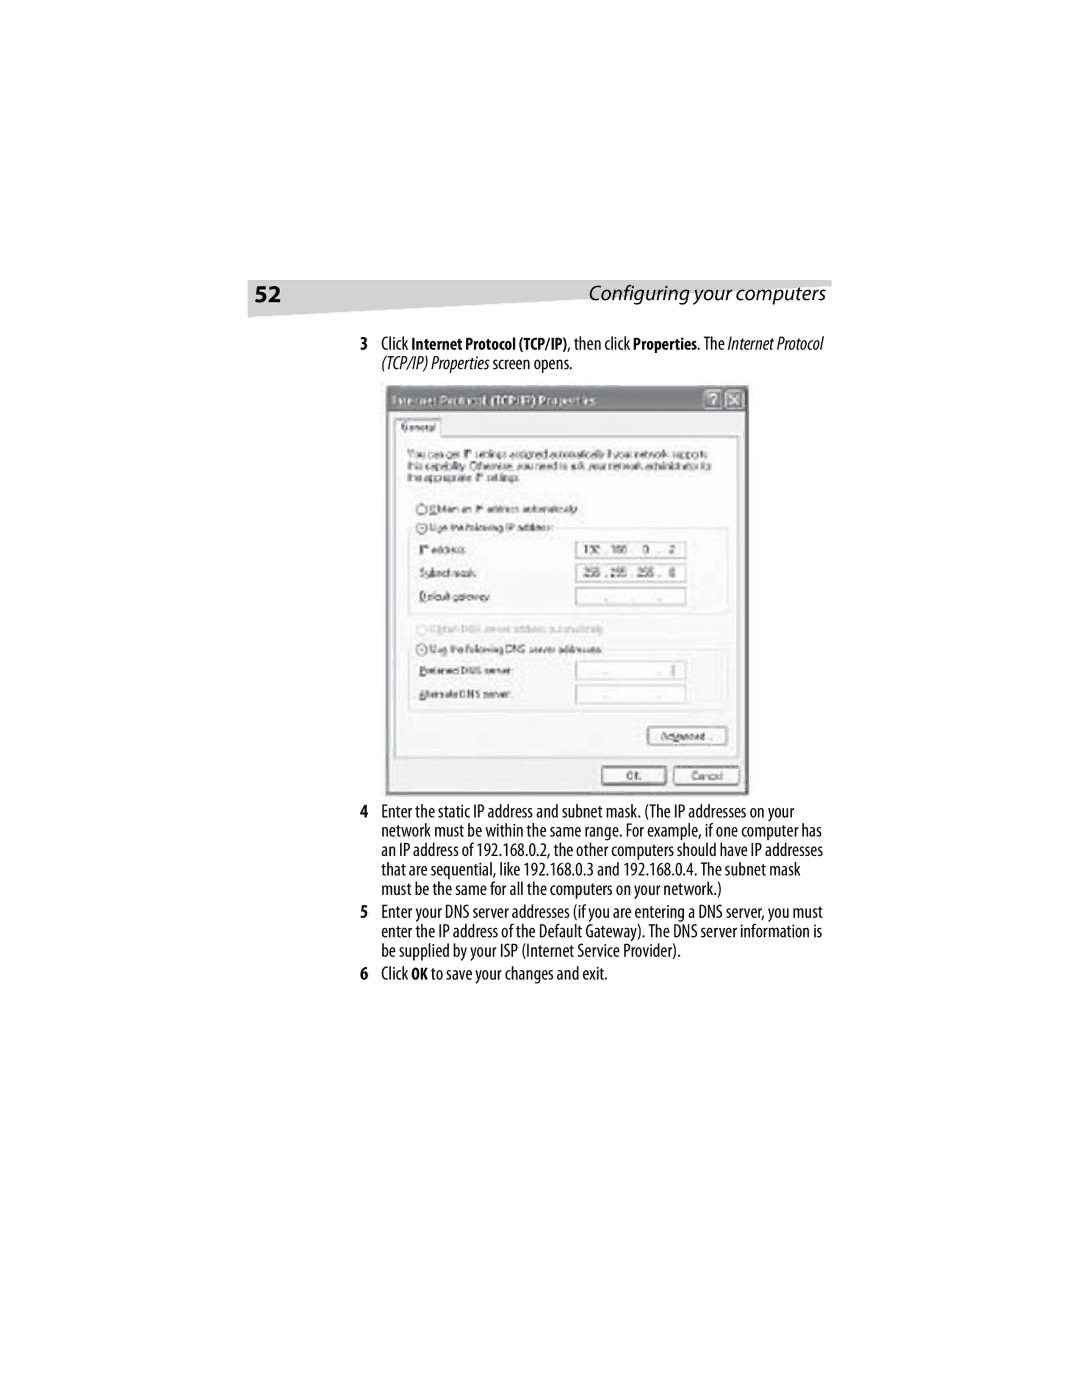
3Click Internet Protocol (TCP/IP), then click Properties. The Internet Protocol (TCP/IP) Properties screen opens.
4Enter the static IP address and subnet mask. (The IP addresses on your network must be within the same range. For example, if one computer has an IP address of 192.168.0.2, the other computers should have IP addresses that are sequential, like 192.168.0.3 and 192.168.0.4. The subnet mask must be the same for all the computers on your network.)
5Enter your DNS server addresses (if you are entering a DNS server, you must enter the IP address of the Default Gateway). The DNS server information is be supplied by your ISP (Internet Service Provider).