Configuring your computers | 47 |
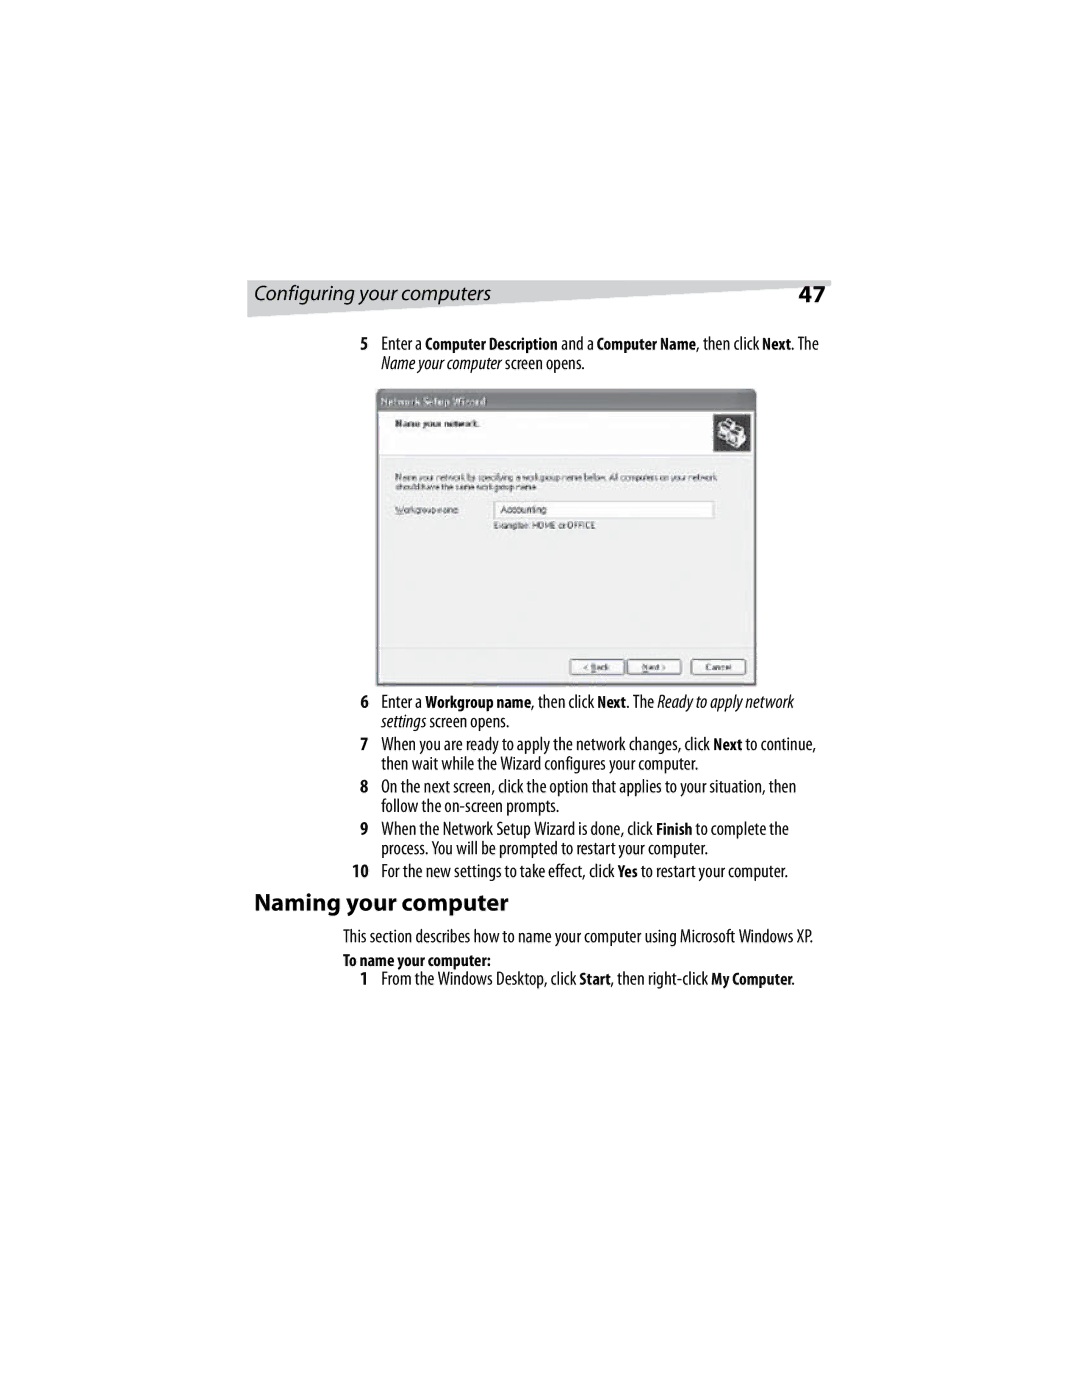
5Enter a Computer Description and a Computer Name, then click Next. The
Name your computer screen opens.
6Enter a Workgroup name, then click Next. The Ready to apply network settings screen opens.
7When you are ready to apply the network changes, click Next to continue, then wait while the Wizard configures your computer.
8On the next screen, click the option that applies to your situation, then follow the
9When the Network Setup Wizard is done, click Finish to complete the process. You will be prompted to restart your computer.
10For the new settings to take effect, click Yes to restart your computer.
Naming your computer
This section describes how to name your computer using Microsoft Windows XP.
To name your computer:
1From the Windows Desktop, click Start, then
