Getting Started

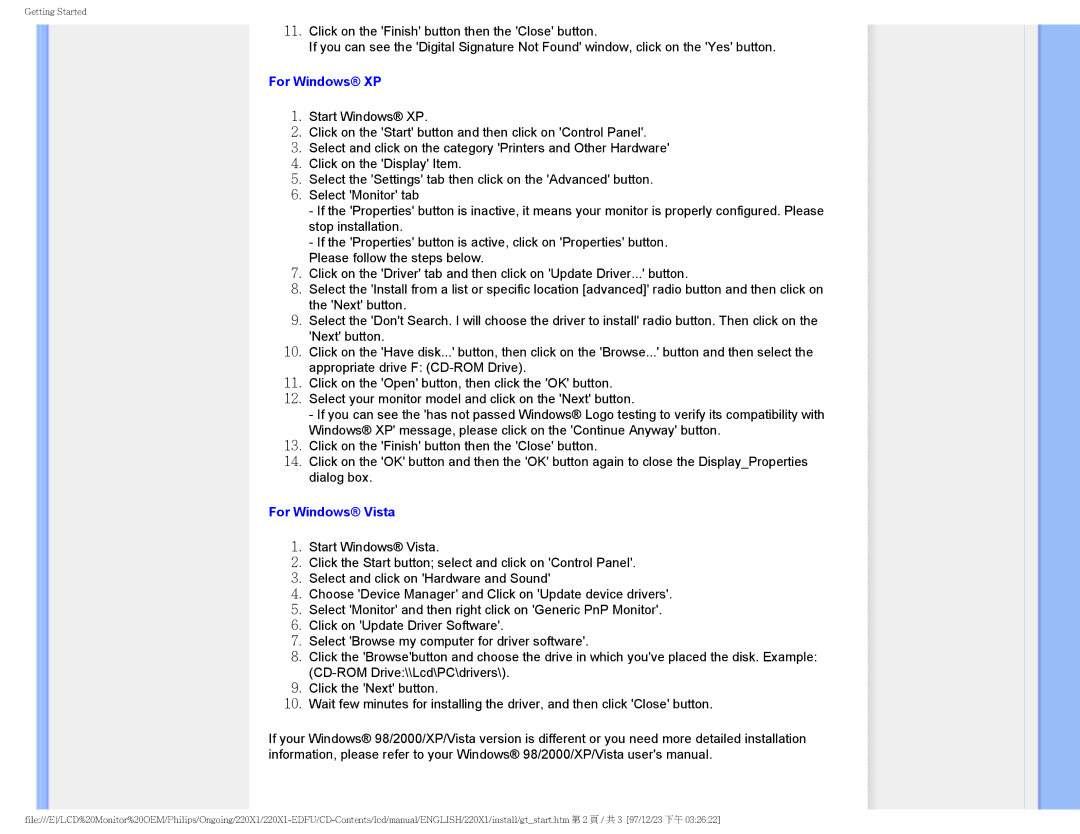
11.Click on the 'Finish' button then the 'Close' button.

If you can see the 'Digital Signature Not Found' window, click on the 'Yes' button.

For Windows® XP

1.Start Windows® XP.

2.Click on the 'Start' button and then click on 'Control Panel'.

3.Select and click on the category 'Printers and Other Hardware'

4.Click on the 'Display' Item.

5.Select the 'Settings' tab then click on the 'Advanced' button.

6.Select 'Monitor' tab

-If the 'Properties' button is inactive, it means your monitor is properly configured. Please stop installation.

-If the 'Properties' button is active, click on 'Properties' button.

Please follow the steps below.

7.Click on the 'Driver' tab and then click on 'Update Driver...' button.

8.Select the 'Install from a list or specific location [advanced]' radio button and then click on the 'Next' button.

9.Select the 'Don't Search. I will choose the driver to install' radio button. Then click on the 'Next' button.

10.Click on the 'Have disk...' button, then click on the 'Browse...' button and then select the appropriate drive F: (CD-ROM Drive).

11.Click on the 'Open' button, then click the 'OK' button.

12.Select your monitor model and click on the 'Next' button.

- If you can see the 'has not passed Windows® Logo testing to verify its compatibility with Windows® XP' message, please click on the 'Continue Anyway' button.

13.Click on the 'Finish' button then the 'Close' button.

14.Click on the 'OK' button and then the 'OK' button again to close the Display_Properties dialog box.

For Windows® Vista

1.Start Windows® Vista.

2.Click the Start button; select and click on 'Control Panel'.

3.Select and click on 'Hardware and Sound'

4.Choose 'Device Manager' and Click on 'Update device drivers'.

5.Select 'Monitor' and then right click on 'Generic PnP Monitor'.

6.Click on 'Update Driver Software'.

7.Select 'Browse my computer for driver software'.

8.Click the 'Browse'button and choose the drive in which you've placed the disk. Example: (CD-ROM Drive:\\Lcd\PC\drivers\).

9.Click the 'Next' button.

10.Wait few minutes for installing the driver, and then click 'Close' button.

If your Windows® 98/2000/XP/Vista version is different or you need more detailed installation information, please refer to your Windows® 98/2000/XP/Vista user's manual.

file:///E/LCD%20Monitor%20OEM/Philips/Ongoing/220X1/220X1-EDFU/CD-Contents/lcd/manual/ENGLISH/220X1/install/gt_start.htm 2 / 3 [97/12/23 下午 03:26:22]

Page 74
Image 74
Philips 220XI user manual For Windows XP

220XI specifications

The Philips 220XI is a versatile and innovative display that has been making waves in the world of professional monitors. Designed with attention to detail and user-centric features, the 220XI is an excellent choice for creatives, gaming enthusiasts, and professionals requiring high-quality visual output.

One of the standout features of the Philips 220XI is its stunning visual performance. It boasts a 21.5-inch Full HD (1920 x 1080) resolution that ensures crisp and vibrant images. The display utilizes an IPS (In-Plane Switching) panel which provides wide viewing angles, allowing colors to remain consistent and true to life, whether you're viewing the screen from the side or directly in front. This characteristic makes it ideal for collaborative work environments where multiple users are viewing the screen simultaneously.

Color accuracy is another hallmark of the Philips 220XI. It covers 100% of the sRGB color gamut, which brings out vivid colors and enhances the overall viewing experience. This feature is especially beneficial for graphic designers and photographers who rely on accurate and true-to-life color representation for their projects.

In terms of connectivity, the Philips 220XI is equipped with multiple ports including HDMI, VGA, and DisplayPort, ensuring compatibility with a wide range of devices. The monitor also supports MHL (Mobile High-Definition Link), which allows users to link their mobile devices directly to the screen for a larger display of their content.

The monitor’s ergonomic design is another notable characteristic. It features a slim bezel design that maximizes the screen estate, thus providing a more immersive viewing experience. Moreover, its adjustable stand allows users to tilt, swivel, and adjust the height of the monitor for optimal comfort, reducing strain during long hours of usage.

For those concerned about eye health, the Philips 220XI includes features such as LowBlue Mode and Flicker-Free technology, which aim to reduce eye fatigue during extended screen time.

In summary, the Philips 220XI combines superb image quality, extensive connectivity, ergonomic design, and features aimed at eye comfort, making it a well-rounded option for a variety of users. Whether for work or play, the Philips 220XI sets a high standard in the monitor market.